In this guide, we will discuss everything about the Franks Kodi Build and installation steps from The Crew Wizard. It is important to note that Installation Steps are the same for Firestick, Android, Fire TV Cube, Windows, Mac, Chromecast, Rasberry Pi, and, iOS platforms.
Franks Kodi Build is the on-demand Build that offers Movies and Live TV Shows with high-quality links. The Build has an easy navigation theme to search the content quickly. But, one of the cons is that it contains fewer channels for streaming.
Let’s move ahead and discuss the Franks Build installation process using The Crew Repository.
Installation Steps
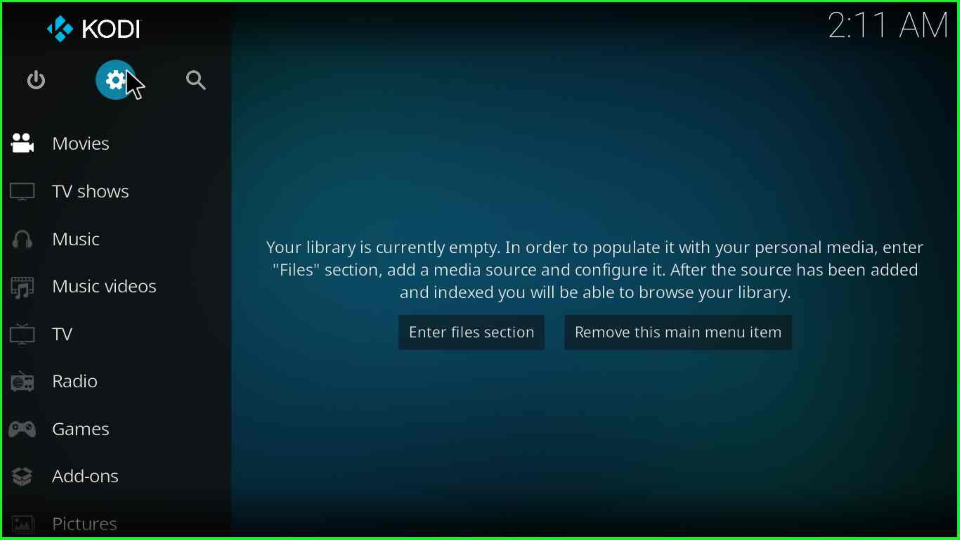
Open the Kodi platform and pick the left icon Settings near the Power icon.
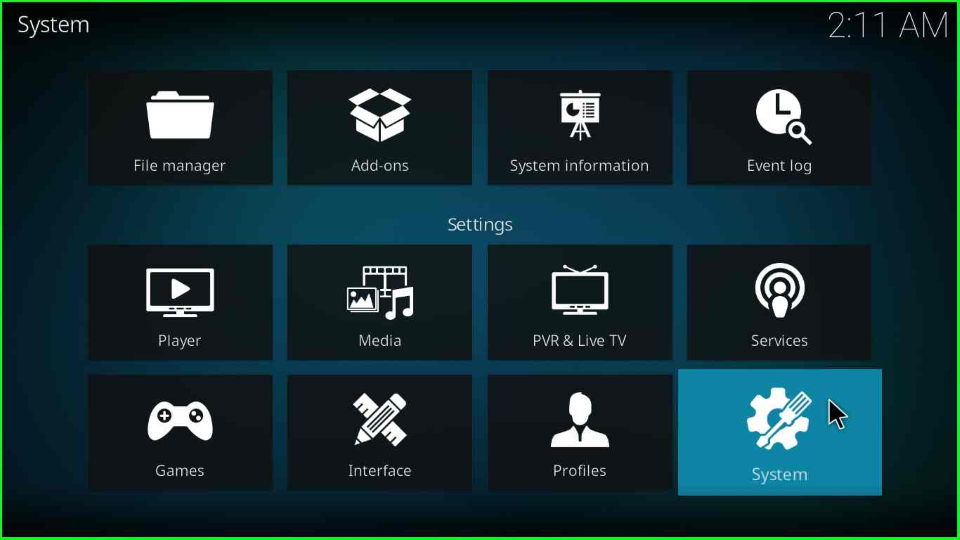
Open the System tab as shown on the Settings screen.
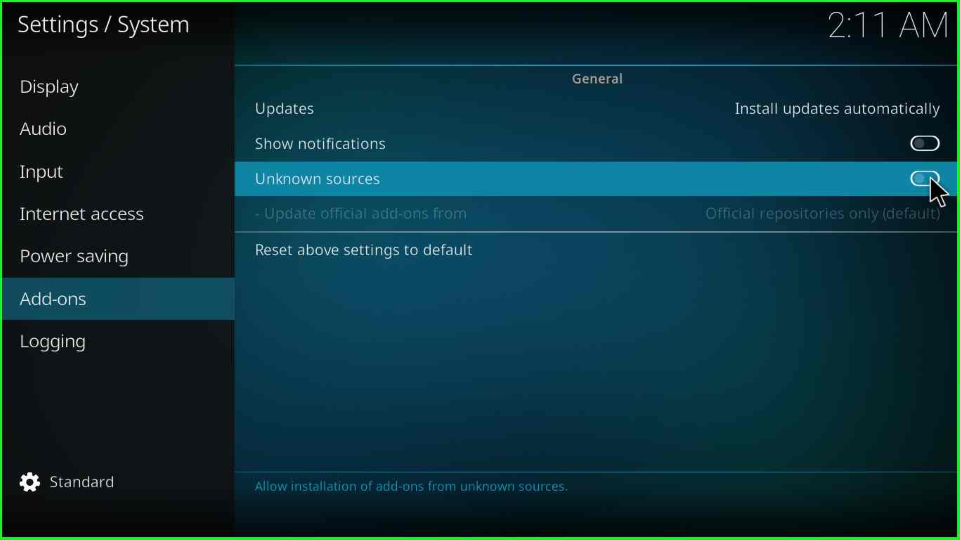
Select the Add-ons tab and, enable the Unknown sources.
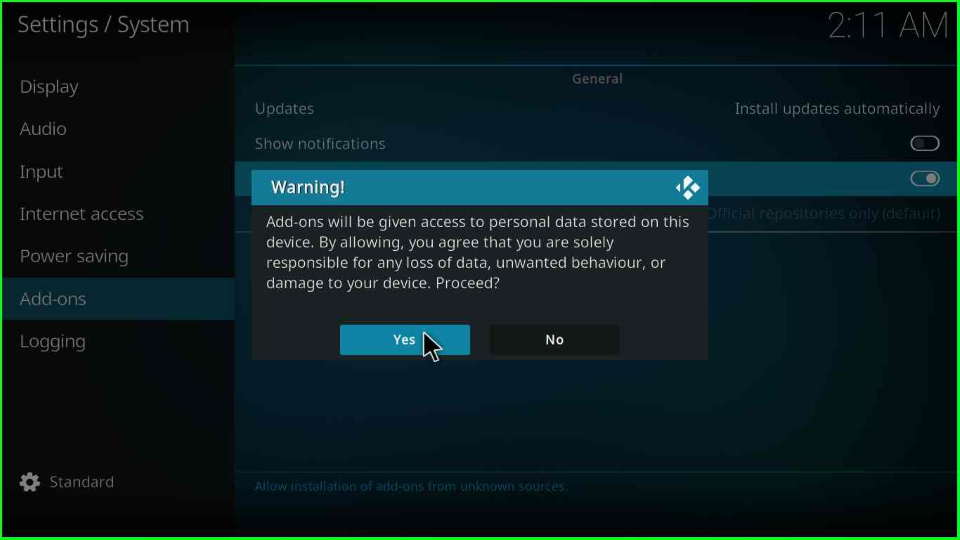
A warning box will show; click Yes to move ahead.
Add Media Source and Repository
Switch to the previous Settings page and choose the File Manager option.
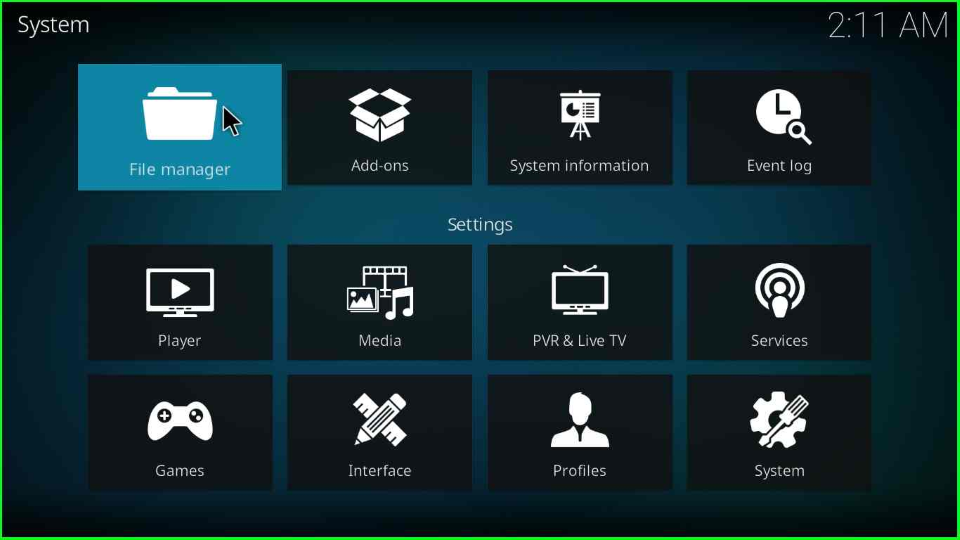
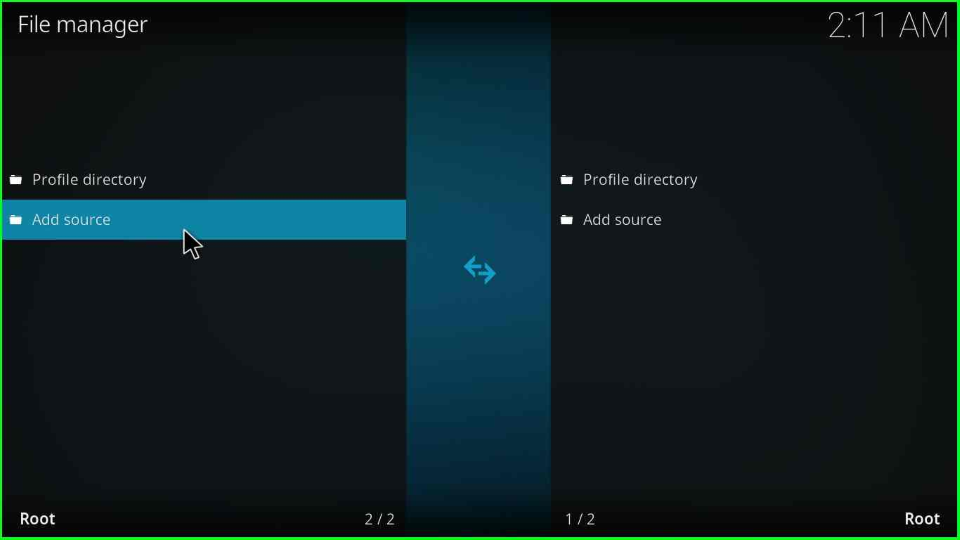
The screen consists Add source option; double tap on it.
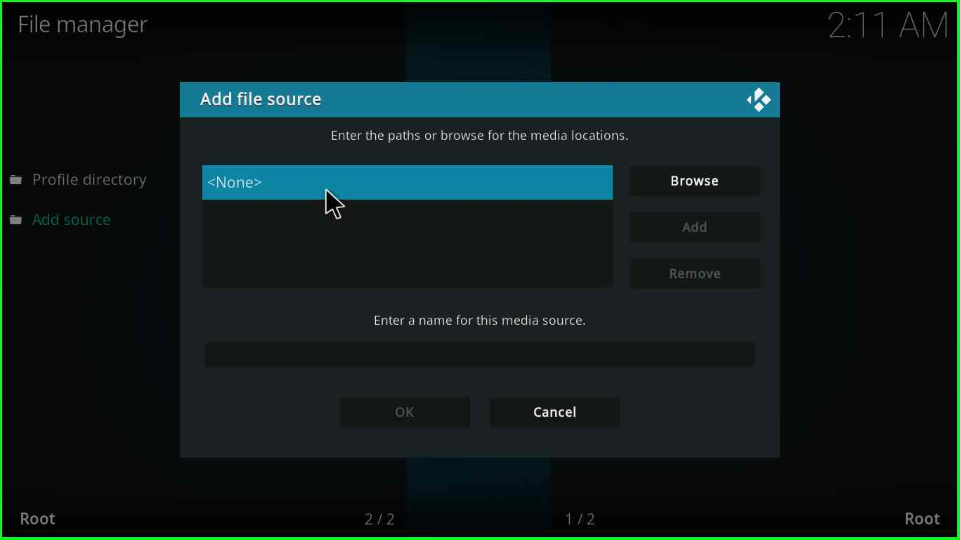
A popup window will appear; select <None> to add a new source.
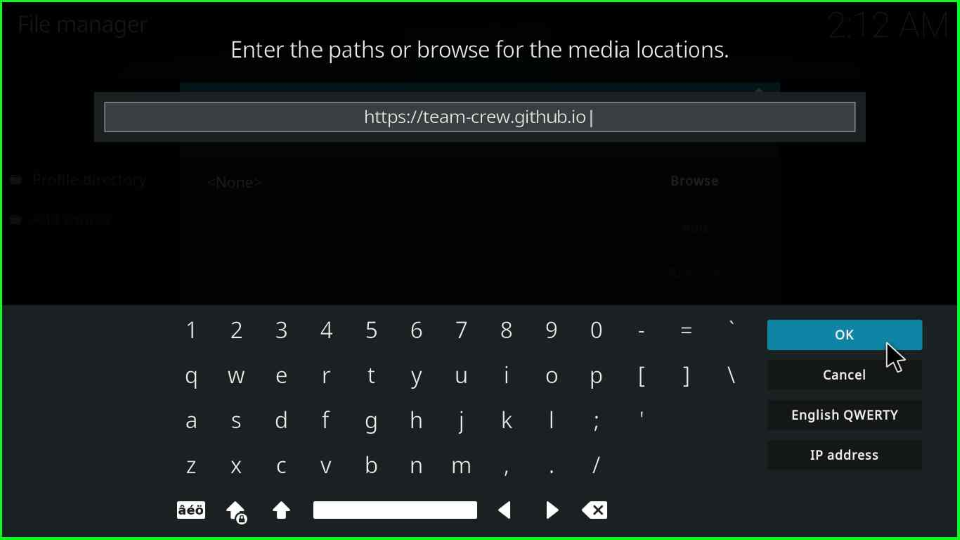
Enter the URL as https://team-crew.github.io and press OK.
Type the source name crew and select OK.
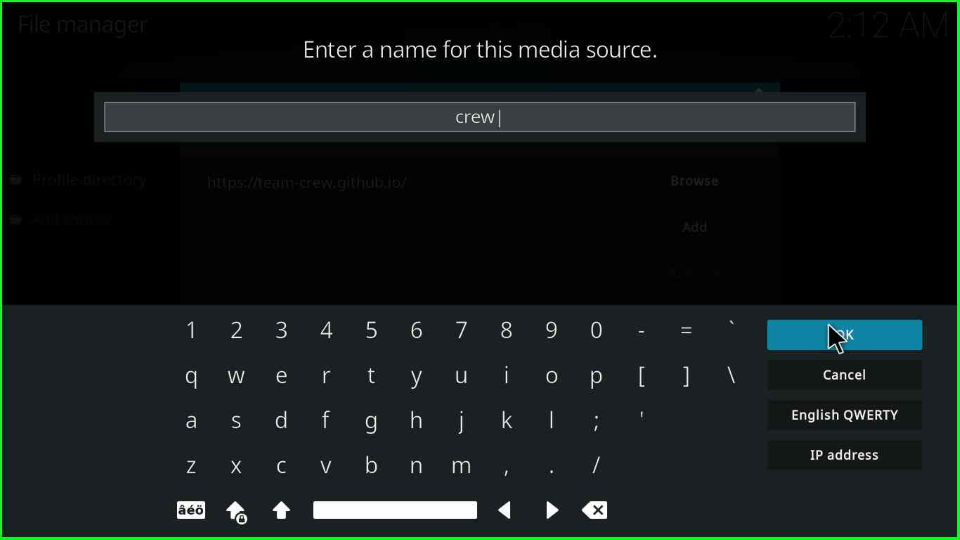
Check the source URL and media source name carefully and click on OK to save it.
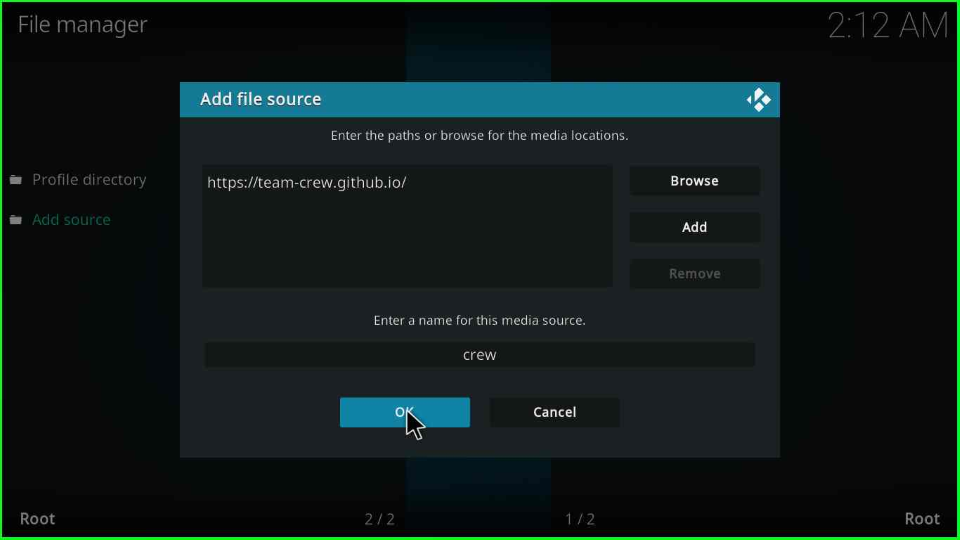
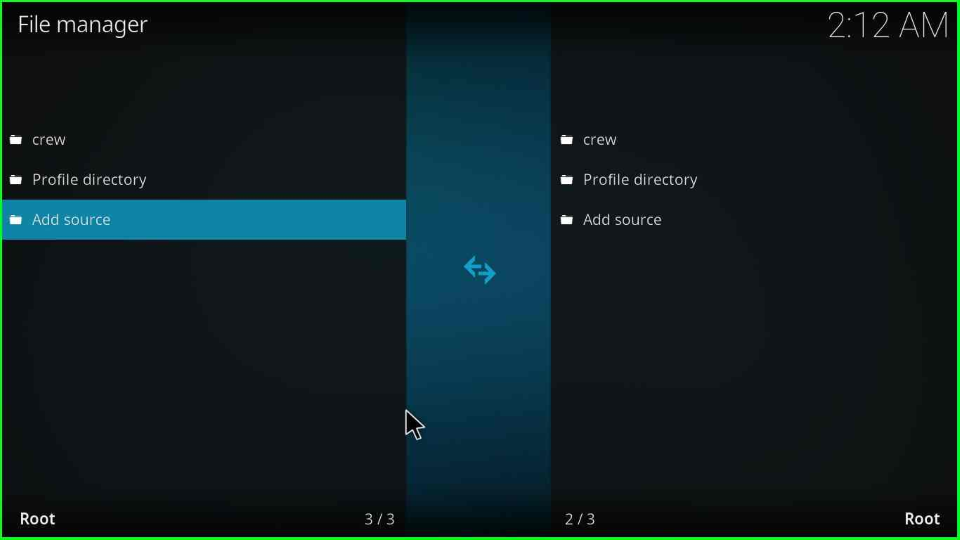
Your media folder is successfully saved with the name crew shown on the page.
Install from Zip File
Again, go to the Kodi Settings, put your cursor on the Add-ons package icon, and click it.
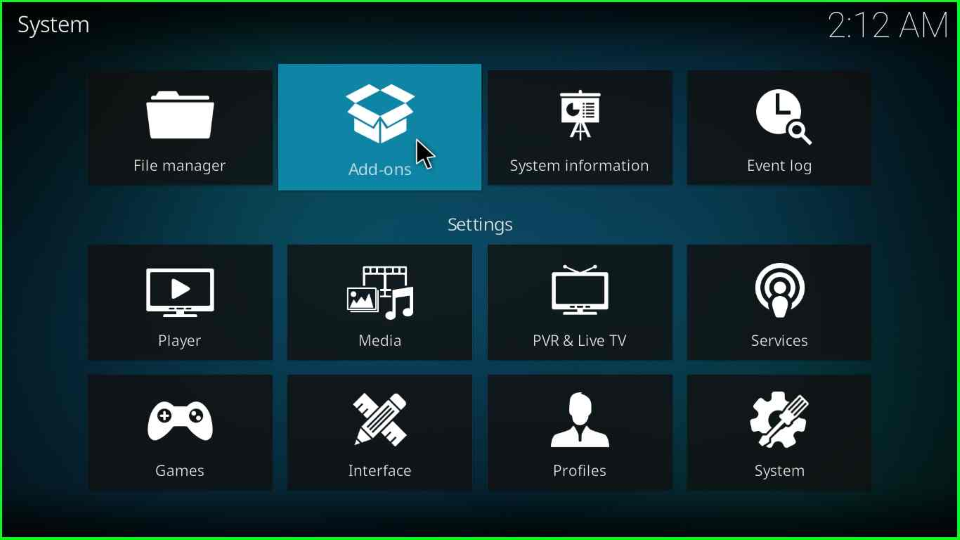
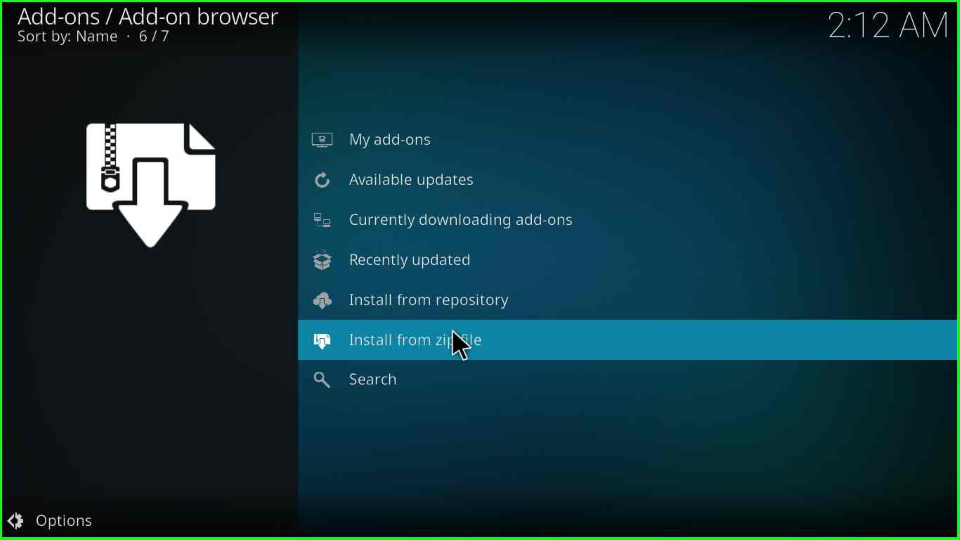
The Add-ons page consists of a list of tabs, select Install from zip file and proceed further.
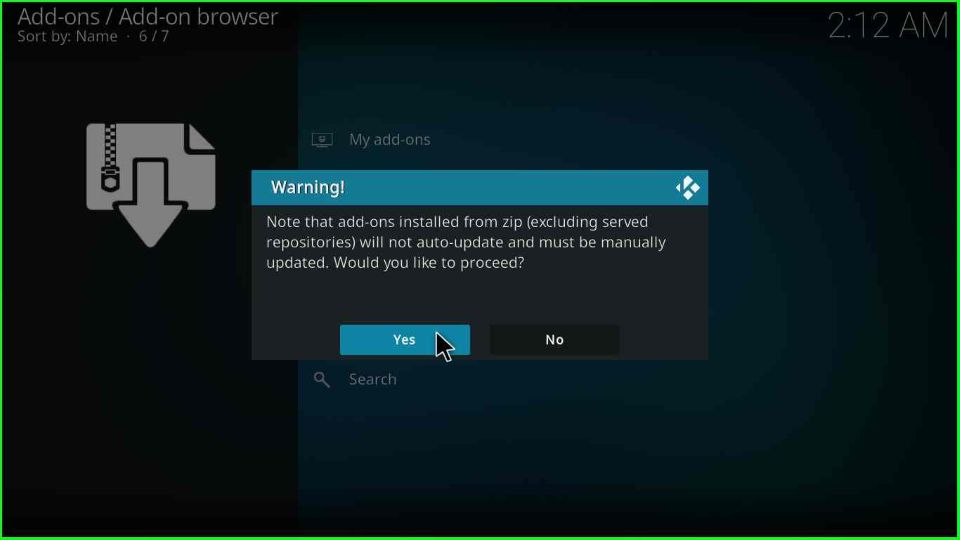
A warning sign appears; select the first tab, Yes, and go ahead.
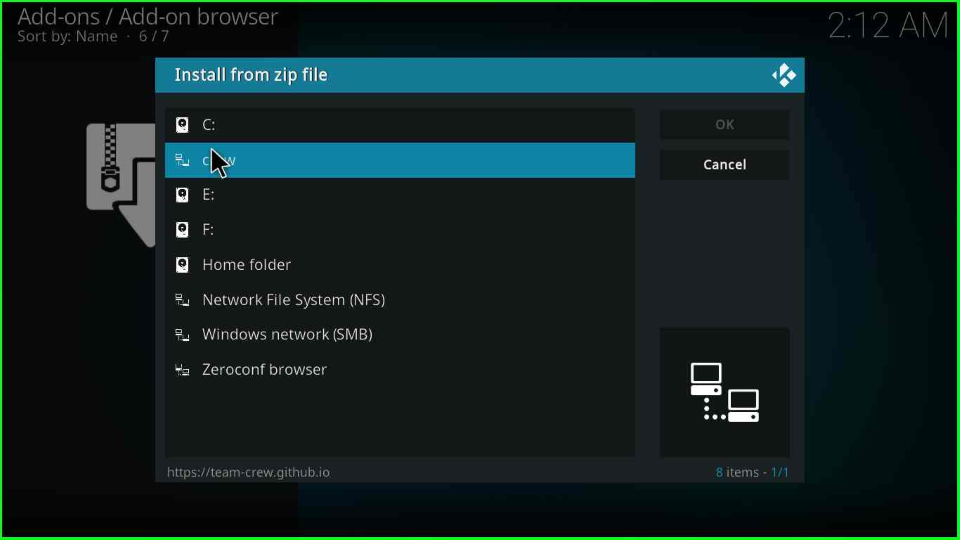
Next, pick the newly added source crew.
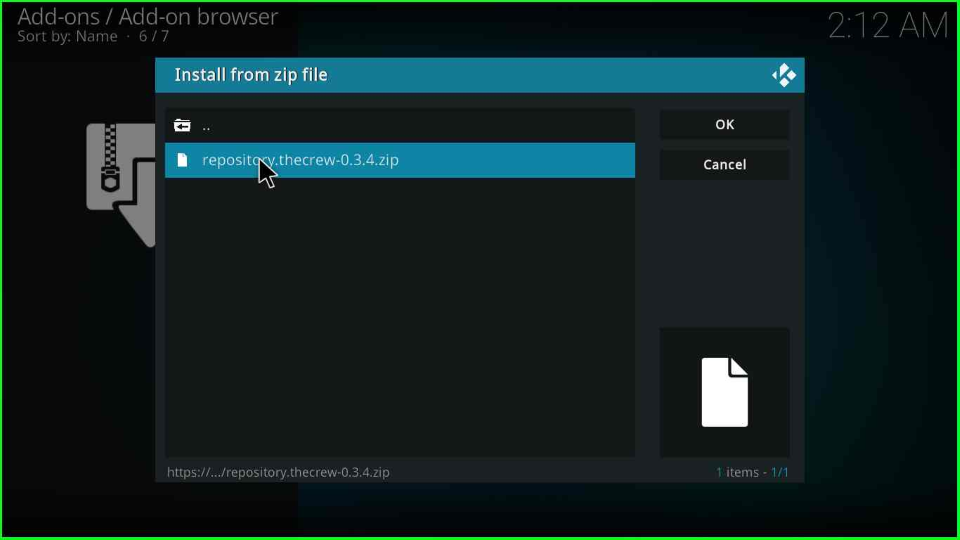
Click on the repository.thecrew-x.x.x.zip file URL.
Wait for The Crew Repo installation message.
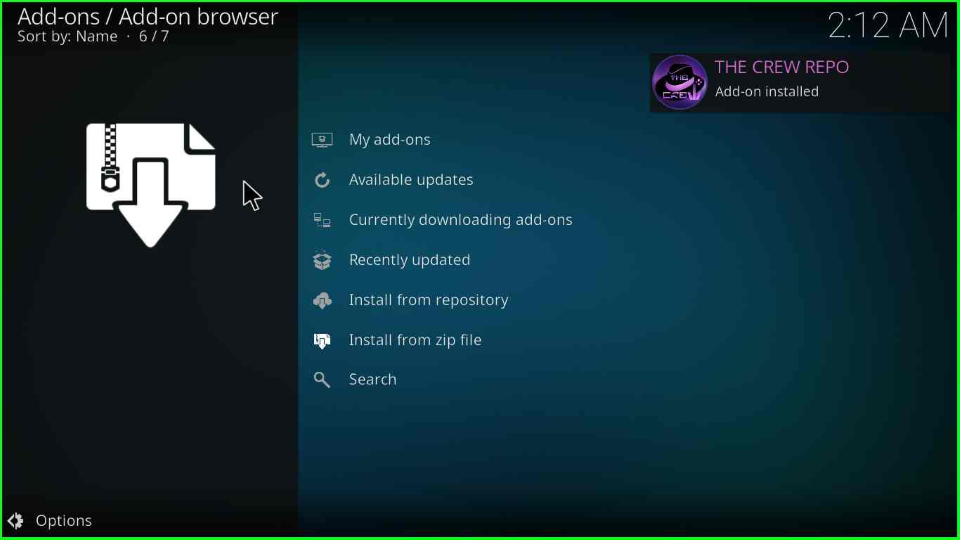
Install from Repository
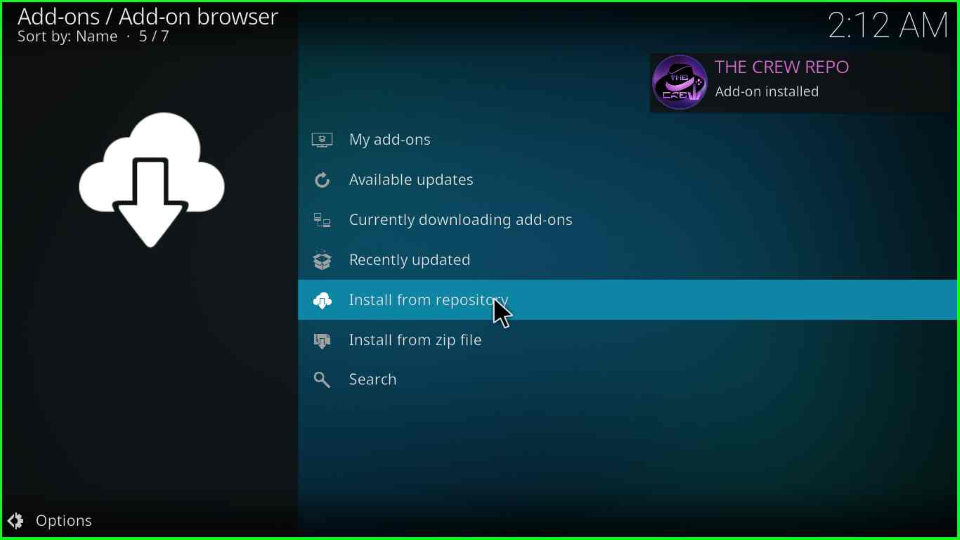
After the repo installation, pick the Install from repository option.
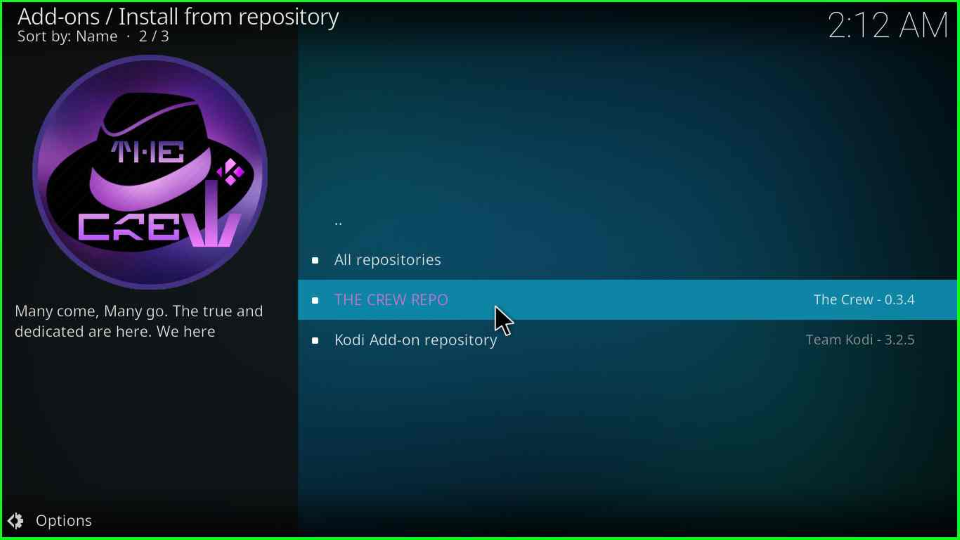
Hit the cursor on The Crew Repo tab.
Install The Crew Wizard
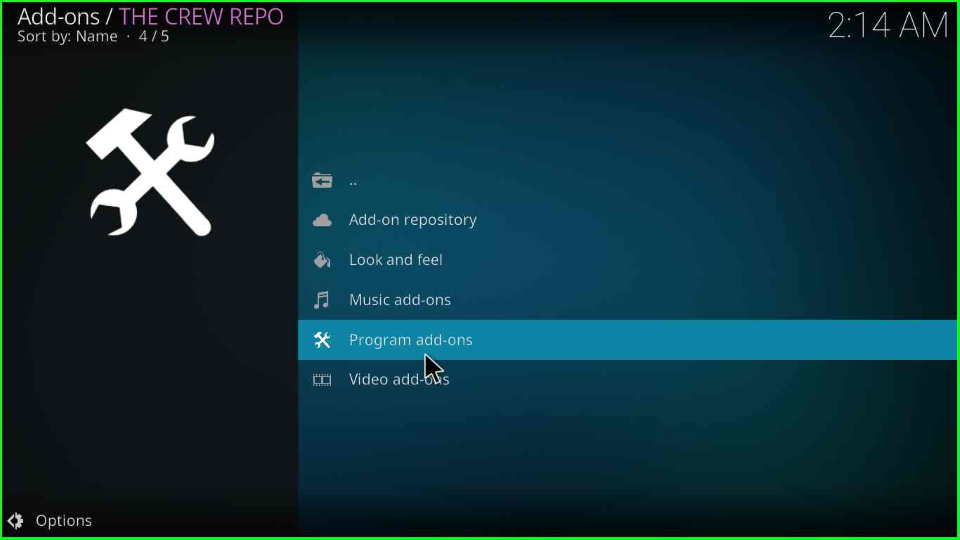
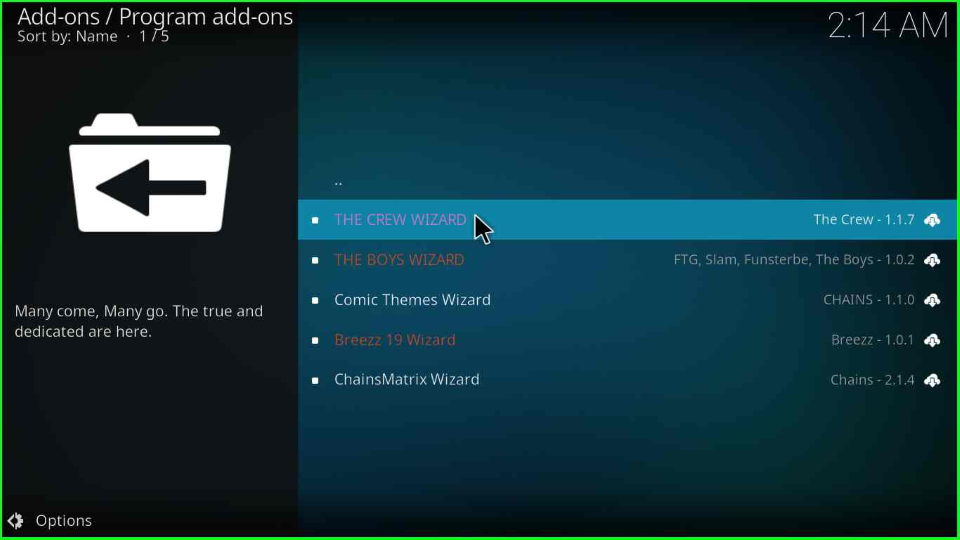
Choose the last second option, Program add-ons.
Click on The Crew Wizard from the page.
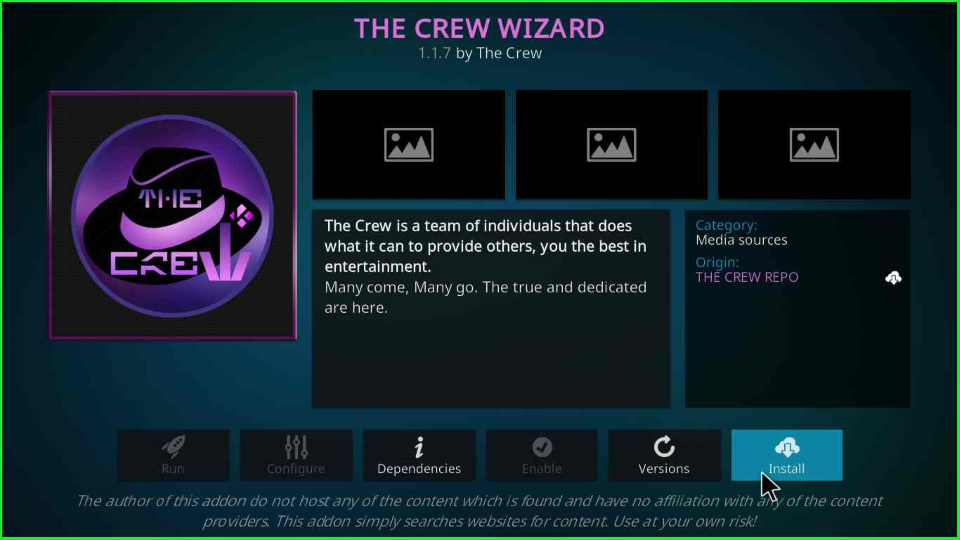
Press the Install key to install the wizard.
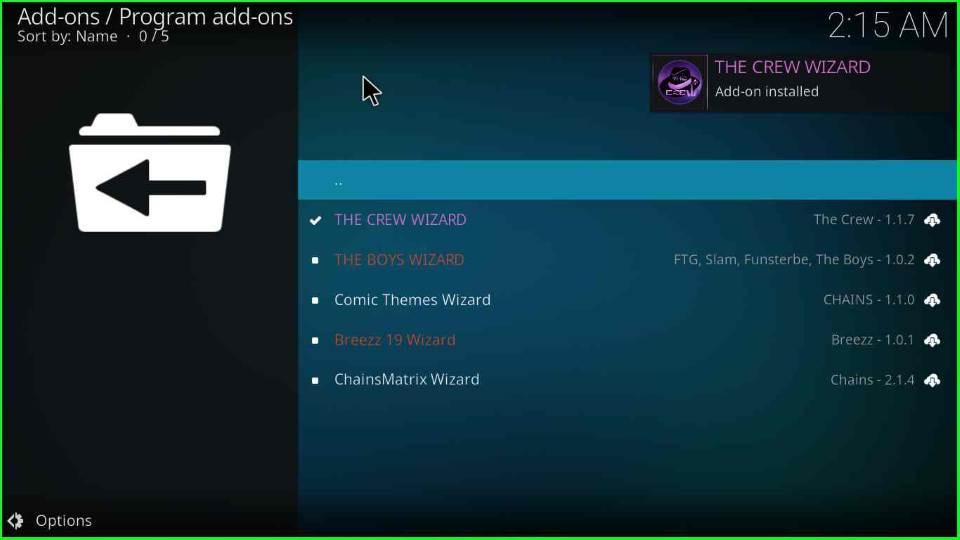
The Crew Wizard begins installing; wait for its completion.
Install Franks Build
After installing, a popup will display where you have to tap on the Dismiss button.
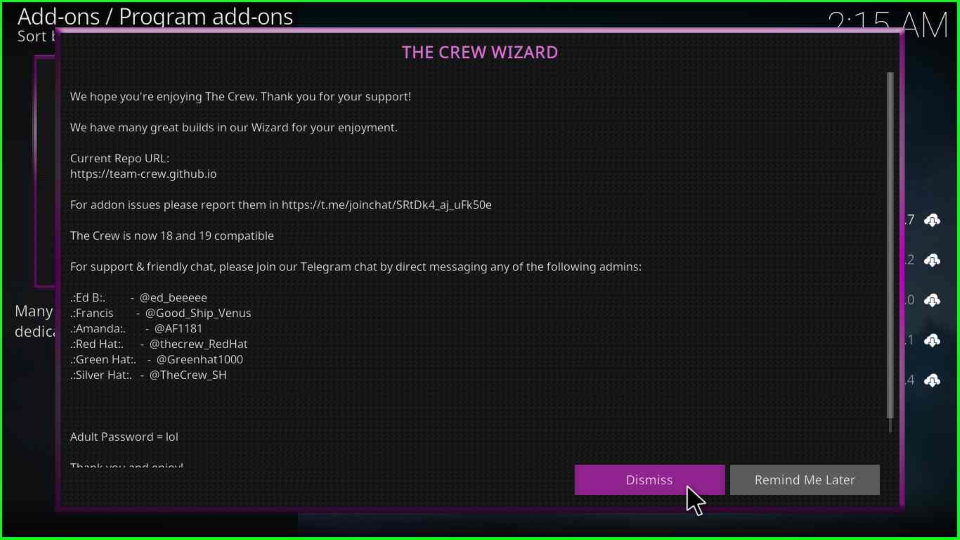
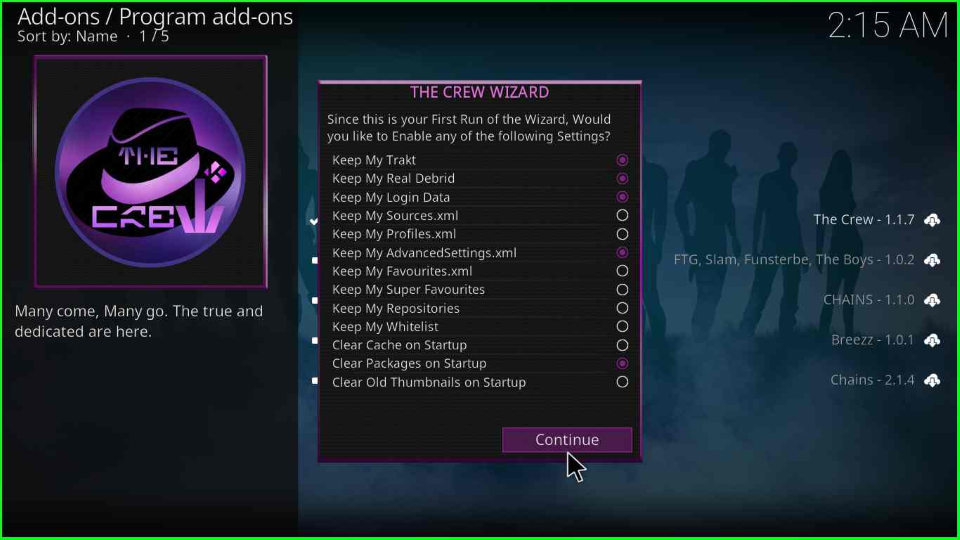
Repeatedly, a Crew Wizard popup window will appear on the screen, select any of the tools from it and tap on the Continue Key.
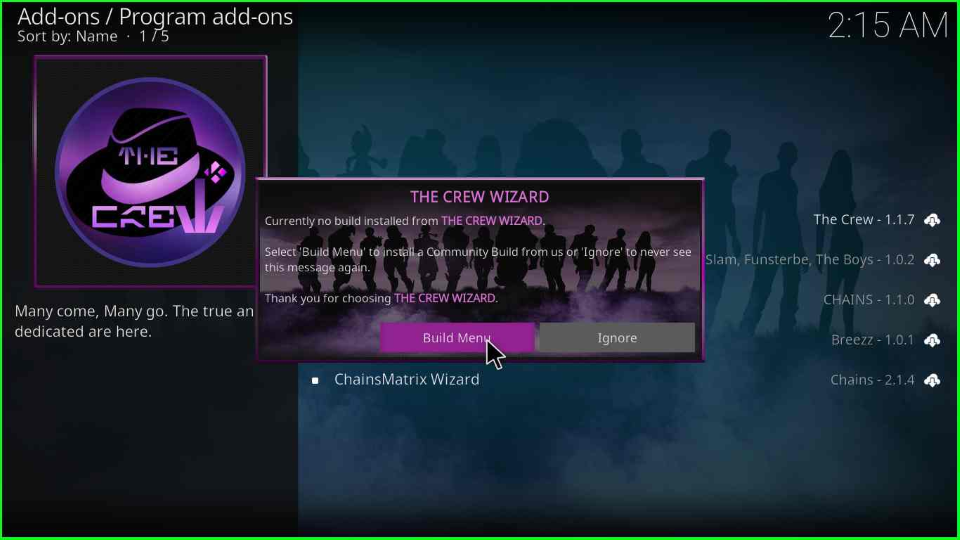
Open the Build Menu key from The Crew Wizard box.
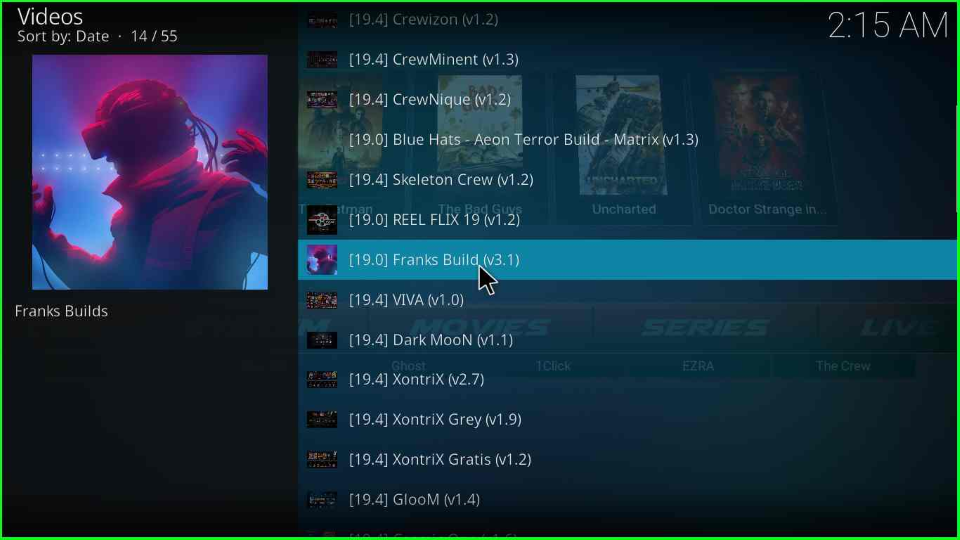
Scroll down the cursor and choose the Franks Build.
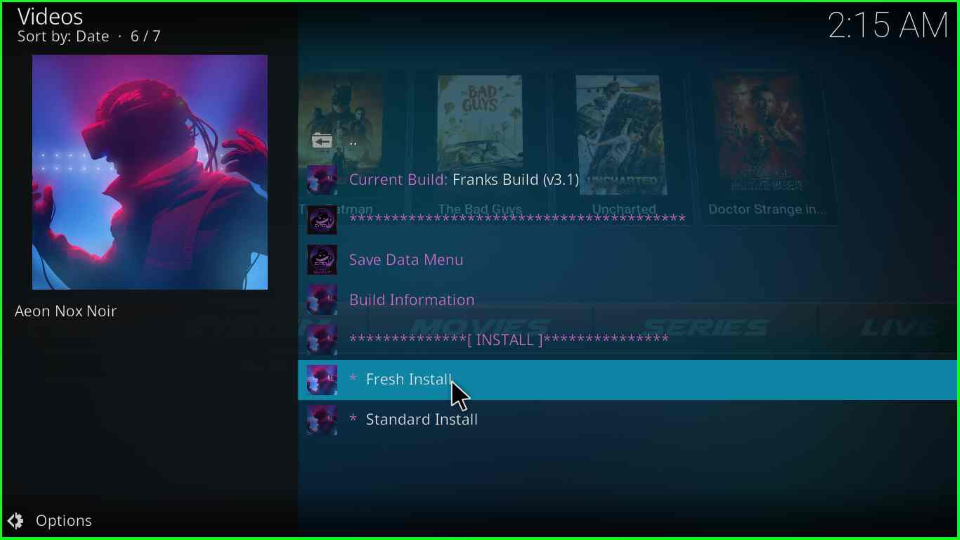
Click on the Fresh Install option.
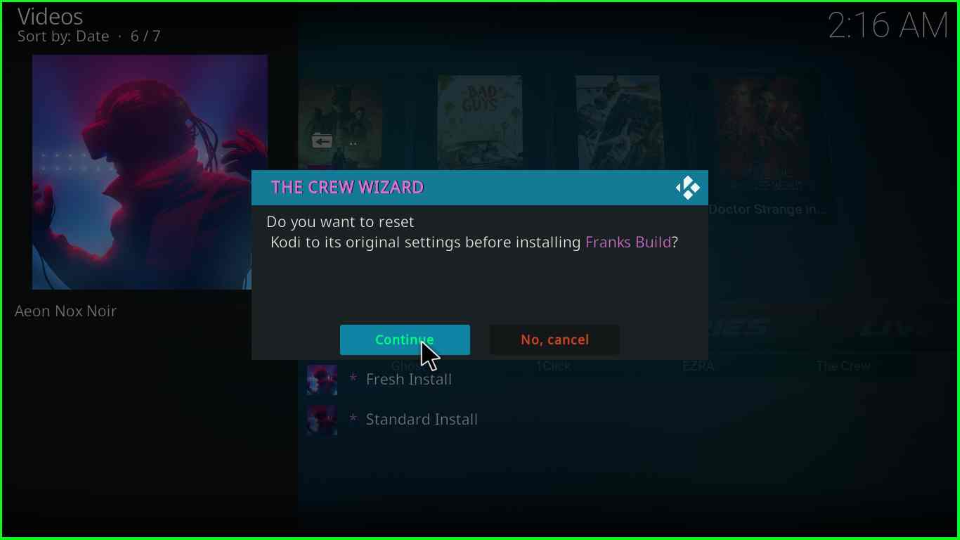
Thereafter, the page displays a popup box with the text “Do you want to reset Kodi to its original settings before installing Franks Build?”. Click Continue to accept it.
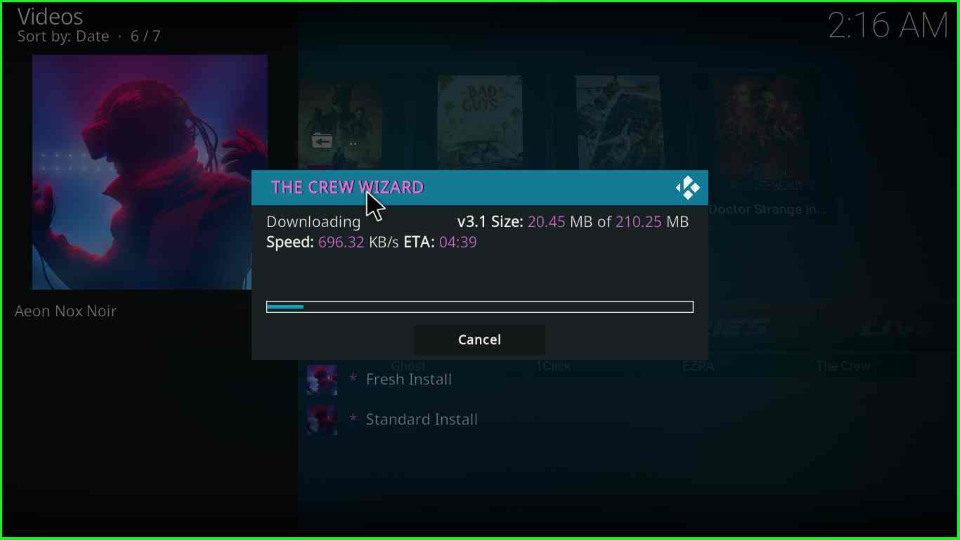
The Build starts downloading; wait until the loading bar is complete.
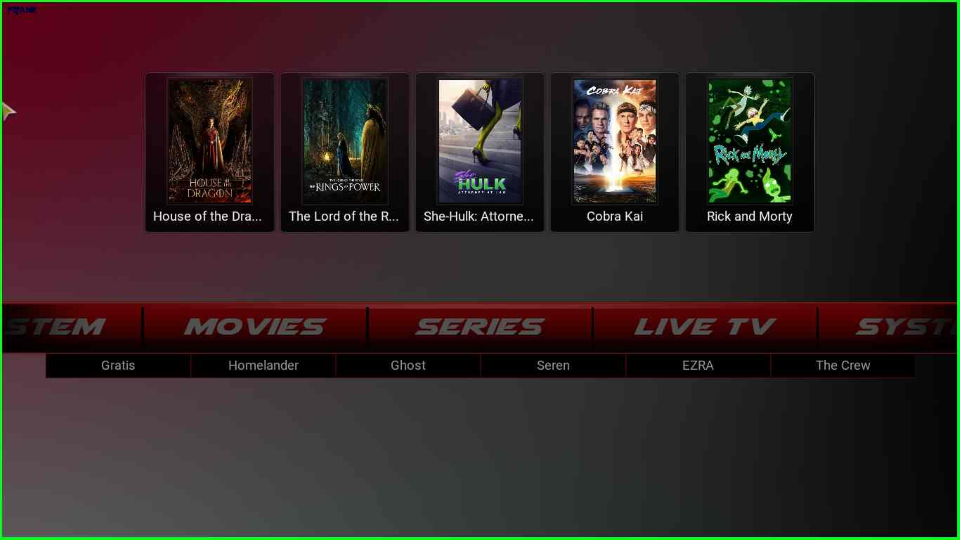
After installation, the Kodi will automatically close. Open it again, and now you will have the Franks Kodi Build Skin.
FAQs
Franks Kodi Build is also installed through the Chains and The Boys Wizard, which contains the Chains, and Funsterplace repositories.
The Crew Wizard offers various Builds like GlooM, Green Monster, Dark Moon, XontriX, VIVA, Reel Flix, CrewTV, CrewNique, CrewMinent, Skeleton Crew, and, XontriX Grey.
Wrap Up
We have followed the installation steps and Franks Build-related questions and answers. I reiterate that while installing, you should be cautious while entering the repository URL and fully wait until the installation completion message appears. Apart from that, if you face any issues like version and dependency errors, you can follow an extensive guide on Kodi not working reasons guide.
