Home » Kodi » Paramount+ Kodi Addon : Latest Installation Process & FAQs

Paramount+ Kodi Addon : Latest Installation Process & FAQs

This post will show the practical steps to install the Paramount+ Kodi addon. The steps are the same for Android, Windows, FireStick 4K, Mi Box, Nvidia Shield, and Mac platforms.

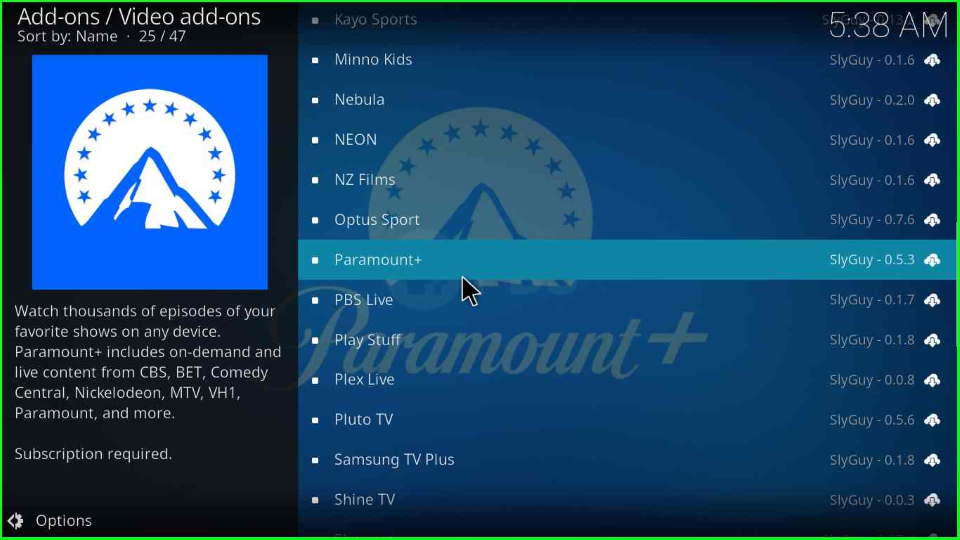
Paramount+ is the commonly used video addon that belongs to the ViacomCBS. You can stream live CBS content here, including Comedy Central, BET, VH1, MTV, Paramount, and Nickelodeon.

In addition, it is a subscription-based service where you can explore high-quality streaming options. You can install the addon easily through the SlyGuy Repository. So, let’s start with installing the Paramount+ Kodi addon on Windows.

Attention, Cord-cutters!

I want to warn you that whatever you stream online is visible to the Government, ISPs, and Third Parties. Following are some of your details:-

IP Address: 3.238.134.157
Location: Virginia US
ISP: AS14618 Amazon.com, Inc.

You must be aware that streaming copyrighted content without a license is illegal and may land you in legal trouble.

I urge you to comply with the rules and regulations in your country, but what if you land up streaming illegal content unintentionally?

Hence, I suggest using the most secure VPN, i.e., ExpressVPN, which has military-grade encryption. In addition, ExpressVPN enables buffering-free streaming, hides your IP address, Location, and bypasses the geo-restrictions and bandwidth throttling.

Special Deal: Get 12 + 3 Extra Months FREE

Installation Steps

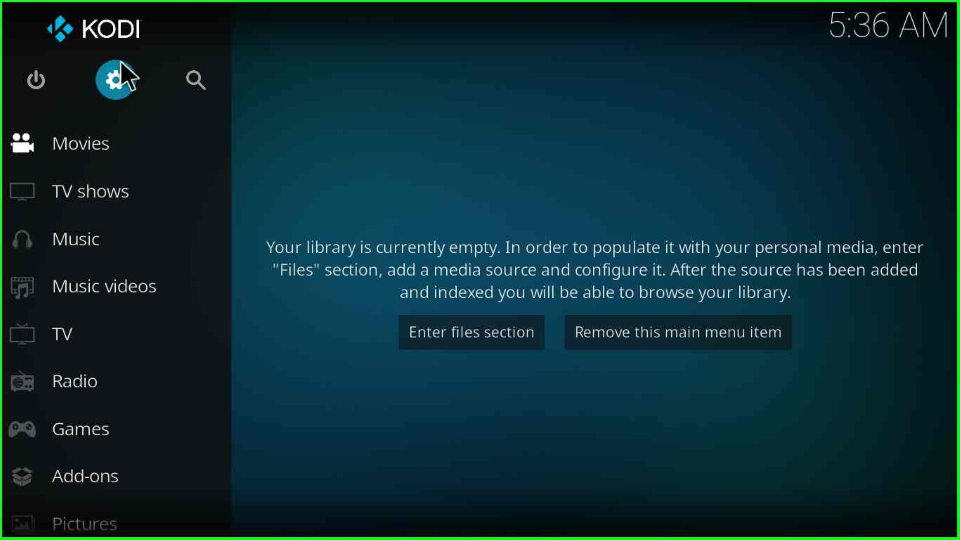
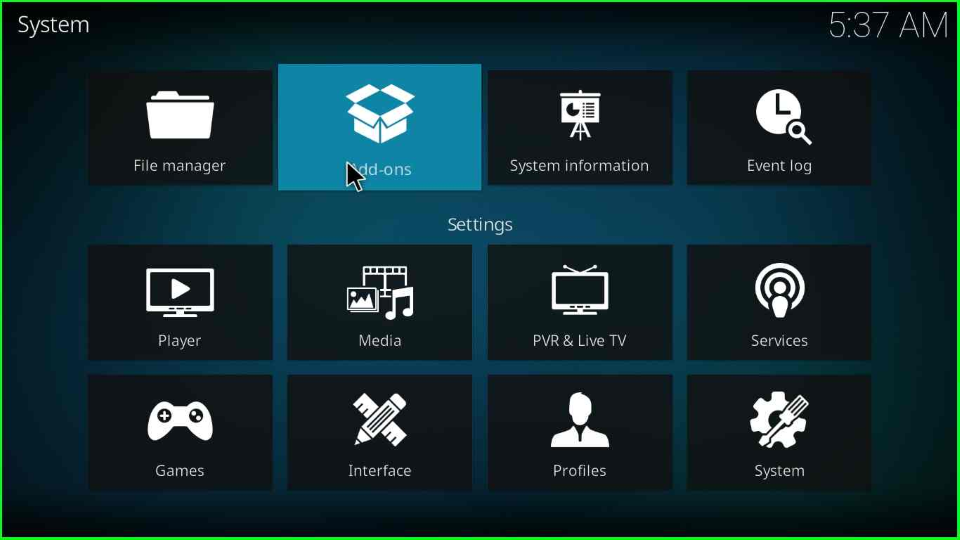
Go to the Kodi app and select the Settings icon.

Tap on Settings

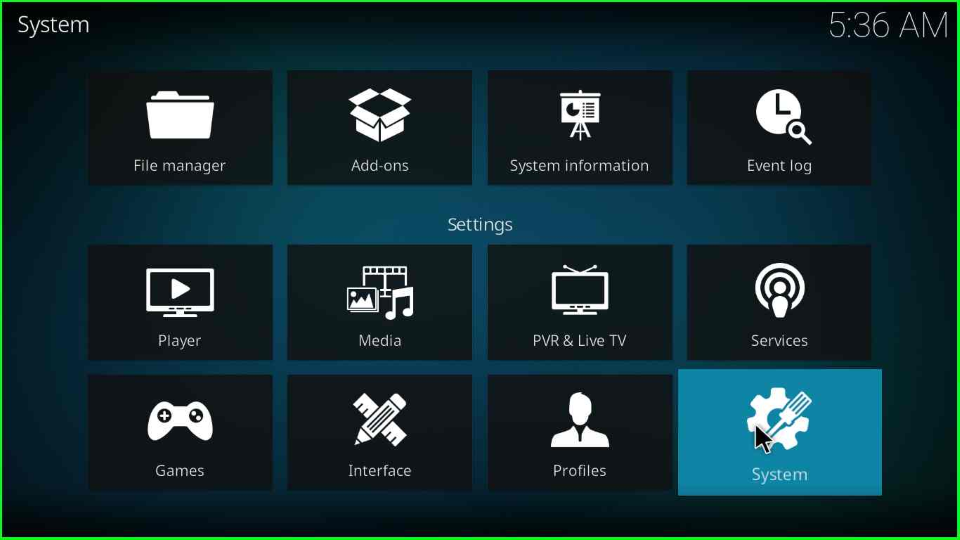
Open the System tab from the right end of the screen.

Click on System

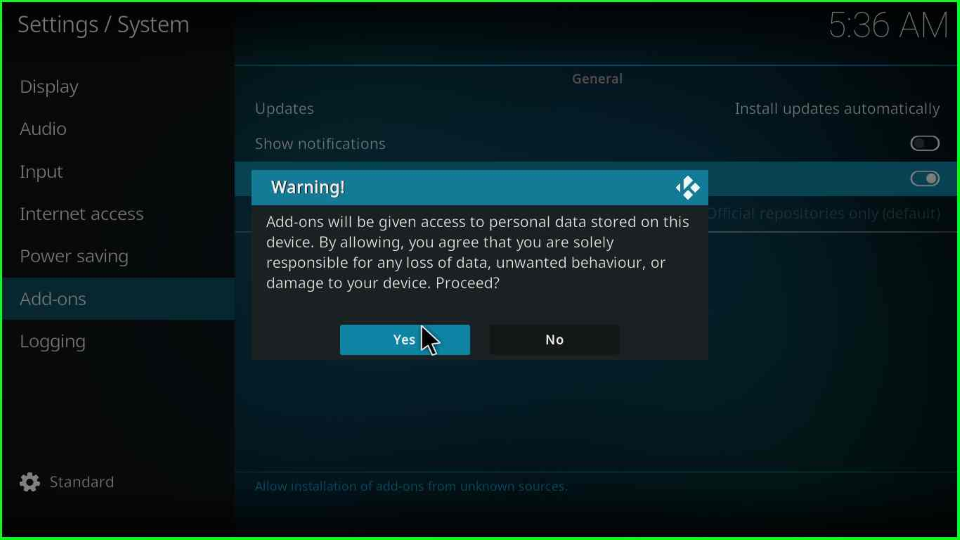
Put the cursor on the Addons and switch on the mode of the Unknown sources.

On the Unknown sources mode

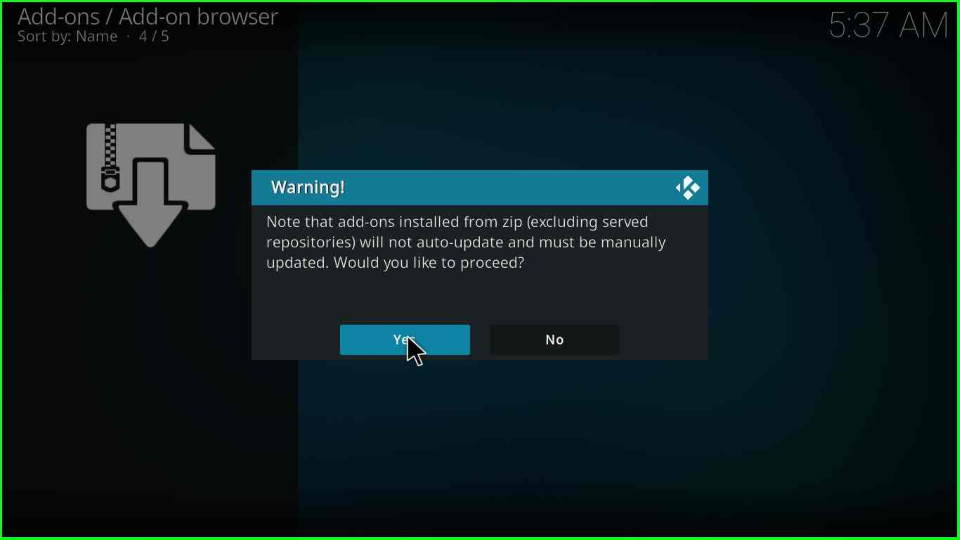
It displays a warning popup where you have to press the Yes button.

Press Yes
Get ExpressVPN Free

Add Media Source and Repository
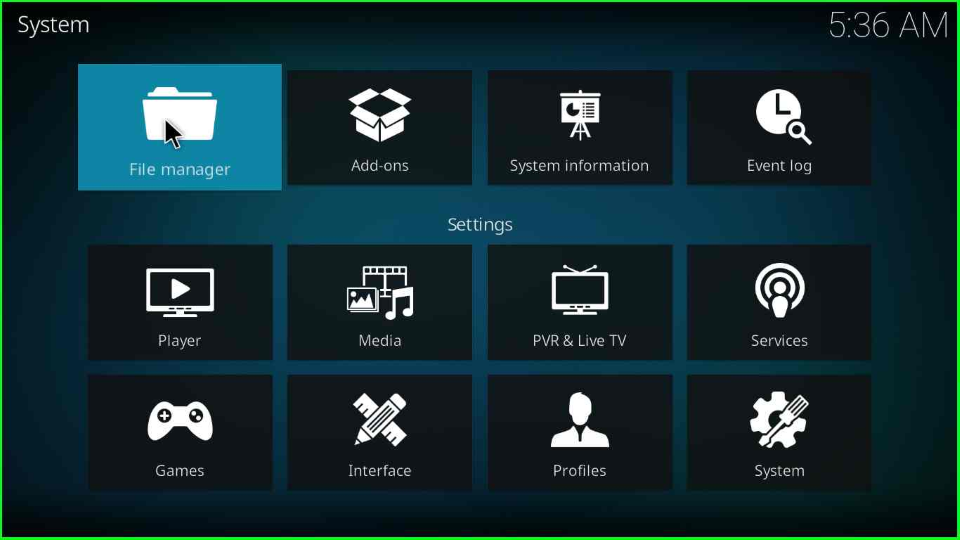
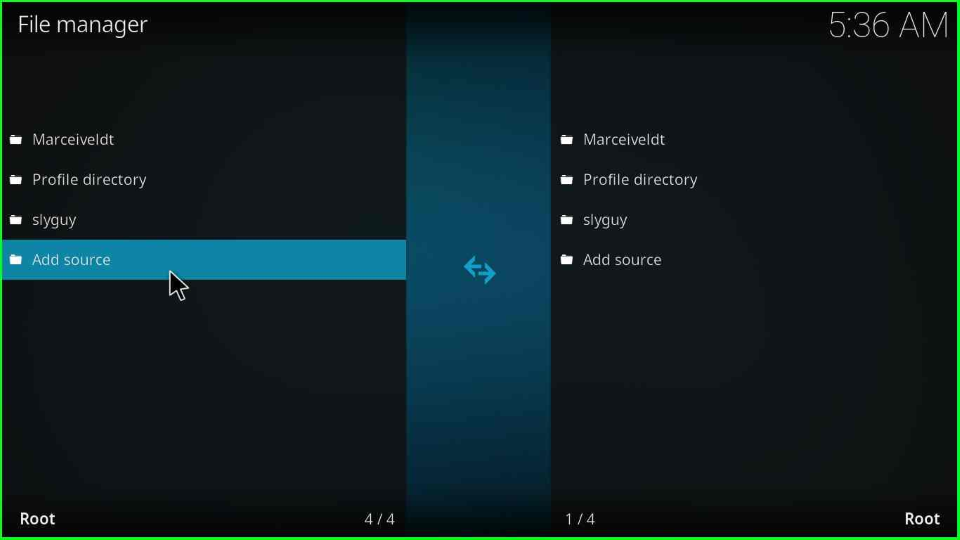
Go to the System page and choose File manager.

Open File manager

The window shows an Add source option; click on it.

Add source for SlyGuy repo

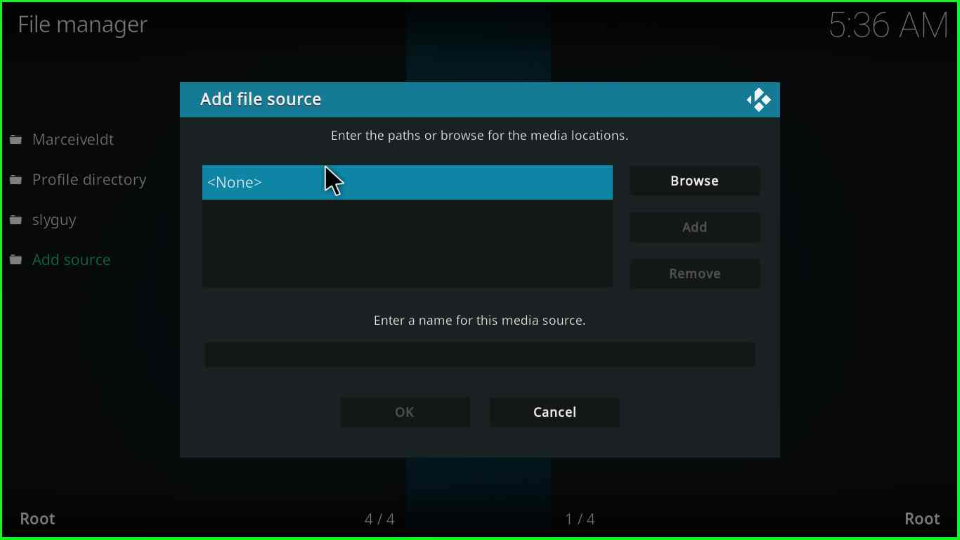
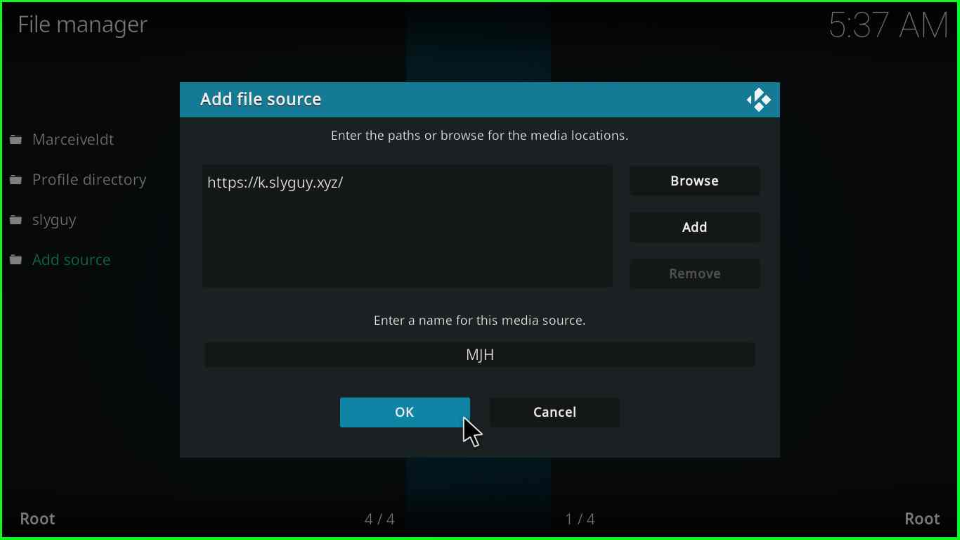
You must click on the <None> that appears in the Add source popup window.

Tap None

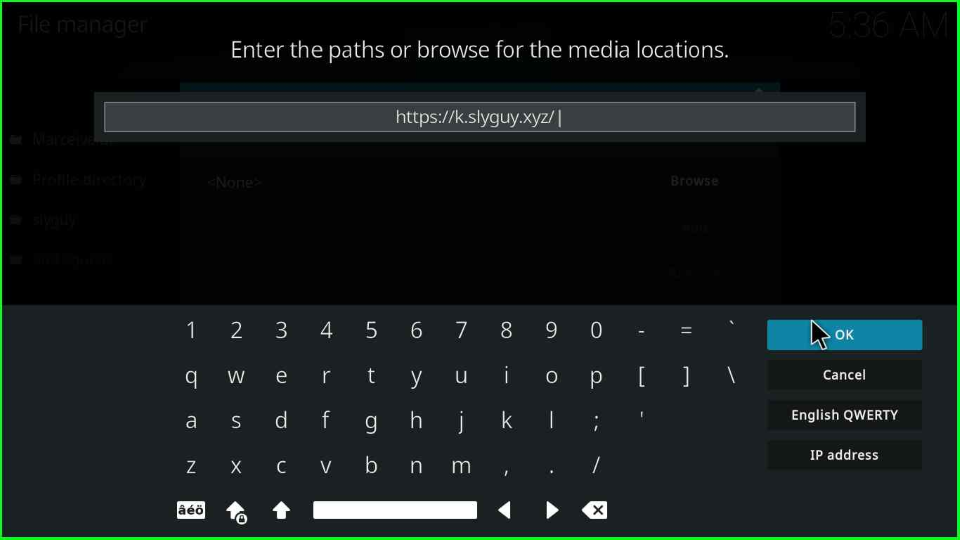
Now, enter the source URL https://k.slyguy.xyz/ and tap OK.

Enter SlyGuy repo URL

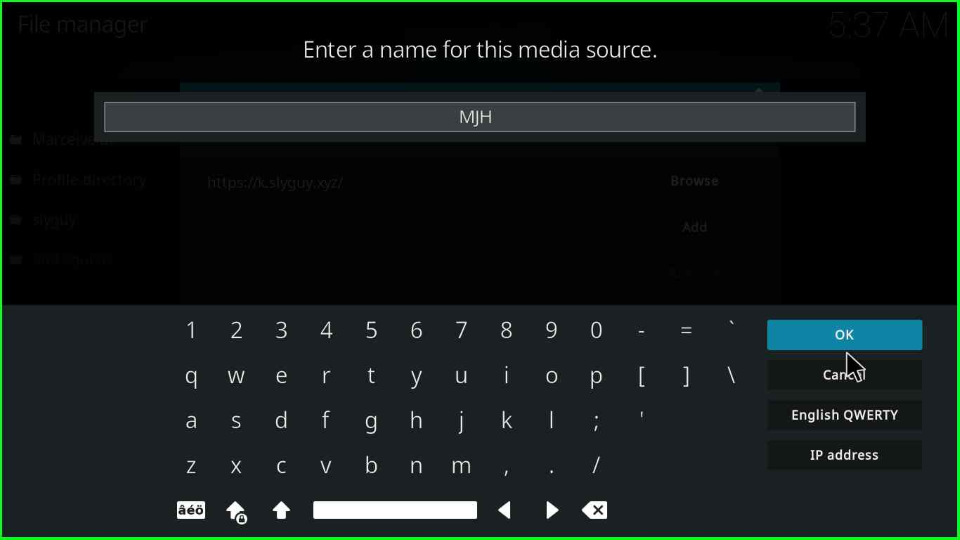
Give the name to the source as MJH and hit an OK key.

Type MJH

Check all entries again and press the OK button to save them successfully.
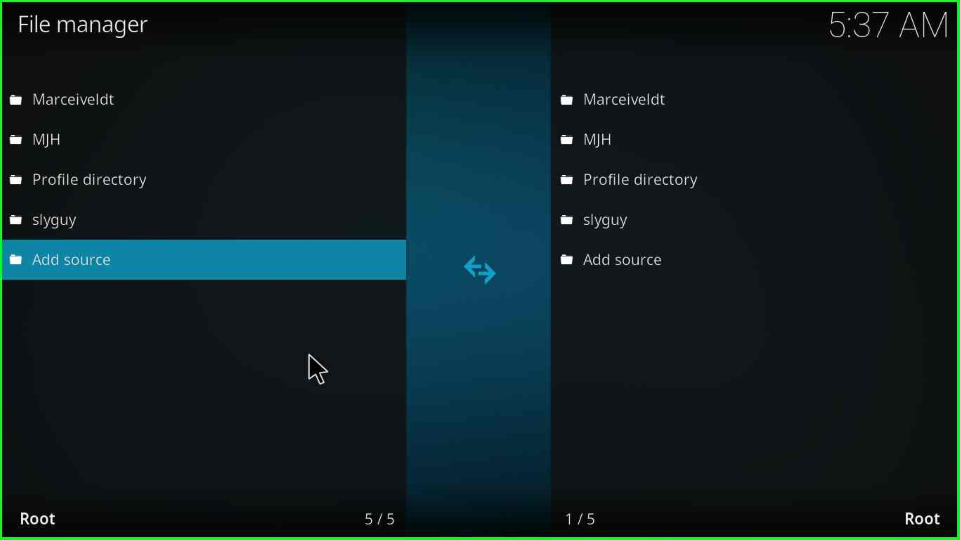
Click OK

On the File manager page, your recently added source, MJH.

MJH folder is added on the page

Install from Zip File

Press backspace to go to the System page and select the second top sign Addons.

Tap on Add-ons

Click on the Install from zip file option shown there.

Click on Install from zip file

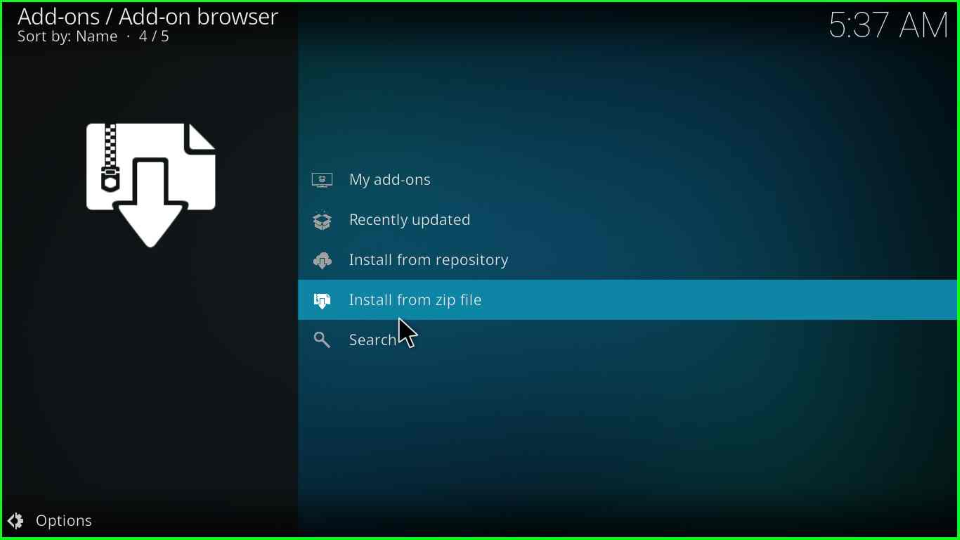
The Addon browser shows a warning box; hit Yes.

Hit Yes

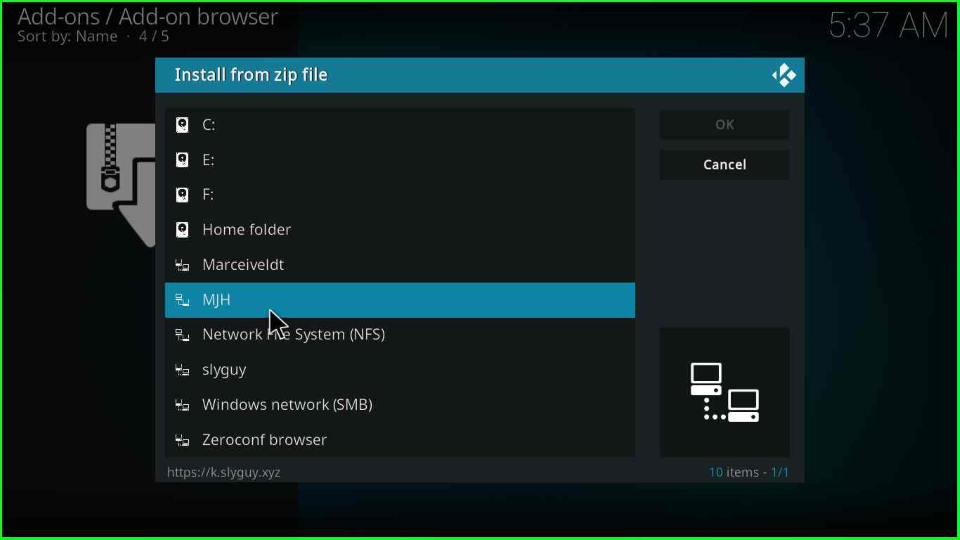
Choose the MJH folder.

Open MJH

Scroll the cursor and tap on the repository.slyguy.zip file.

Click on slyguy repo file

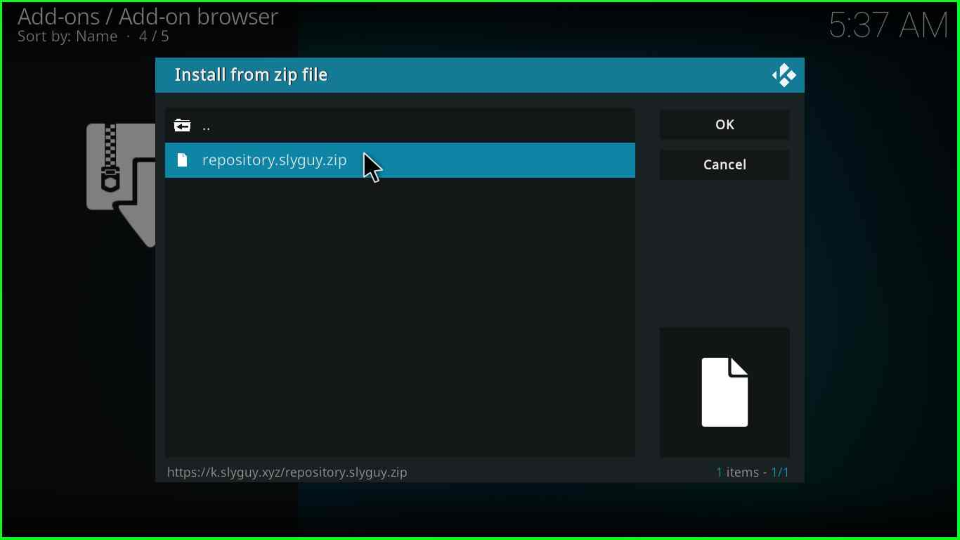
As you click on it, the repository starts downloading; wait until the process completes.

Wait for SlyGuy repo installation

Install from Repository

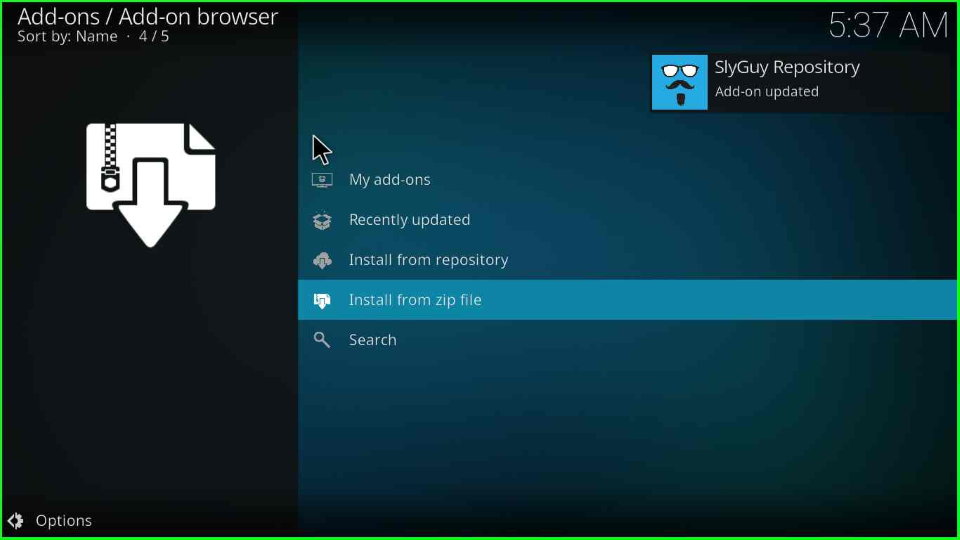
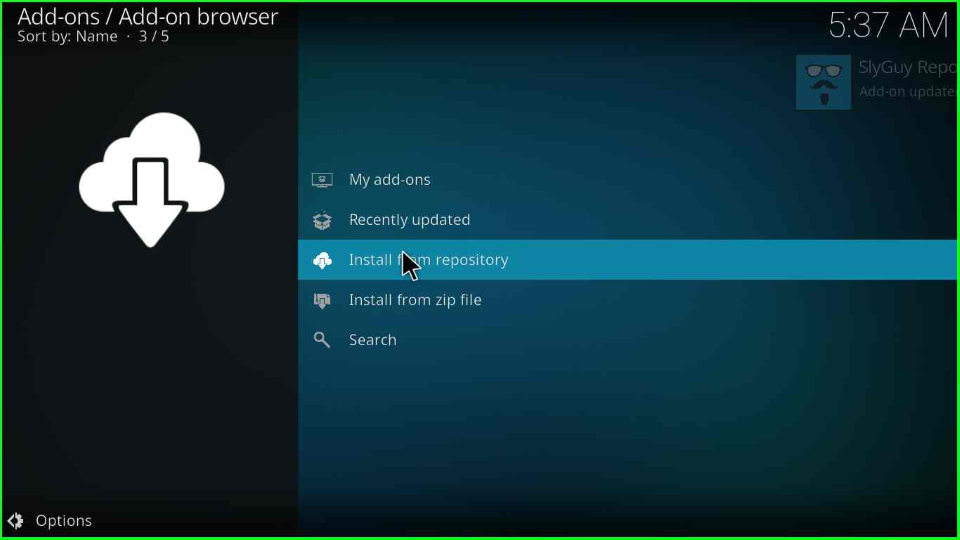
On the same page, select Install from repository tab.

Open Install from repository

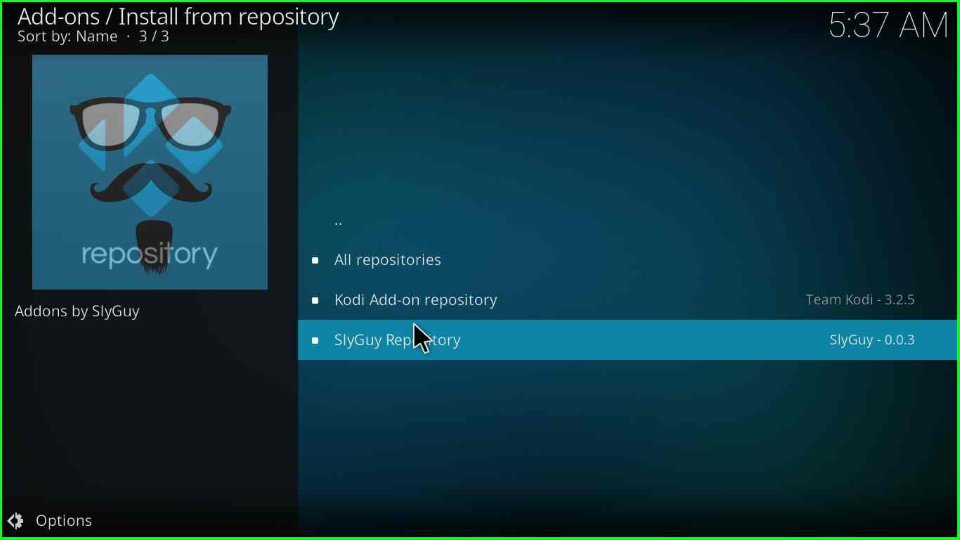
Open SlyGuy Repository.

Tap on SlyGuy Repo

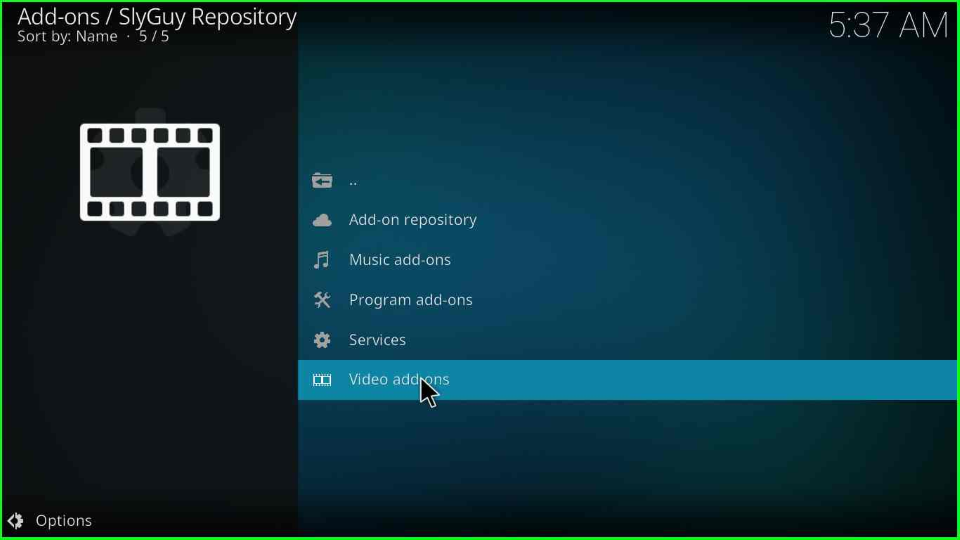
Install Paramount+ Video Addon

Select the last option, Video Addons.

Select Video add-ons

You will find the Paramount+ addon in the middle of the addon’s list. Click on it.

Choose Paramount+

Paramount+ Home dashboard appears; tap on the Install key.

Press Install

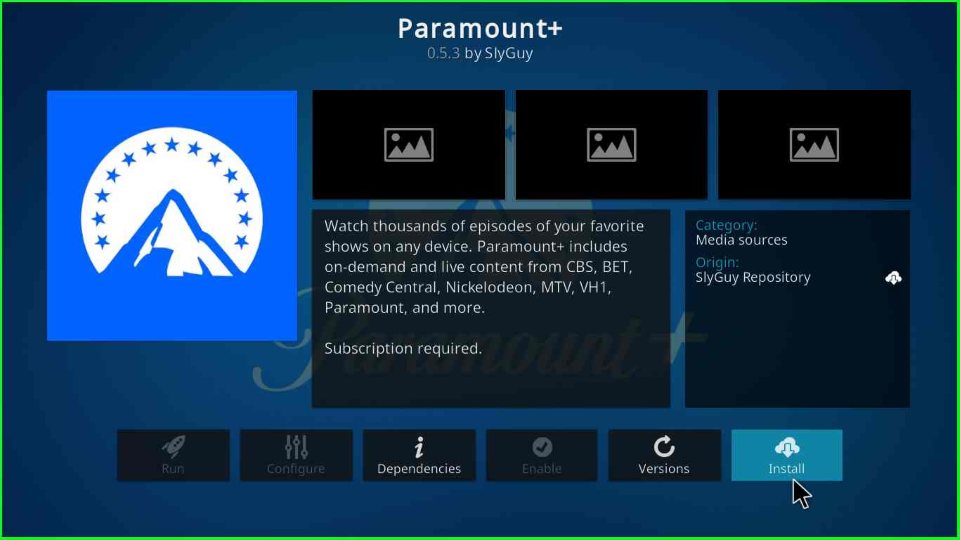
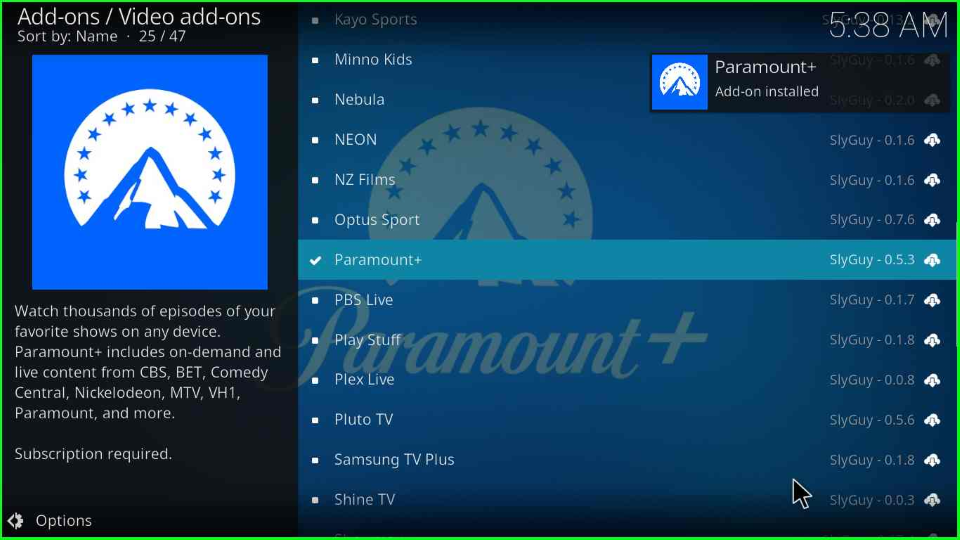
Wait for the Paramount+ Addon installed notification appears.

Wait for the installation

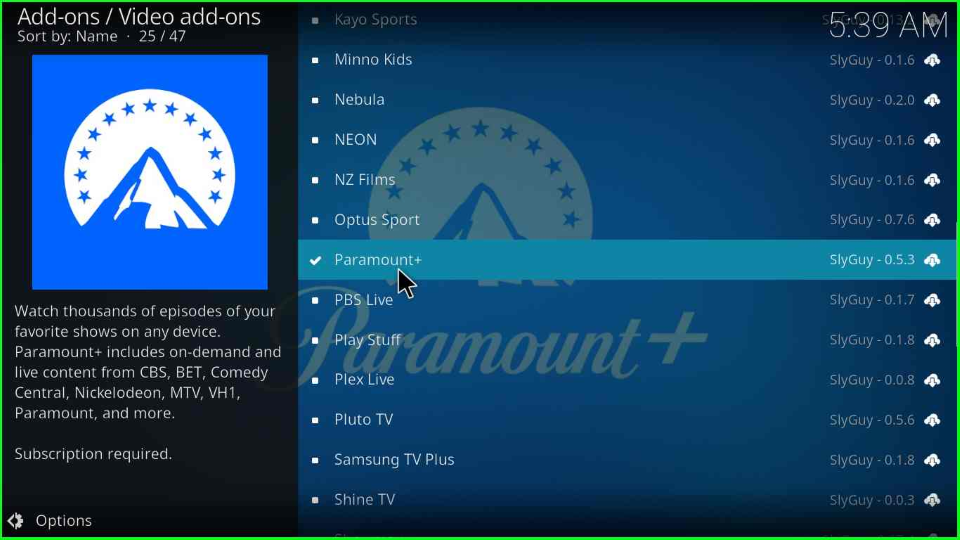
After successfully installing it, click again on Paramount+.

Click on Paramount+

Hit the Open icon.

Hit Open

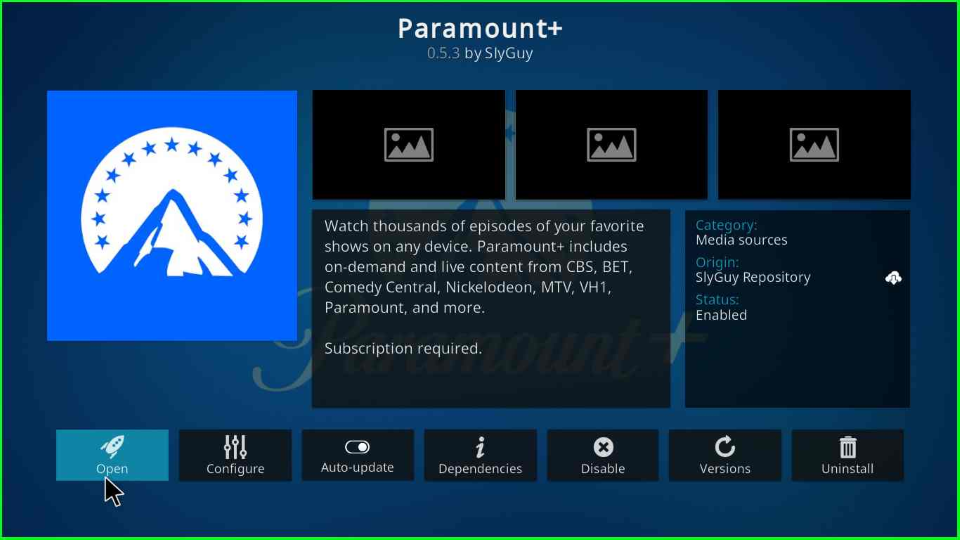
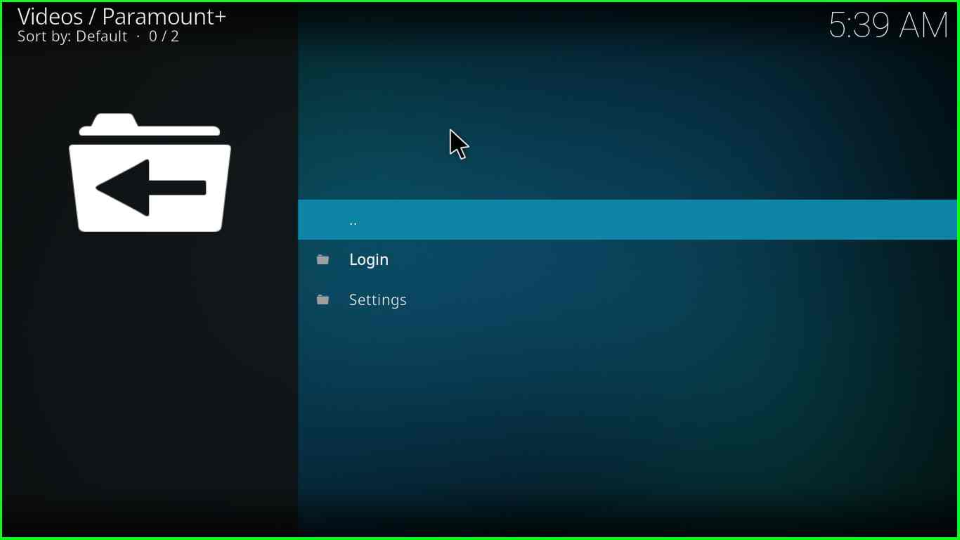
When you open it, you will see two options Login and Settings. Click on Login to log in.

Create the account

FAQs

Is there a free trial for Paramount Plus?

Yes, Paramount+ offers seven days trial period.

What are the main sections of Paramount Plus?

Paramount Plus offers various sections like Live TV, Movies, Shows, Search, Featured, Select Profile, Login, Settings, and, Bookmark.

Wrap Up

With Paramount+, you can stream many content genres, including Movies and TV Shows. In addition, we update the content regularly to get the most out of it. So, install it first, then share your experience.

Before you start streaming on Kodi, I would like to warn you once again that we do not know the source of Kodi Repositories, Wizards, Builds, and Addons and from where they fetch the streams.

The content you stream on Kodi may be copyrighted and may land you in legal trouble because ISPs, Government, and authorized companies may monitor your online activities like streaming copyrighted movies, videos, TV shows, live shows, animes, etc.

To stay protected, and to get an exceptional streaming experience, I suggest you use ExpressVPN which is the fastest, most secure, and military-grade encryption VPN on the planet. In addition, ExpressVPN hides your original IP address, and encrypts your internet connection, bypasses bandwidth throttling and geo-restrictions.

I have been personally using ExpressVPN for a couple of years and what I can say is ExpressVPN is the best VPN in all aspects for all devices. I did not face any problems with any app or device.

Note: VPNHacks.com does not support or encourage piracy and copyright infringements in any form. You should abide by the rules and regulations in your country. We just want to protect you because sometimes you may land up streaming copyrighted content unintentionally.

ExpressVPN Hot Deal: Get 12 Months Subscription + 3 Months Extra Free

Taking an ExpressVPN is really simple.

1.       First, subscribe to ExpressVPN by clicking here.

Subscribe ExpressVPN

Most of all ExpressVPN comes with a 30-day money-back guarantee. You can get a full refund if you are not satisfied (I do not think you will be) with ExpressVPN and they do not ask for any reason.

2.       Once you subscribe the ExpressVPN, download the ExpressVPN app and open it. Enter your activation code or you may use the Email Sign-in link.

Sign in

3.       Once you are signed in, select the VPN Server location that you want to connect to and click on the Power icon button.

4.       After that, you will see that your IP address has been changed. That’s all. Have a safe streaming. 

Emma is an enthusiastic and passionate blogger, has vast experience in Information Security and Networking. She believes in Dedication and Perseverance. more...

Leave a Comment

ExpressVPN