In this guide, we will learn how to install Grindhouse Kodi builds on Firestick 4K Max, Lite, Android Box, Kodi Box, Raspberry Pi, Nvidia Shield Pro, or any Kodi-supported device.
Also, we have installed the Blue Lite Kodi build to give you more clarity. Grindhouse builds are simply great and have the best Kodi addons and builds.
Besides, Grindhouse offers many streaming options like Videos, TV Shows, Movies, Games, and more. Once you install the build, I am sure you will start loving it.
Installation of Grindhouse Kodi Build
Let us start the installation of the Grindhouse builds without any delay.
1. Open Kodi settings by clicking on the gear icon.
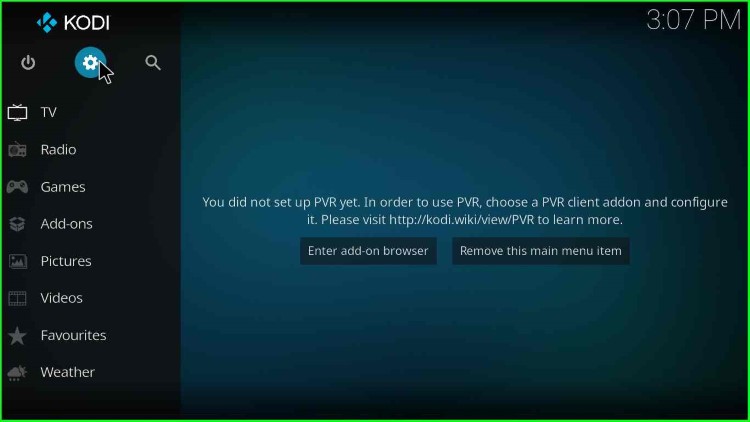
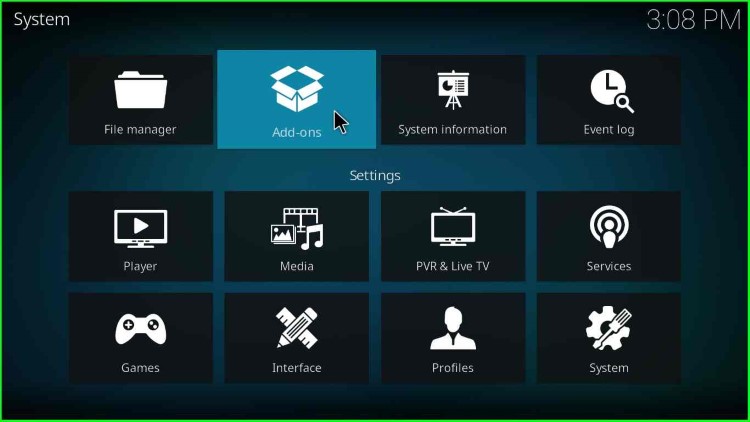
2. After that, click on System.
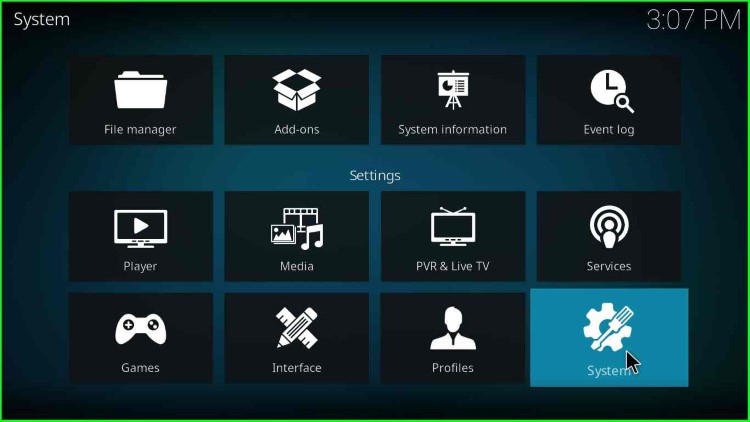
3. On the left pane, choose the option Add-ons.
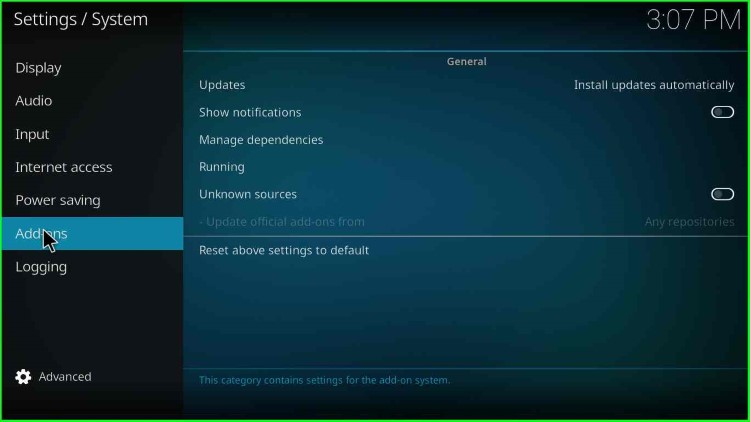
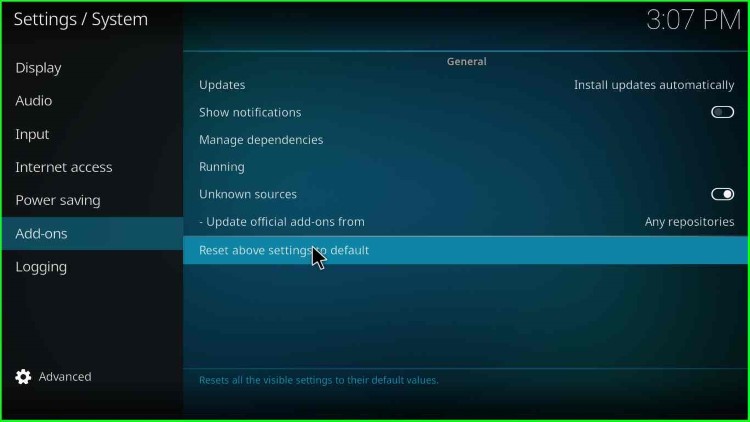
4. Click on the radio button mentioned against Unknown sources.
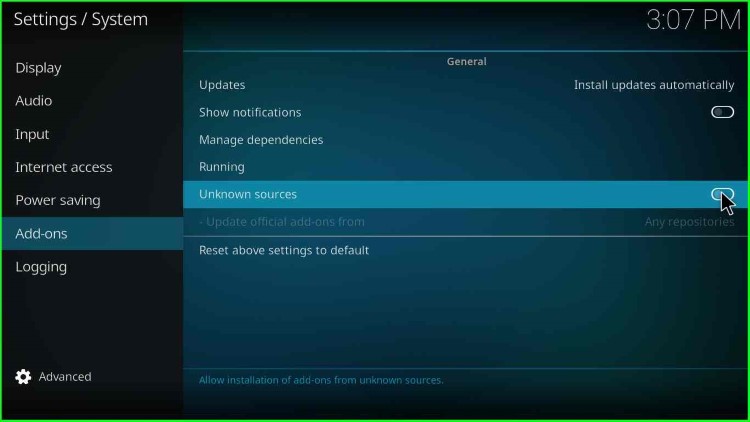
5. Once you click the radio button, a warning popup appears.
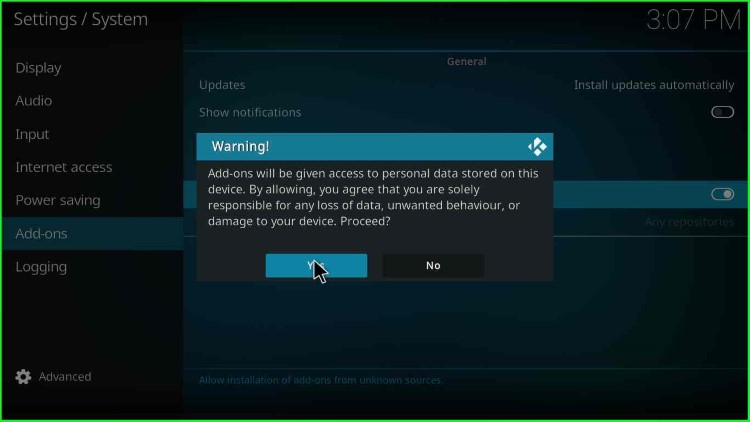
6. Click on the Yes button.
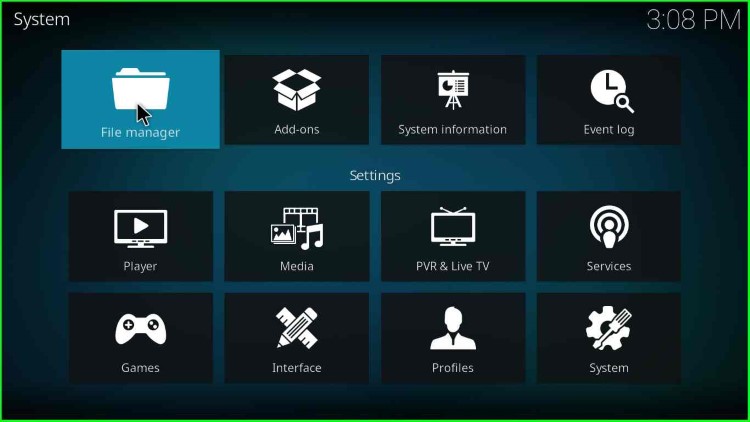
7. Click on File Manager to continue the Grindhouse Kodi build installation.
Add Grindhouse Installation Source
8. Then click on the Add source menu.

9. Hover over to the <None> option and click on it.
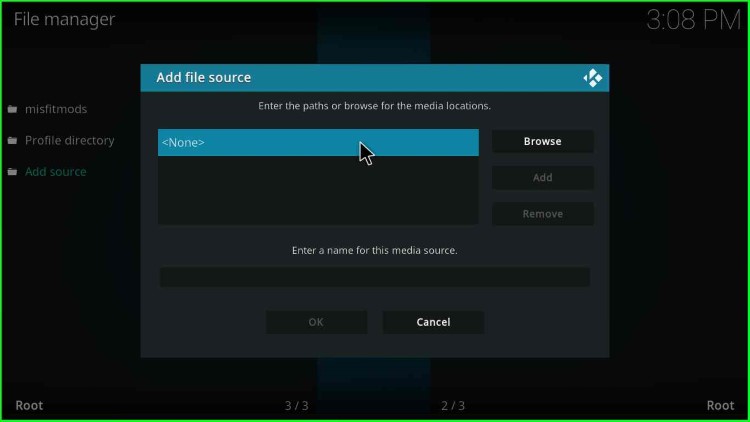
10. A text box appears, asking to enter the paths or browse for the media locations.
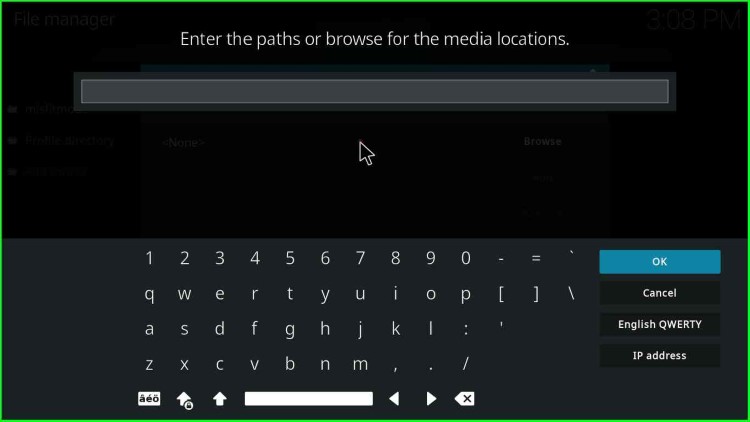
11. Enter the path as http://grindhousekodi.us/repo/ (Earlier it was .tk).

12. The media source text field default has a value repo.
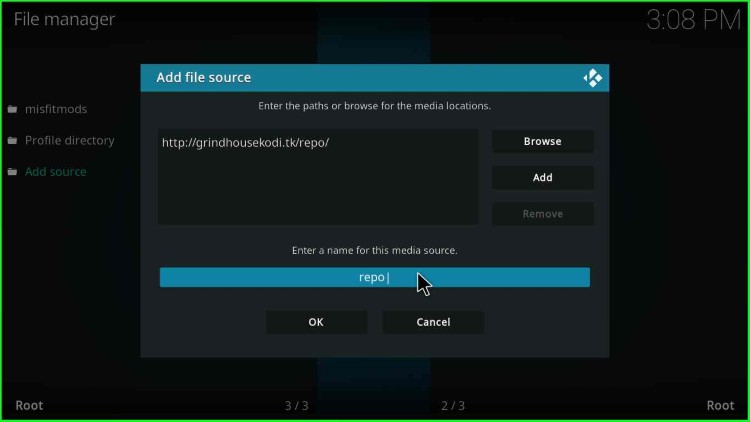
13. Delete the media source name and enter the new name as grindhouse for easy recognition.
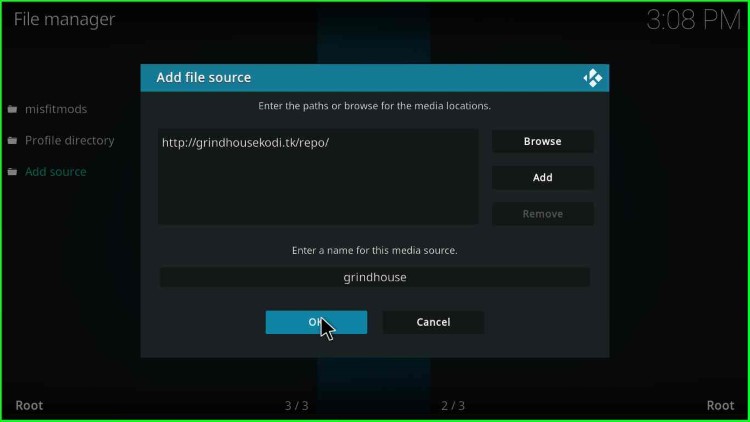
14. After entering the grindhouse media source name, click OK.
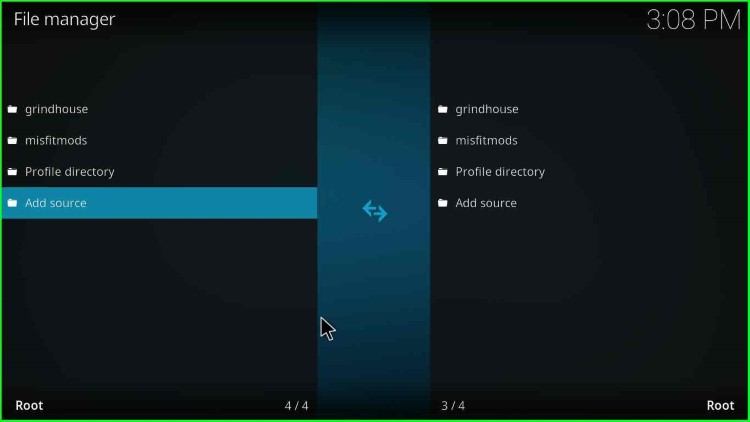
15. After that, click on the Add-ons icon under the System option.
Install Grindhouse From Repository
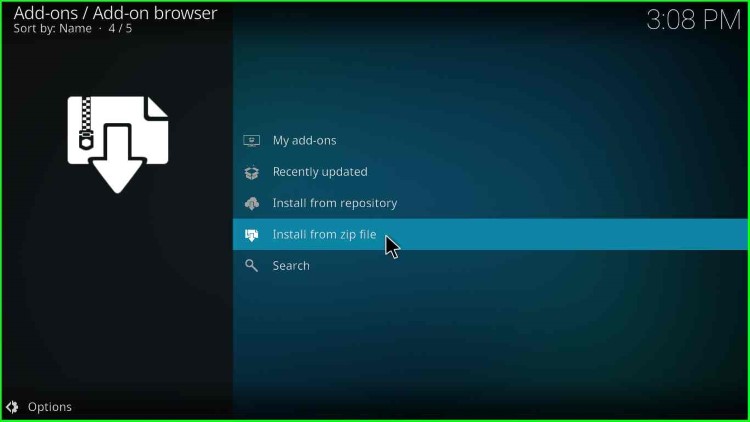
16. Then select the option “Install from zip file“.
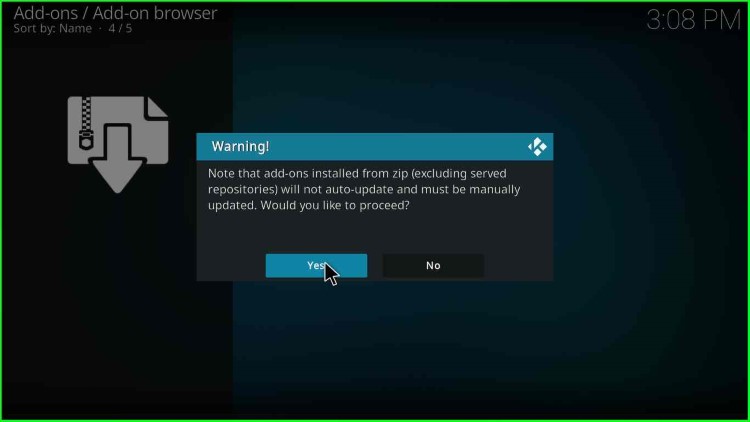
17. A warning popup appears with a grindhouse zip warning. The warning states that you must manually update the grindhouse zip once any update is released. Click Yes.
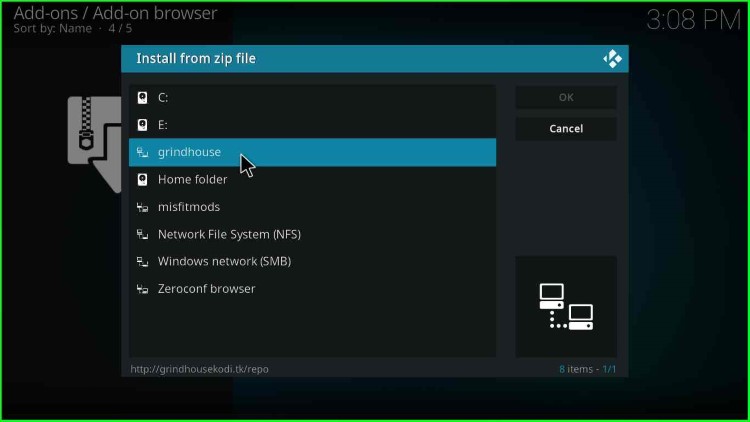
18. Now, select Grindhouse from the list; this is the same name we defined earlier—Double-click on Grindhouse.
19. You will find a zip file as repository.grindhousekodi-x.x.zip, either double-click on it or select and click the OK button.
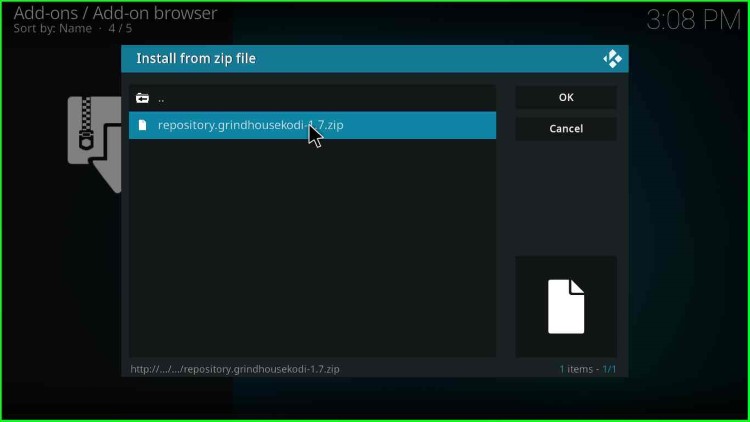
20. Wait for some time, and you will get a message “Grindhouse Repository Add-on installed” in the top-right corner.

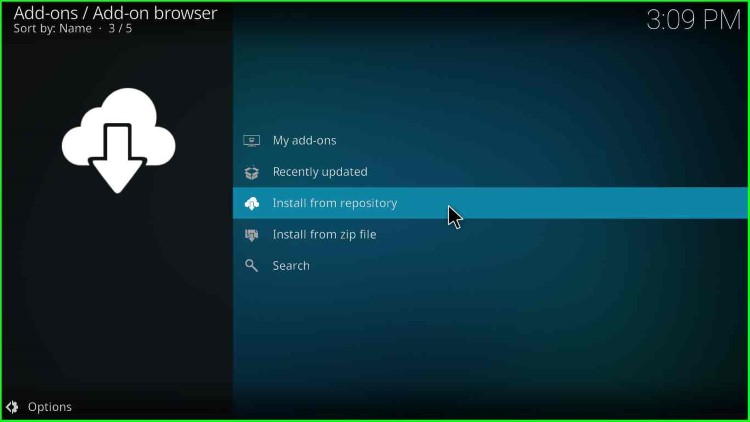
21. Click Install from the repository to move toward the grindhouse installation.
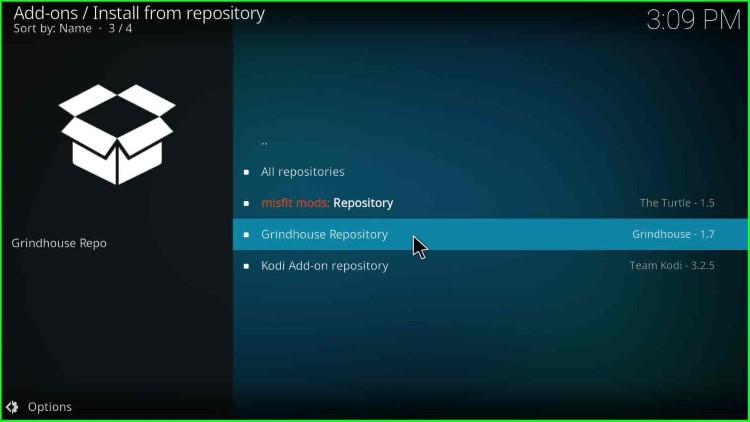
22. You will find the Groundhouse Repository option; click on it.
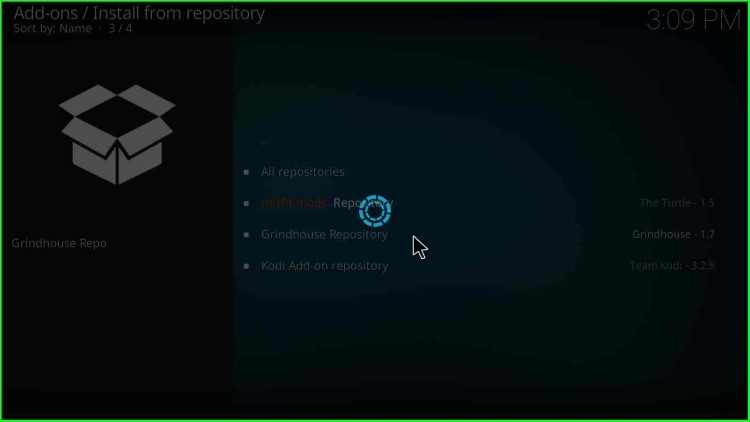
23. This may take some time, so wait.
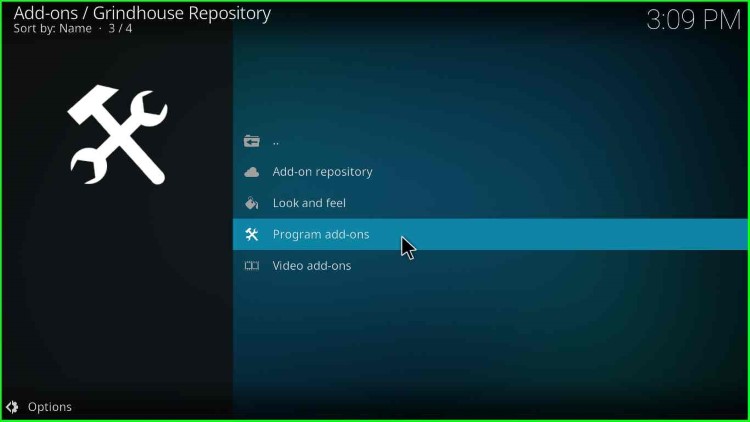
24. Click on the Program add-ons option.
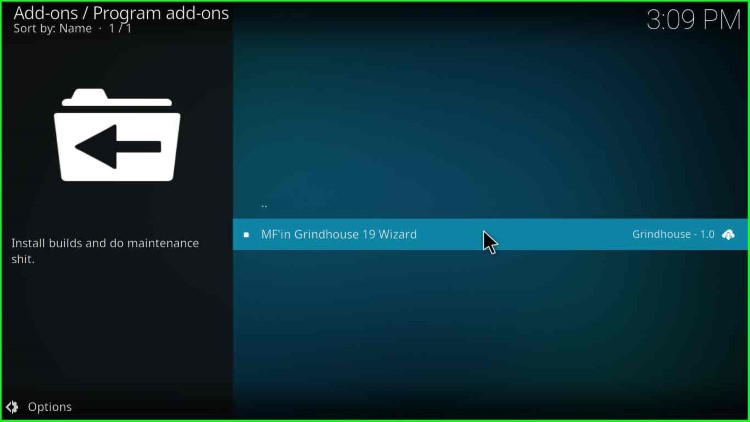
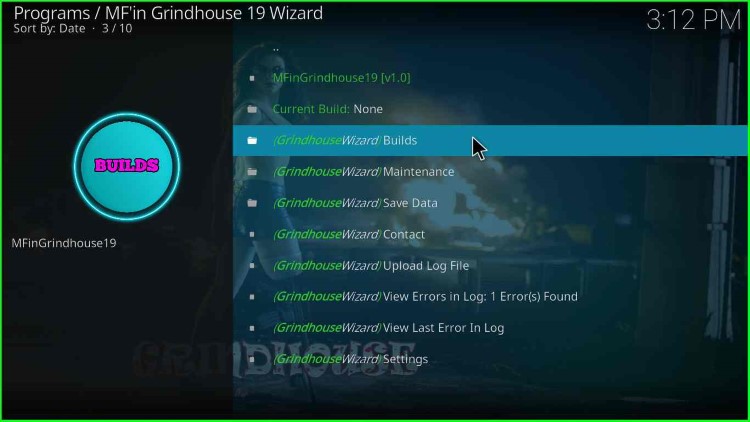
25. Then, click on MF’in Grindhouse 19 Wizard.
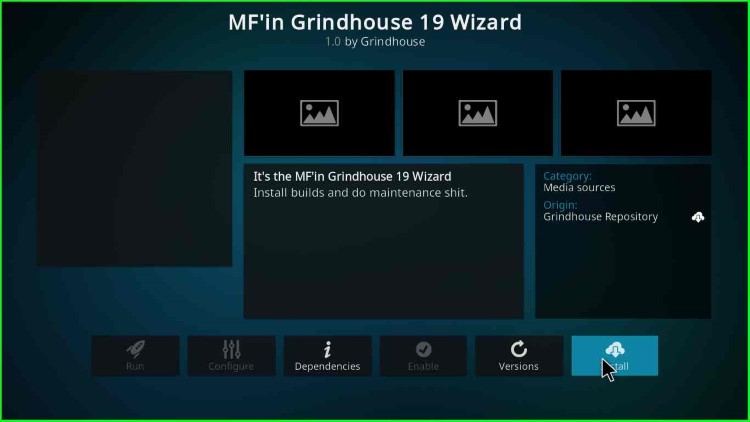
26. An MF’in Grindhouse 19 Wizard window opens; click on the Install button on the bottom right.
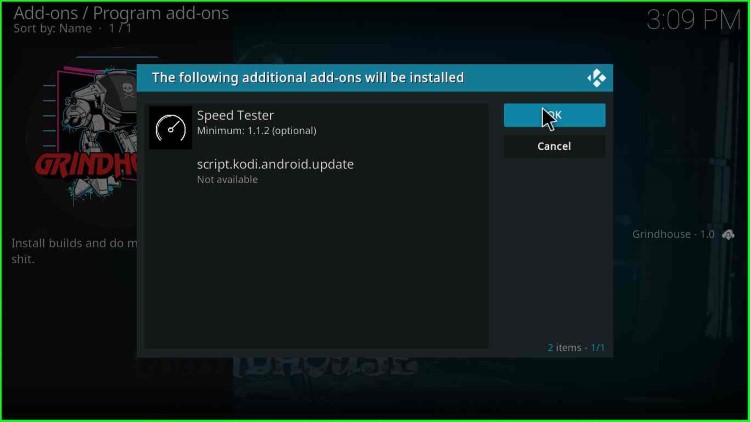
27. Click OK on the additional add-ons popup.
28. After some time, a message appears in the top-right corner: “MF’in Grindhouse 19 Wizard Add-on installed“.
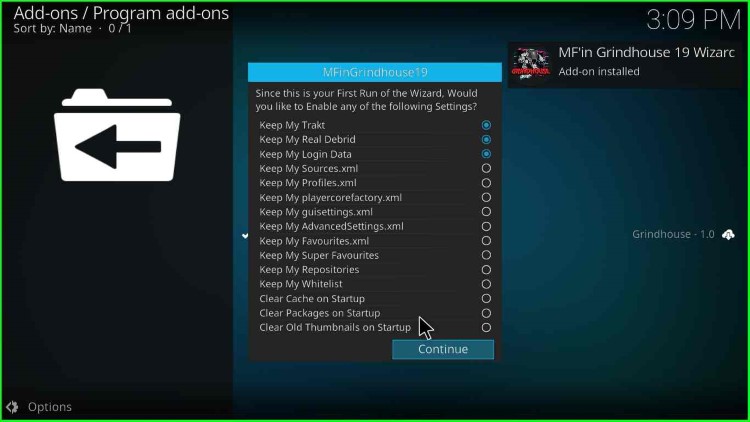
29. Click on Continue.

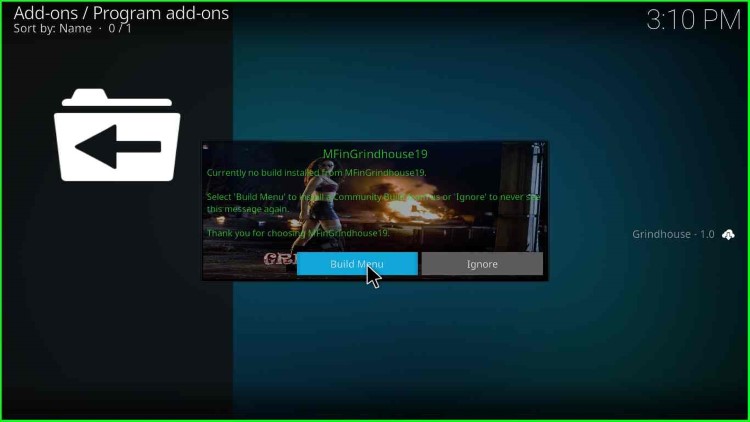
30. After that, click on Build Menu.
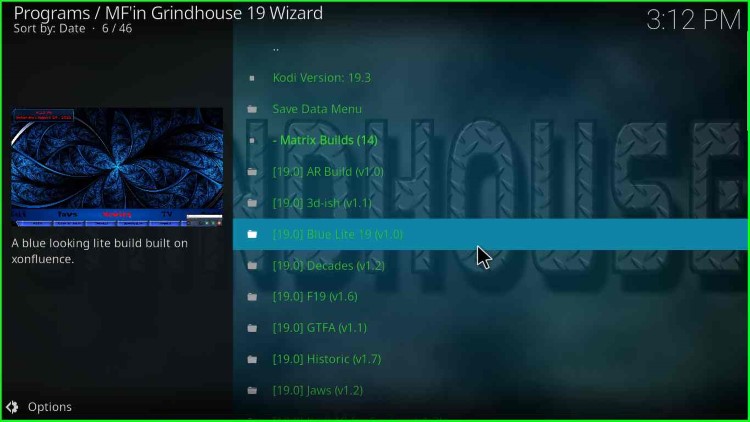
31. You will find many matrix builds to choose from and install from the list.
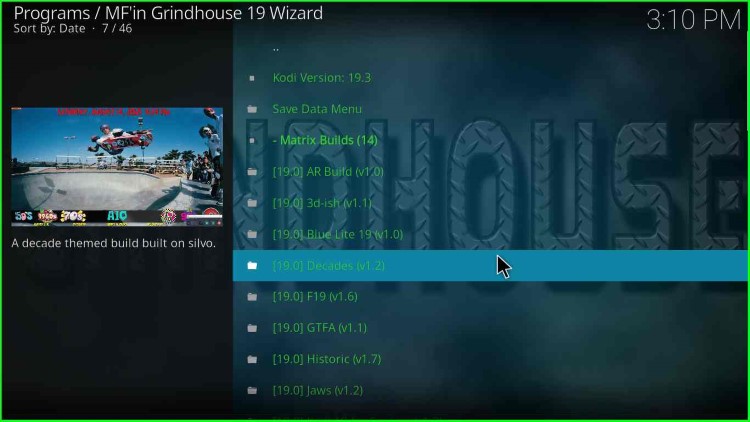
32. Here, you have a list of Kodi Leia Builds to install. So we have installed the Grindhouse Kodi build. You may choose and install any build from the list. Now, we have taken an example to install the Blue Lite build.

33. Go to the Kodi home screen and click “Add-ons“.
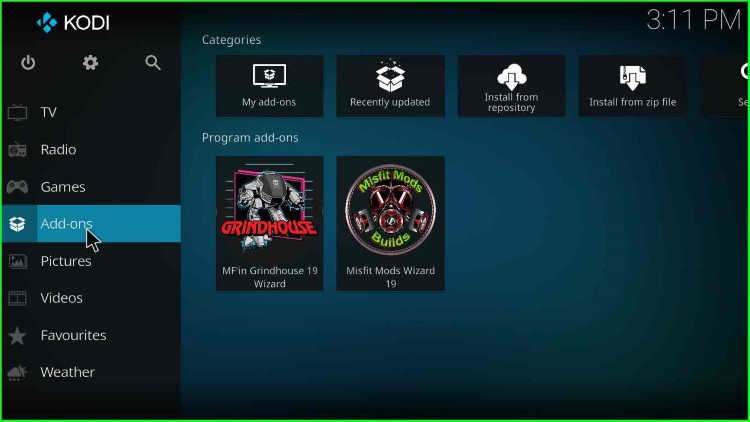
34. On the right side, you will find “MF’in Grindhouse 19 Wizard“.
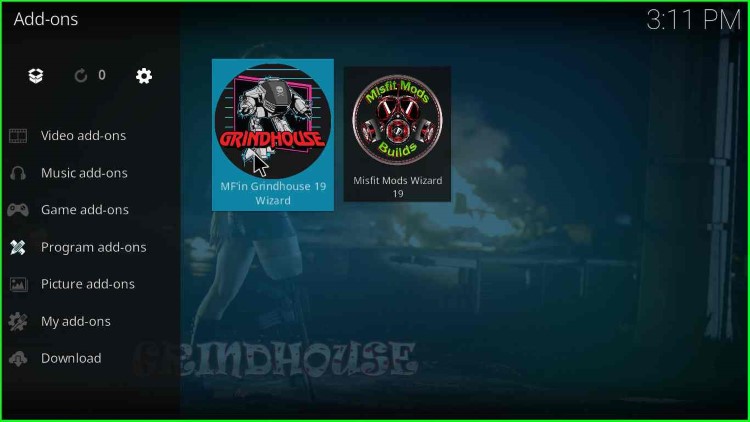
35. Click on GrindhouseWizard Builds.
36. Now, from the Matrix Builds option, select Blue Lite 19(vX.X). In my case, it is version 1.0.
37. after that, click on GrindhouseWizard Install.
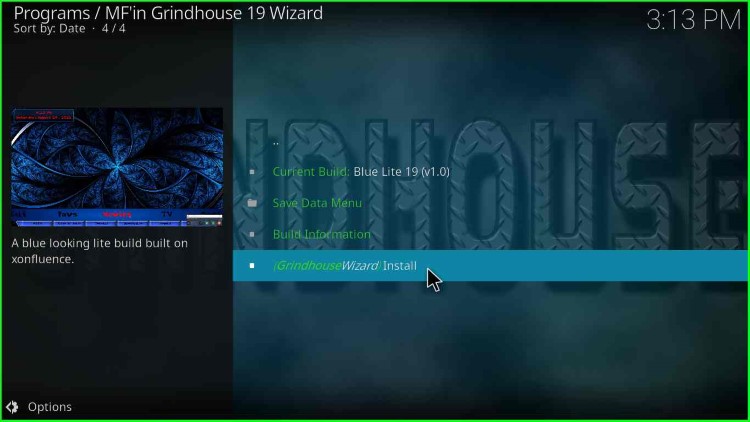
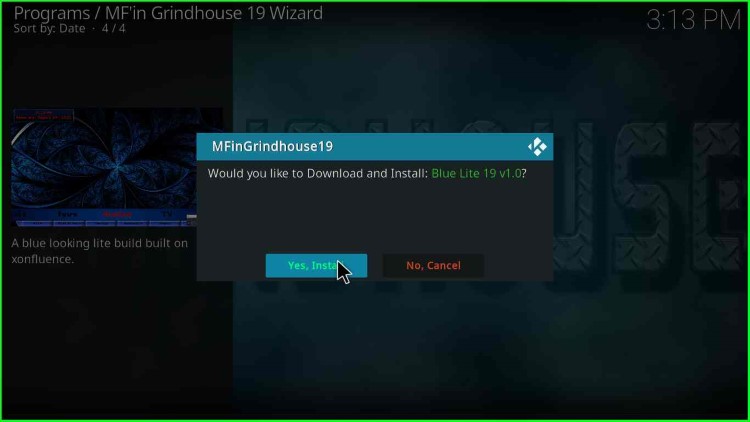
38. A message states, “Would you like to Download and Install: Blue LIte 19v1.0?“. Click on “Yes, Install“.
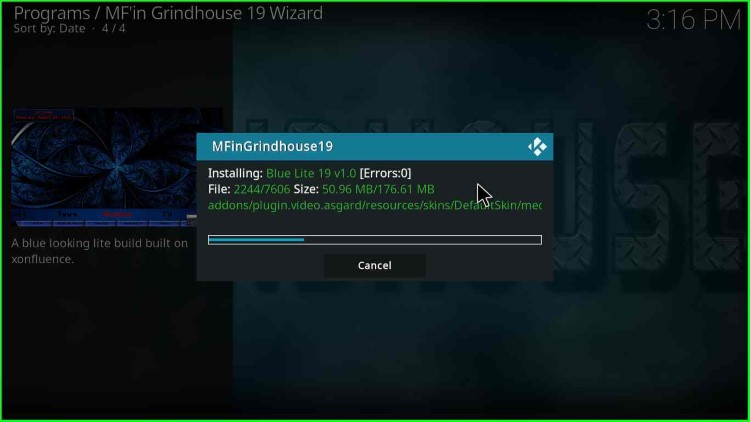
39. BlueLite installation starts.
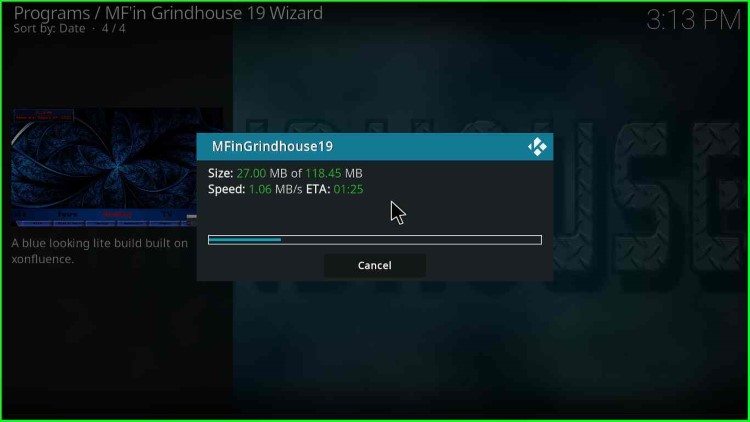
40. Wait till installation is complete.
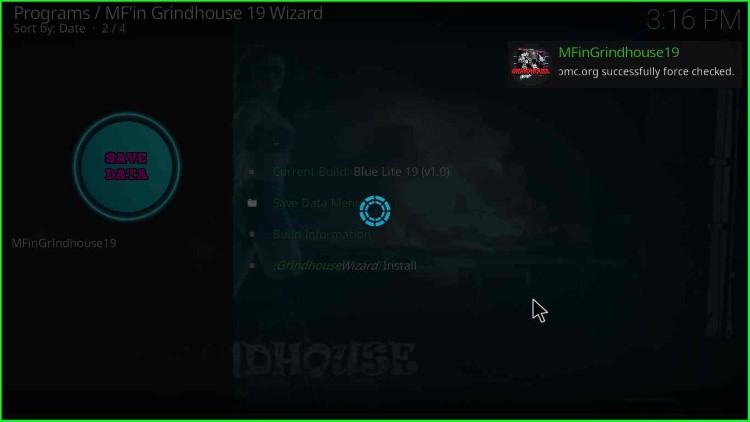
41. A message appears “MFinGrindhouse19 omc.org successfully force checked“.
42. Again, a message appears: “To save changes, you now need to force close Kodi; Press OK to force close Kodi.” Click OK. After that, launch Kodi.

That’s all, you have installed Grindhouse, and then Blue Lite Build on Kodi. Enjoy the streaming.
