This tutorial will show how to install the Seren add-on on Kodi. The first thing to spot is that the installation method is the same for all devices, be it Firestick 4K Max, Mobiles, Tablets, Laptops, Raspberry Pi, etc.
Seren is one of the popular Kodi add-ons for movies and TV shows. The add-on focuses on user-friendliness in particular and gives all the basic features. Another critical point is that the Seren add-on gives high-quality streaming links.
Most importantly, it would help if you took a premium subscription to Premiumize or Real-debrid for streaming on Seren. After a subscription, you must integrate the add-on with a Premiumize or Real-debrid account.
On the negative side, the Seren does not work without a premium subscription from Real-debrid or Premiumize.
Another key point is that the add-on also supports Trakt integration so that you can watch videos and movies of your choice. In addition, you can configure “Smart Play Settings” when integrating the Trakt account with Seren.
Finally, if you need an add-on that works without buffering, Seren is the best choice.
Seren Kodi Addon Installation Steps
Turn on Unknown Sources
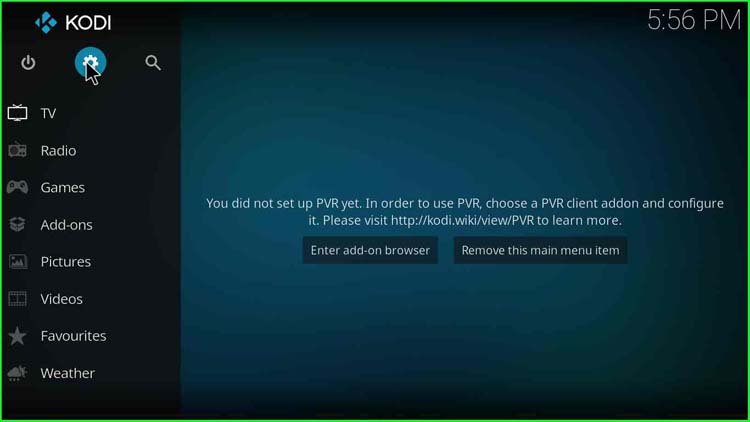
- Launch the Kodi app, and go to Settings.

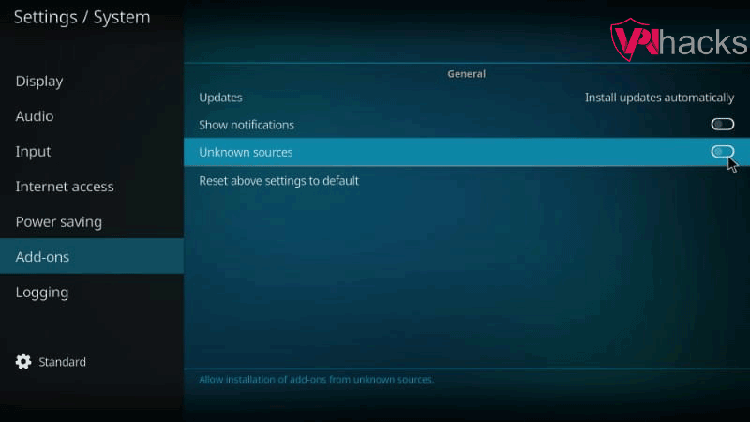
2. Turn on the “Unknown sources” option to install the Seren add-on.
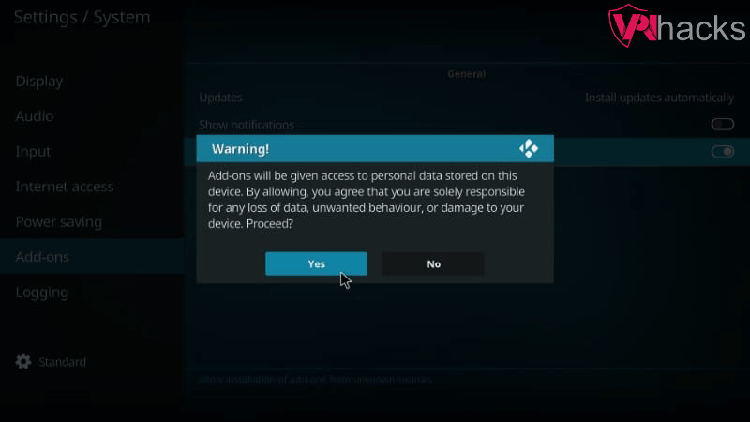
3. A popup warns that “personal data stored on this device will be given access“, to install the Seren add-on, you have to click on Yes. Usually, Seren works without an error, however, sometimes, you may find the Seren add-on not working, but that might be due to some reasons we discussed in this article.
Add Seren Addon Sources
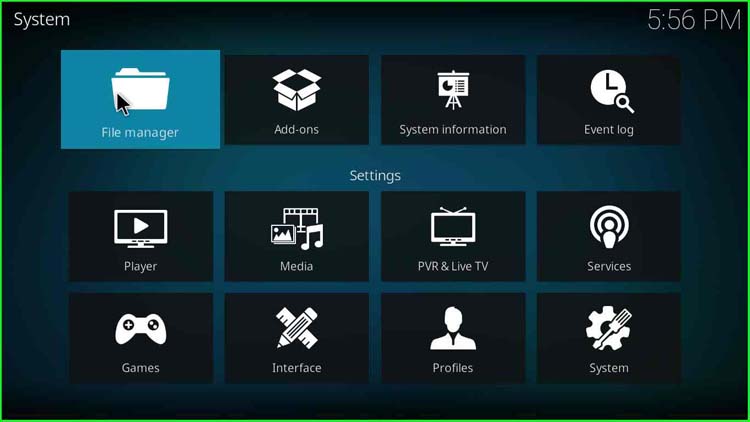
4. Again, click on the “gear” icon.
5. Select the “File Manager” option.
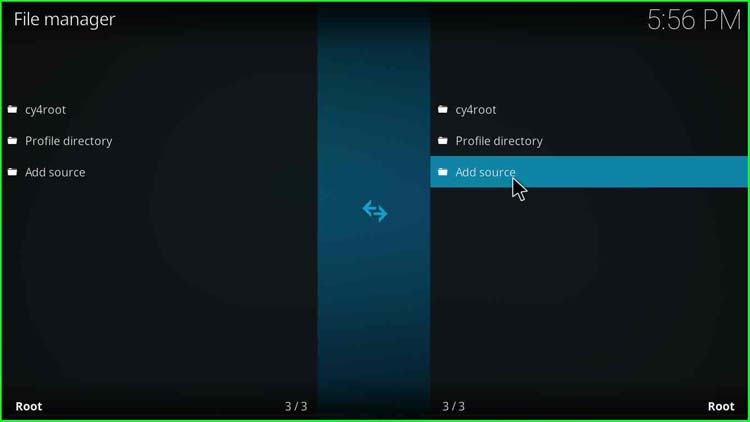
6. Click on the “Add source” option on the right pane.
7. A popup appears, asking to add a file source. Click on <None>.
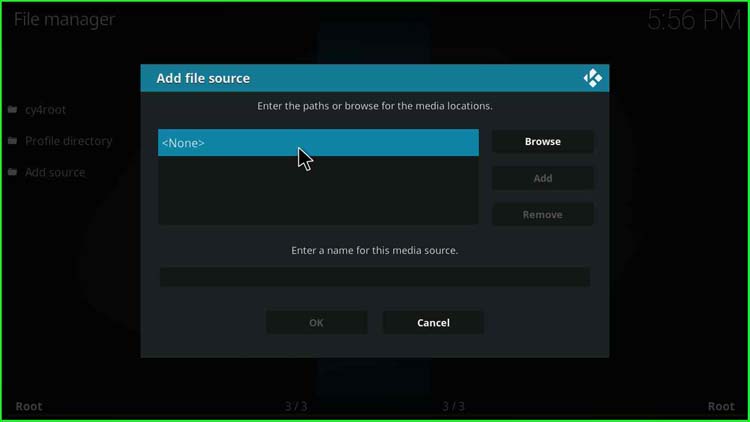
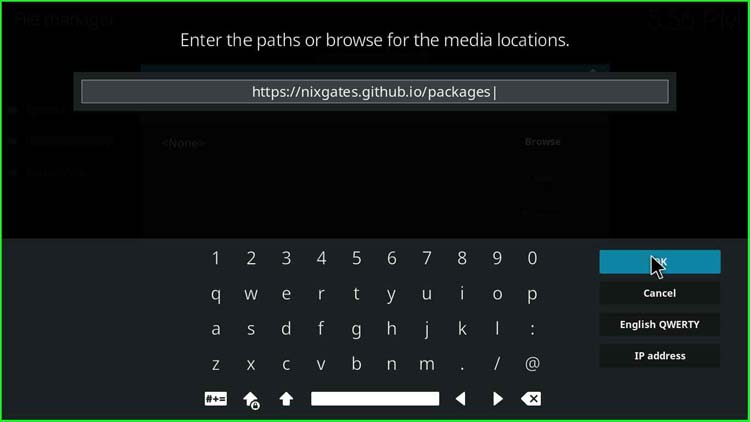
8. A blank text field appears.
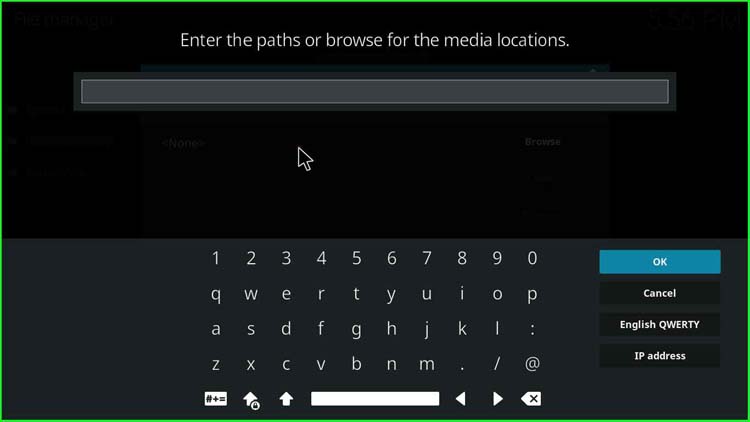
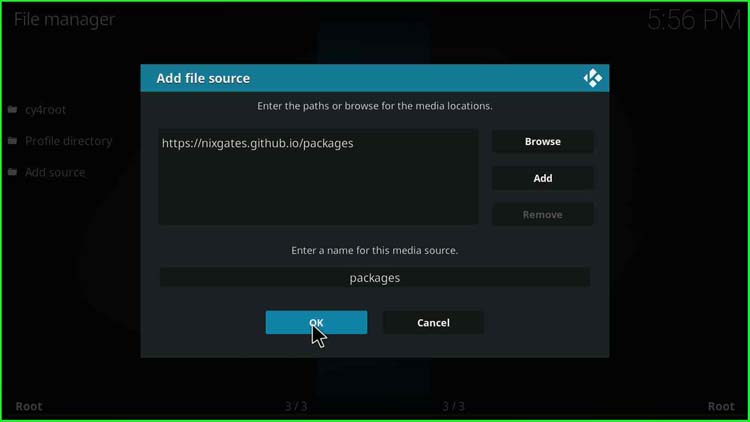
9. Enter the path for the Seren add-on repository, i.e., https://nixgates.github.io/packages. After that, click OK.
10. Below the repository path, enter a name for the media source. I entered it as “packages“. Click OK.
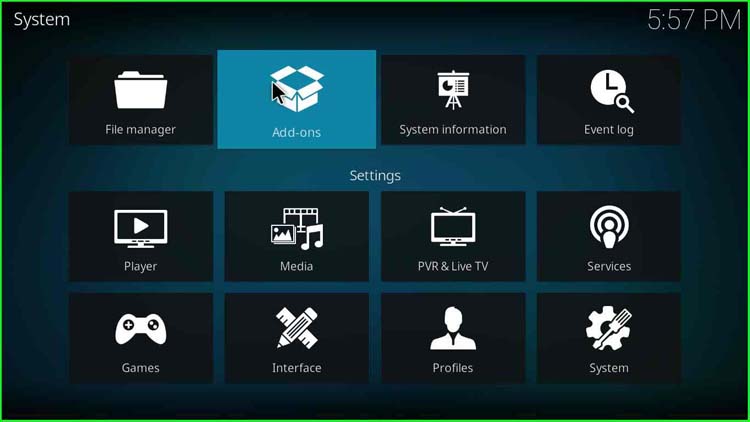
11. Go to “Add-ons”.
Install Seren from Zip File
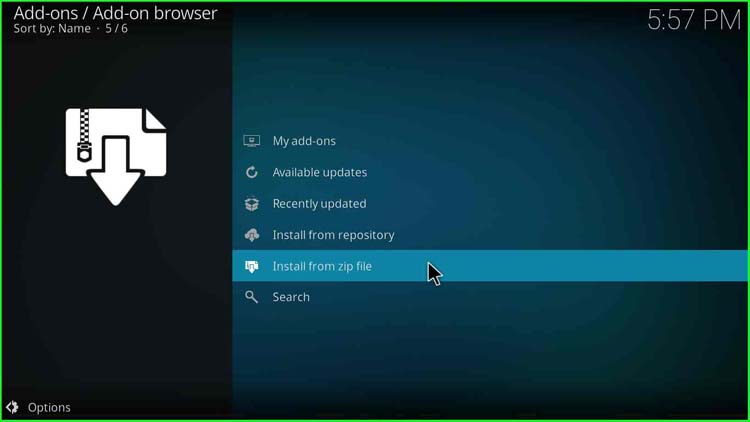
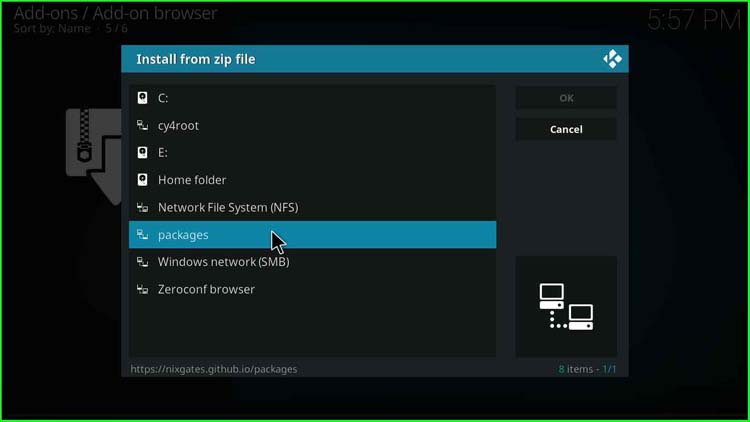
12. Click on “Install from zip file“.
13. Select “packages“.
14. Choose nixgates.repository.zip, and click OK.
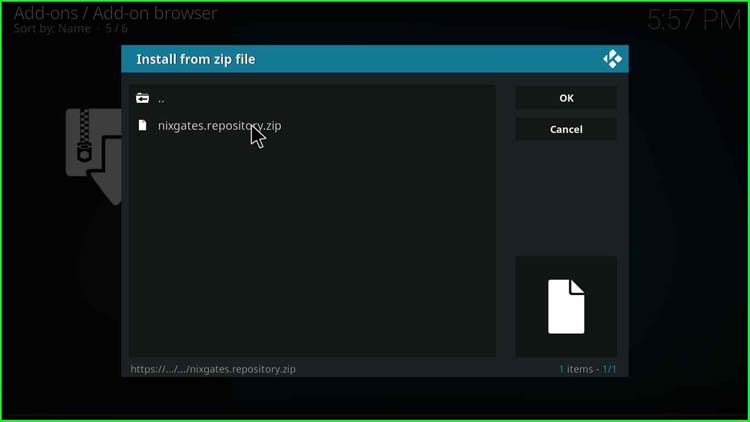
15. Wait for some time while the Nixgates Repo gets installed.
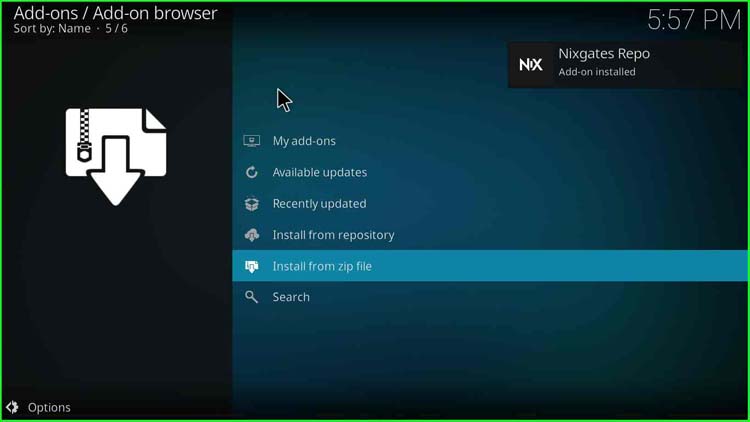
Install Seren from Repository
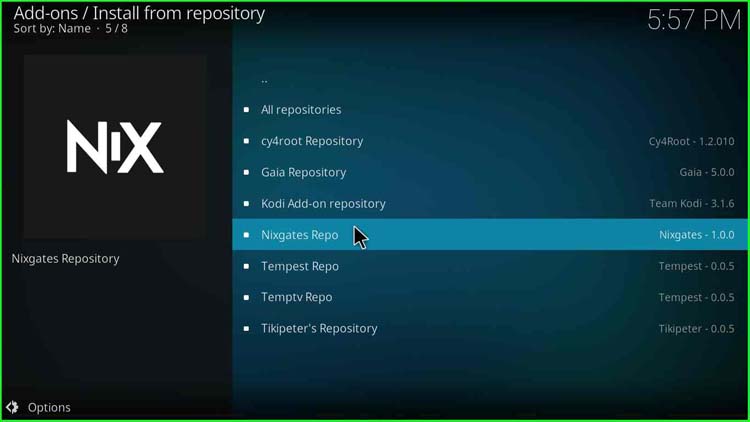
16. Click on “Install from repository“.
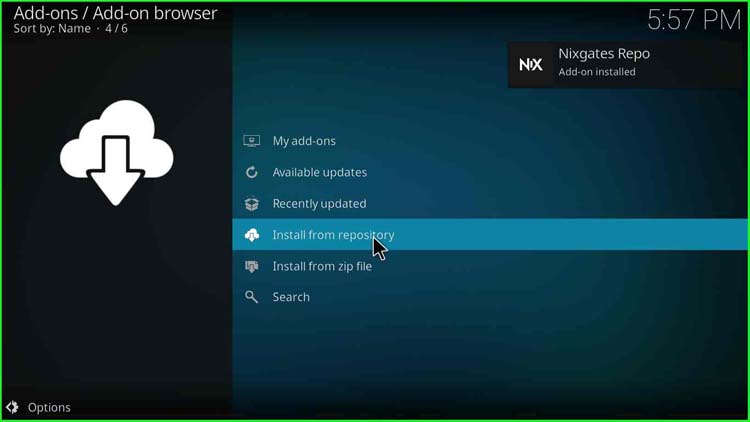
17. Select “Nixgates Repo“.
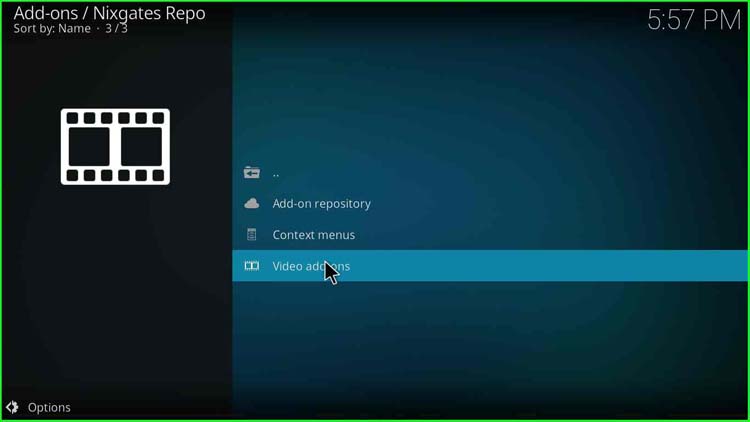
18. Click on “Video add-ons”.
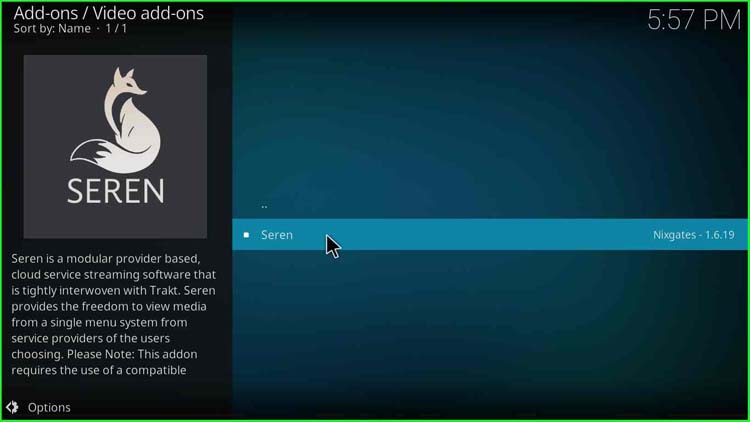
19. Select “Seren“. I have Nixgates – 1.6.19; your version might be different than this.
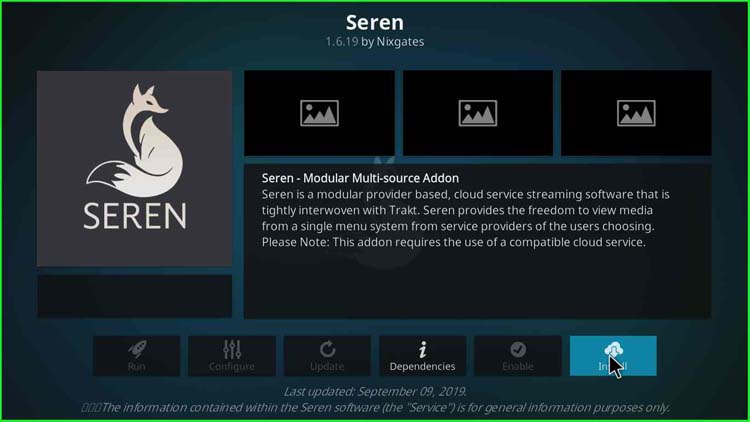
20. Click on the “Install” button at the bottom-right corner.
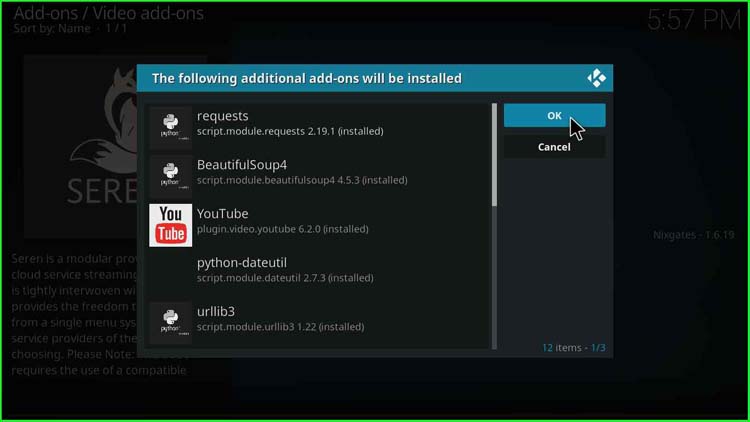
21. A popup asks to install additional Seren add-ons; click OK.
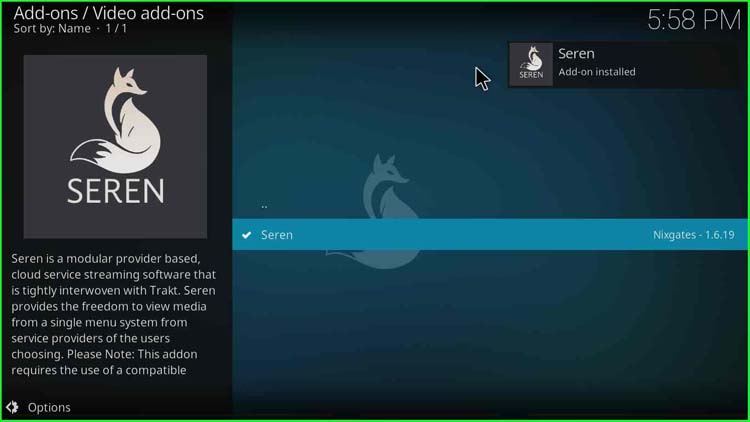
22. Wait for some time, and a message stating “Seren Add-on installed” appears. Finally, the Seren add-on installation is complete.
How to Use Seren Addon
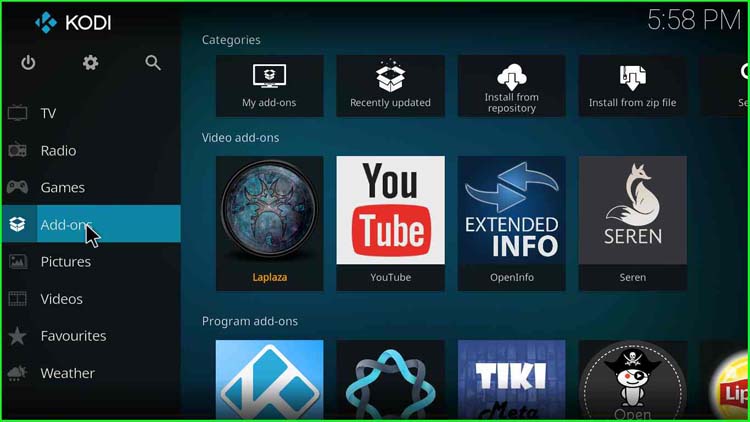
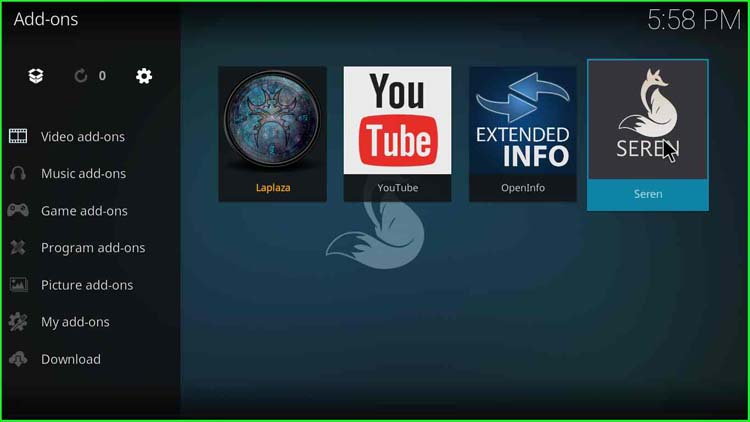
23. After that, go to “Add-ons“, on the right pane, a Seren Addon icon appears.
24. Click on the “Seren” add-on icon.
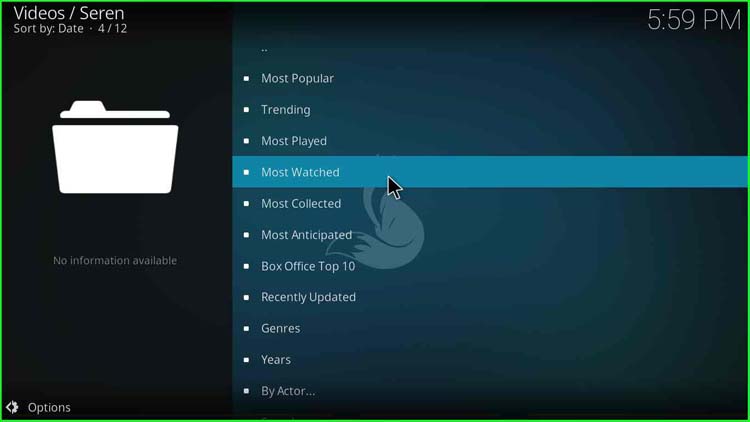
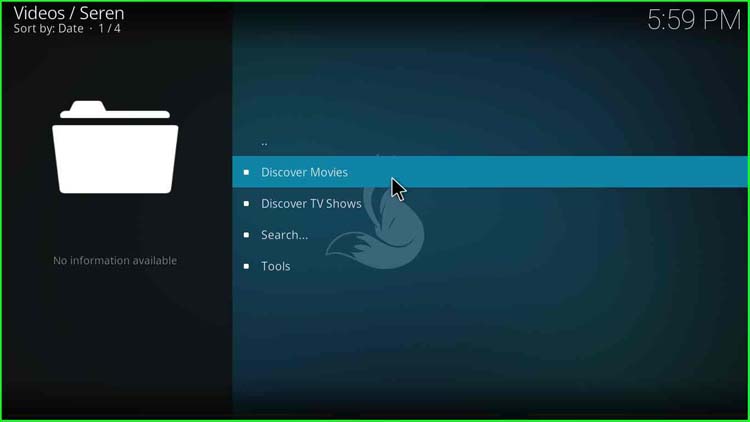
25. A list of options like Discover Movies, Discover TV Shows, Search…, Tools appears. Click on “Discover Movies” to view movies.
26. A list of categories appears, viz. Most Popular, Trending, Most Played, Most Watched, Most Collected, Most Anticipated, Box Office Top 10, Recently Updated, Genres, Years, By Actor, etc.