This tutorial will guide how to install Titanium Kodi build on Firestick, FireTV, Google Chromecast, Android TV, Kodi Boxes, etc. Undoubtedly, Titanium is among the best Kodi builds even today.
Up to Kodi 18.9, the Titanium build was among the most popular Kodi Builds. Then, suddenly, Users started complaining that “Titanium build is not working,” and the reason was the up-gradation to Kodi 19. After that, we published a complete guide on Kodi Matrix Builds in 2023.
The Cord-cutters currently use Aspire, Grindhouse, Spaced Out, Gloom, Luxray, Chains, Nova TV, Smokin, and Atomic Matrix Builds. Nonetheless, No Limits Magic Build has maintained its popularity intact.
Titanium Build was extensively used by Kodi 18 Leia users. It is essential to mention that Titanium is not the official Kodi addon. However, no malicious activity has been reported by this Build yet.
Another important point is that the Titanium build has a clean and user-friendly GUI with the best Kodi addons. Titanium build has various categories like Sports, Weather, Favourites, Kids, Movies, TV Shows, etc. You may look at the best Kodi repositories article if you do not know what a Kodi repository is.
You should go through our “how to use Kodi“ guide if you are new to Kodi. To avoid any problems, you should install Kodi first and restart the Kodi before installing the addon to prevent any problems.
Titanium build installation steps are pretty easy. Just follow these steps:-
How to Install Titanium Kodi Build
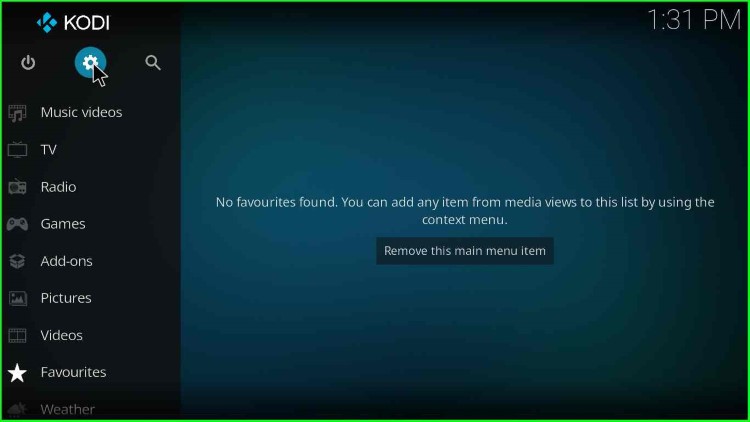
1. Open Kodi and go to “Settings”
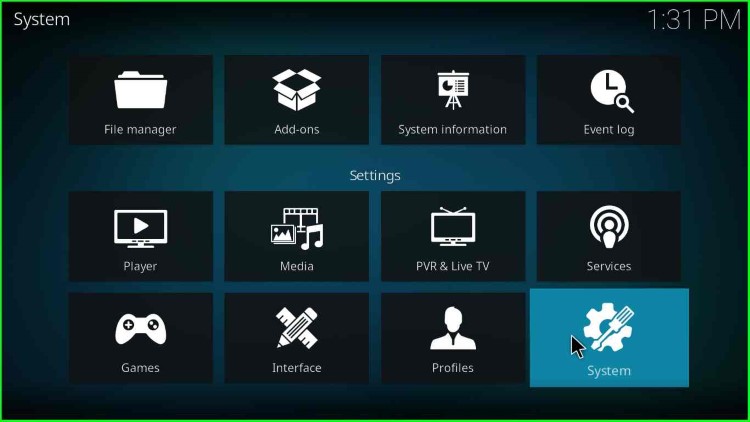
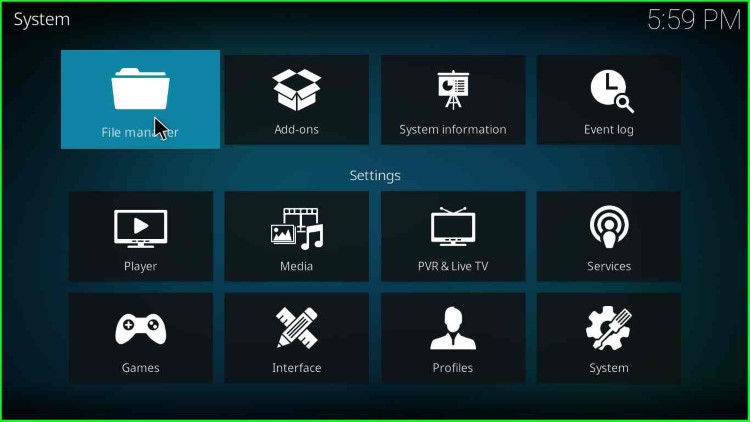
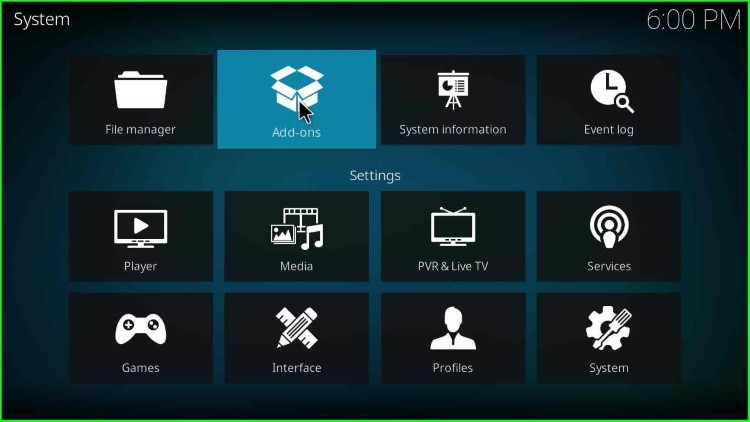
2. Click on “System”
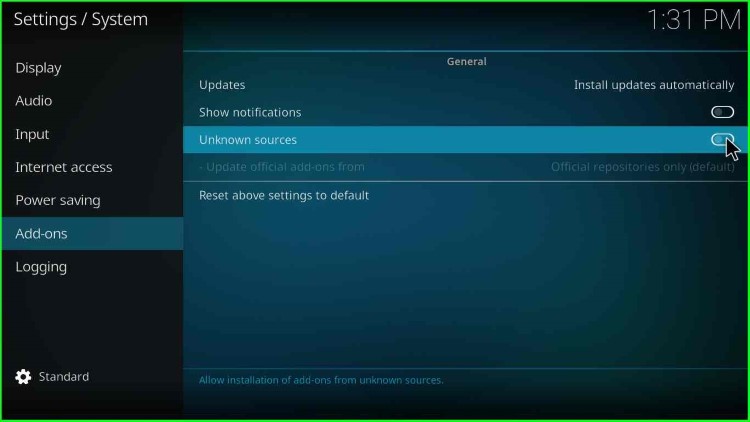
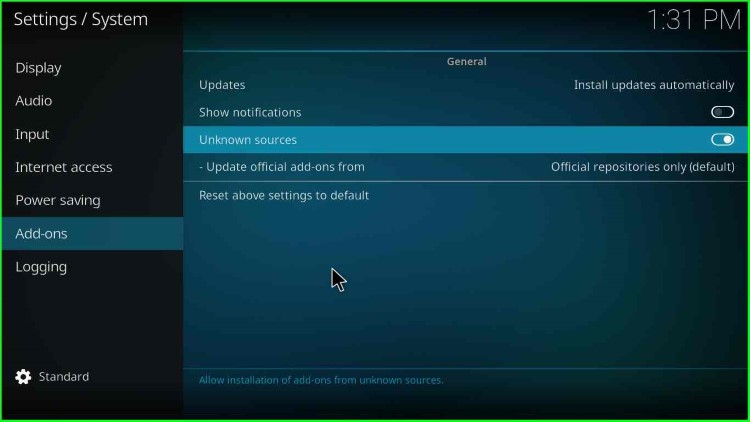
3. Click on the “Add-ons” option from the left panel. Enable the “Unknown sources” option by clicking on it
4. A warning message appears; you click on “Yes”

5. When you click on the Yes button, the dialogue box will close
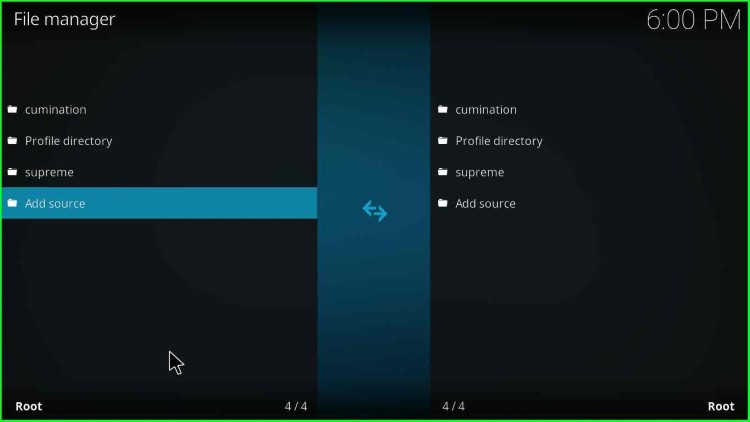
6. After that, go to “Settings” and then to the “File Manager”
7. Click on the “Add-source” option
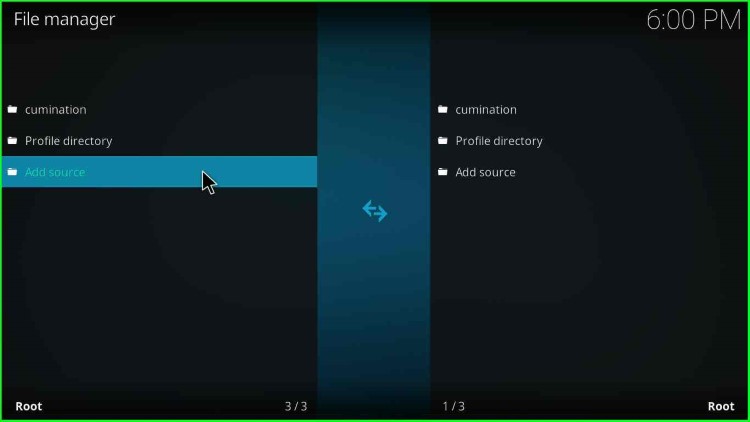
8. Choose “<None>,” and a popup appears that asks you to enter the URL
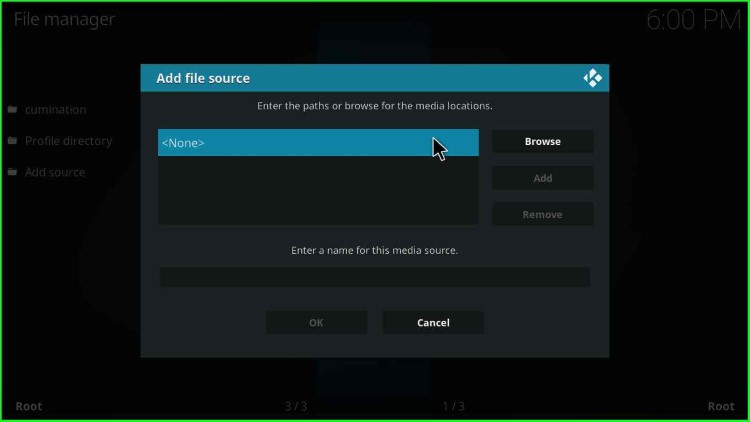
9. After that, a text box appears asking to enter the media location

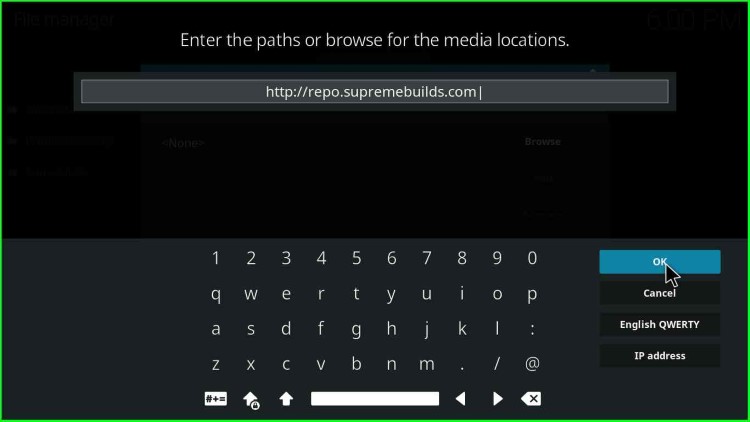
10. Enter “http://repo.supremebuilds.com”
11. Now, move the cursor to the textbox located at the bottom
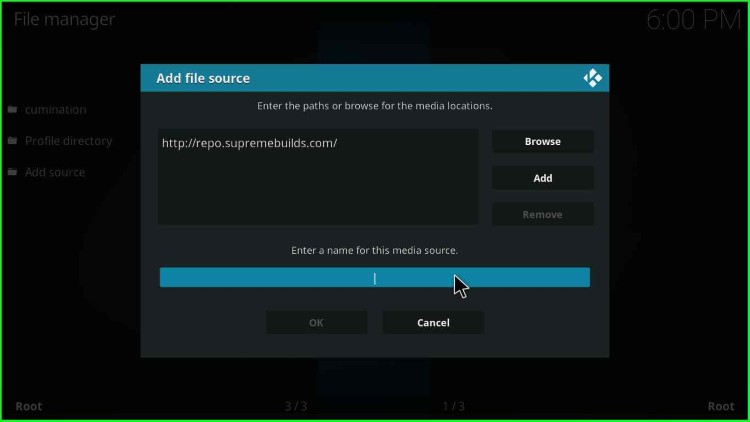
12. Enter any name under the title “Enter a name of the media source” of the source

13. After entering a name like “supreme” or “supremebuilds“, click on the “OK” button
14. After that, go to the Kodi home screen and select the “Add-ons” option
Install From Zip File
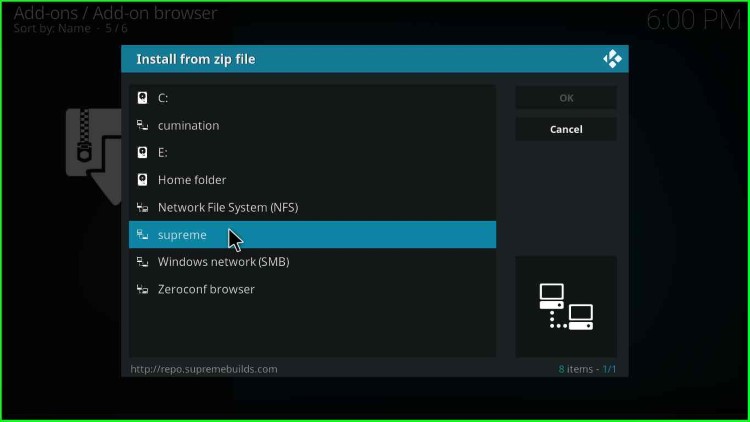
15. Click on “Install from zip file”
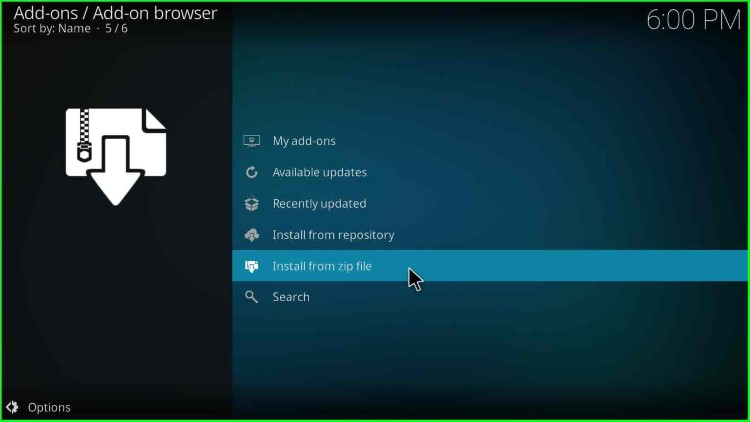
16. Select “Supreme” or “Supremebuilds” whatever you have defined earlier
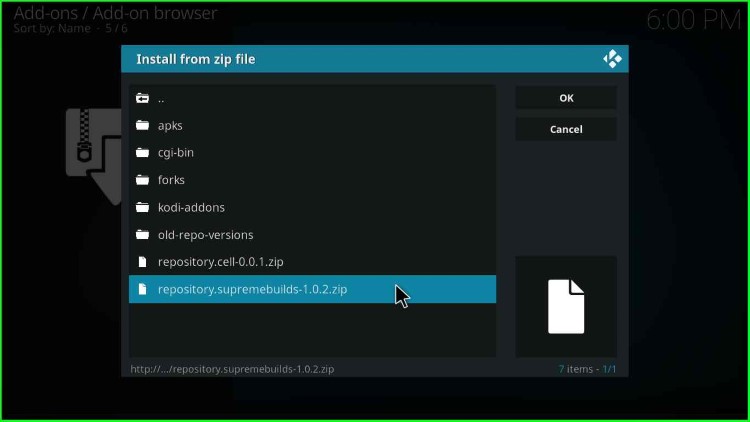
17. Then open the file “repository.supremebuilds-z.z.z.zip” file (z.z.z denotes the version number), click “OK”
18. Wait for some time while the message “Supreme Builds Repository Add-on installed ” message appears
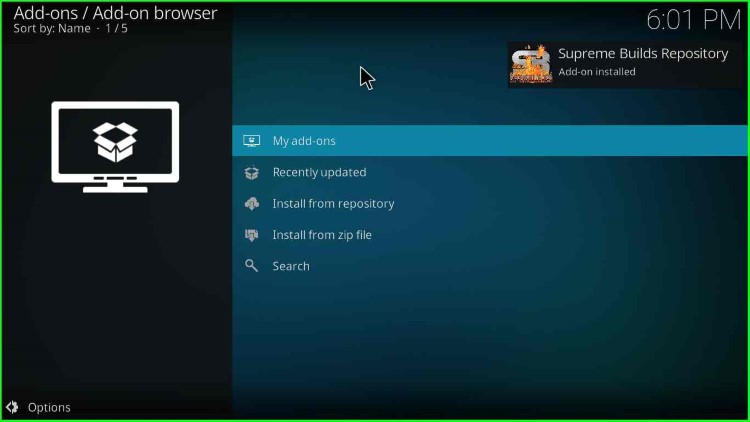
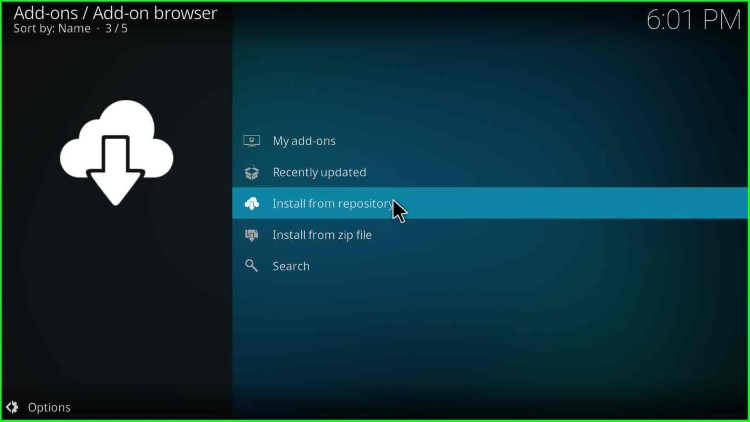
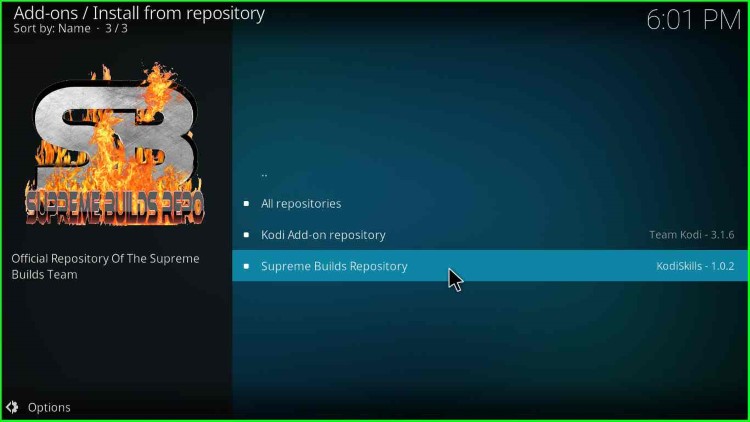
19. Now, click on “Install from repository”
20. Next, click on “Supreme Builds Repository”
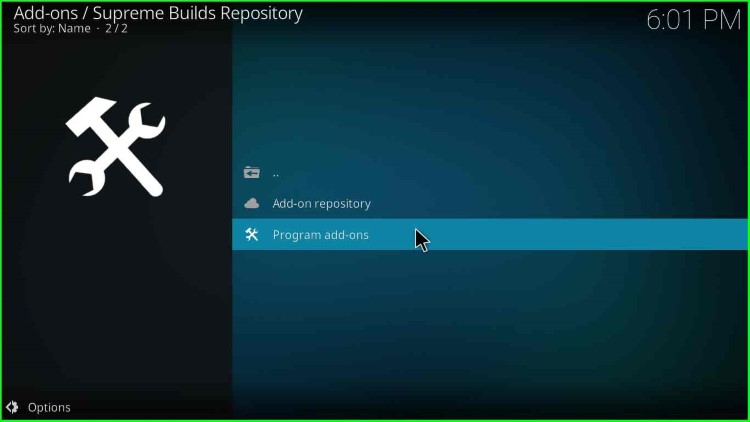
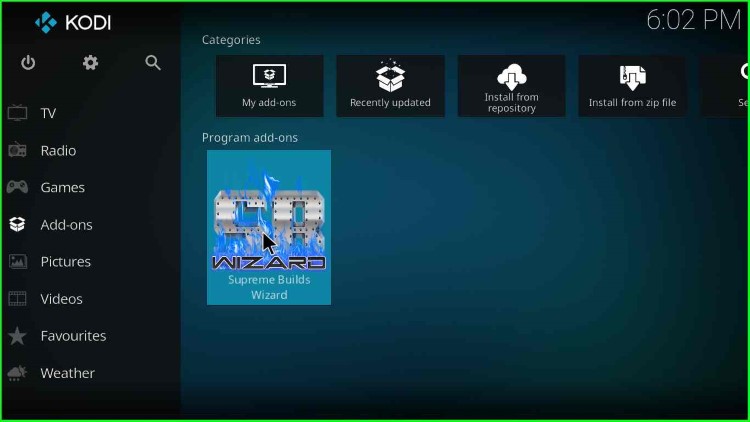
21. After that, click on “Program Add-ons“
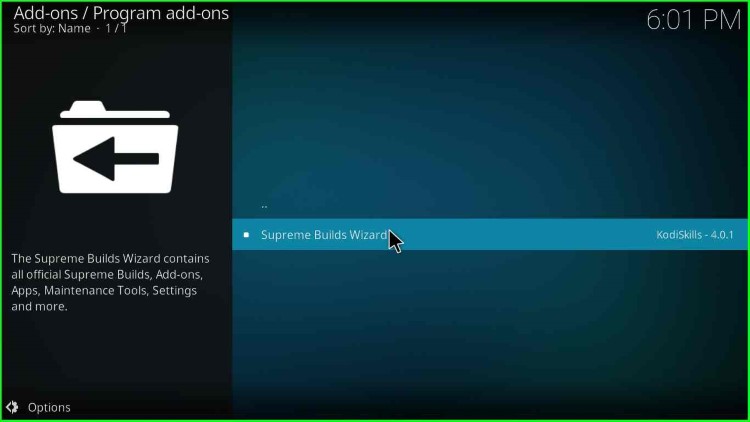
22. Next, click on “Supreme Builds Wizard”
23. Click on the “Install” button located at the bottom-right corner
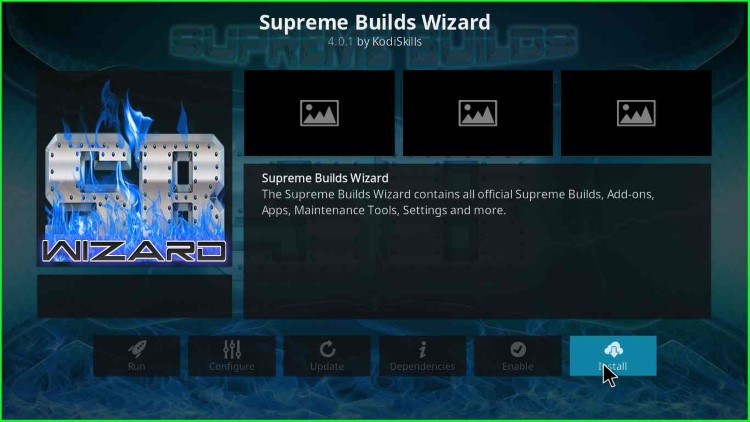
24. Wait for some time till the installation is complete; a message will appear “Supreme Builds Wizard Add-on installed”
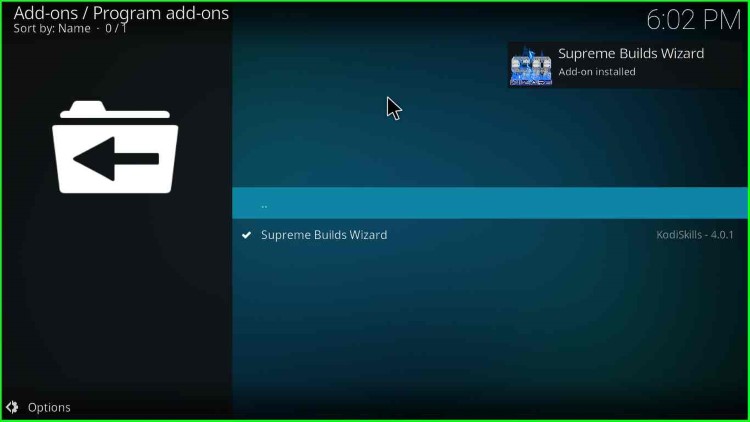
25. Go to the Kodi home screen and click the Add-ons option. On the right pane, you will find “SB Wizard Supreme Builds Wizard“, click on it
26. Once you click on SB Wizard Supreme Builds Wizard option, it may take some time to load. So, wait
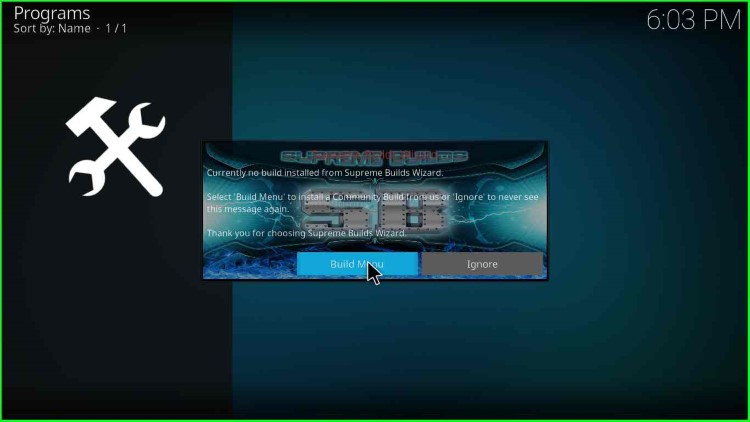
27. A popup appears; click on “Dismiss”

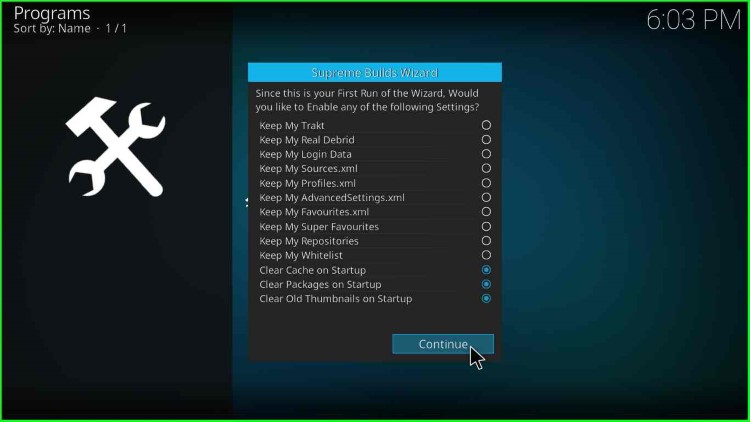
28. Again, a popup appears with the list of settings; click on “Continue”
29. Then you have two options i.e., “Build Menu” and “Ignore”, you can choose any one of them; for now, click on “Build Menu“
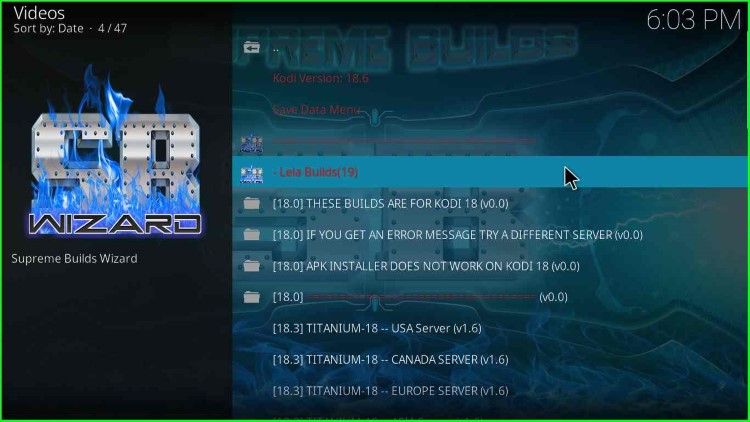
30. A list of builds appears here; navigate to the “Leia Builds” option
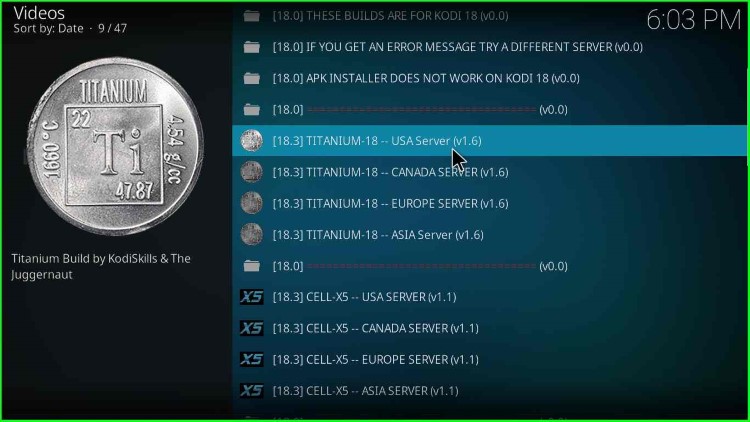
31. Then, you find the list of servers; you can choose the server of your choice based on your location; I choose USA based server “Titanium 18 – USA Server vX.x” option
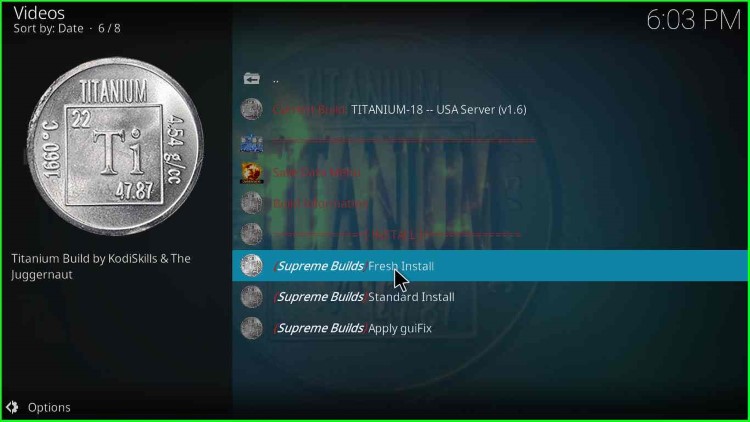
32. After choosing the server, you find two options, i.e., “Fresh Install” and “Standard Install”. It is always better to choose “Fresh Install”
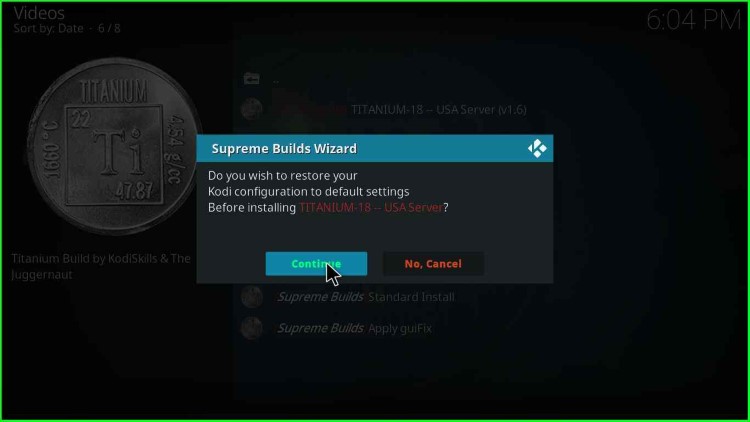
33. Click on “Continue” when a popup appears stating that “Do you wish to restore your Kodi configuration to default settings before installing Titanium-18-USA Server“
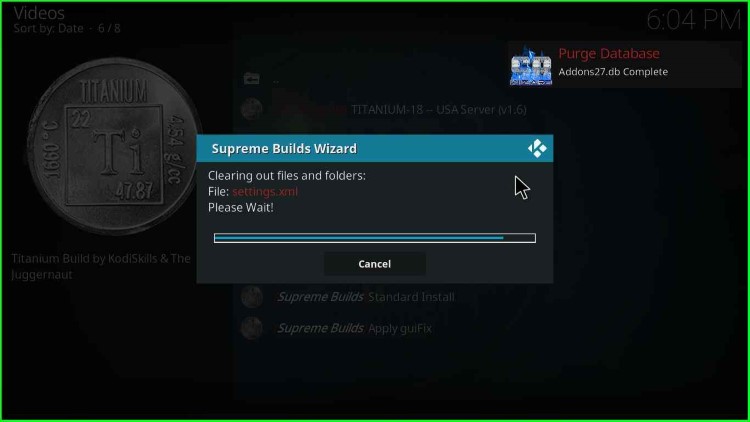
34. Now, wait for some time while the build gets installed; a progress bar will appear stating, “Clearing out files and folders“. Then, a message will appear on the top-right corner as “Purge Database Addons27.db Complete.“
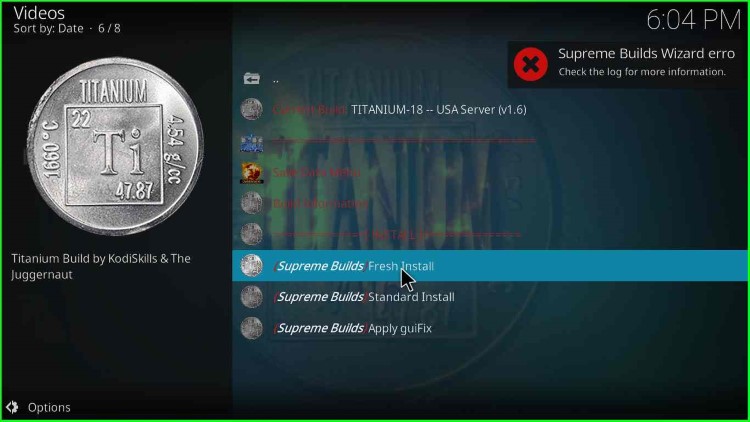
35. You may get an error “Supreme Builds Wizard Error – Check the log for more information“, ignore this and again click on “Fresh Install”
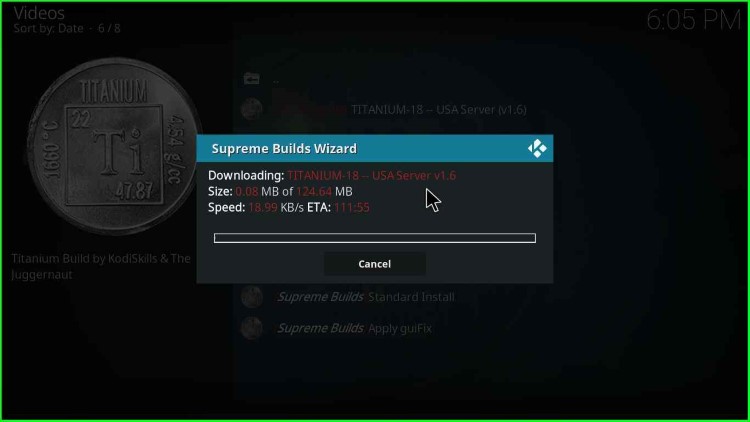
36. Then, click “Continue”

37. Downloading of the Titanium build will start, now wait for some time till the build installation is complete
38. After that, you will have two options, “Reload Profile” and “Force Close”, click “Force close” and start the Kodi; the following screen will appear

39. Finally, Titanium Kodi Build Installation is complete; enjoy streaming on Kodi.
Titanium Build Questions
Titanium is a Kodi build to watch videos, movies, and TV shows on Kodi.
It is hard to determine the legality of a third-party Kodi addon. However, according to Virustotal, the build repository is safe to use.
Unfortunately, the Titanium build does not work with Kodi 19. However, the build works perfectly fine with the Kodi Leia versions.
Mainly Titanium build has Gaia, Seren, Deathstar, SportsDevil, Exodus Redux, and Uranus addons. Moreover, it has many sports add-ons too.
Related Guides: