Home » Kodi » How to Install Misfit Mods Kodi Build on Firestick

How to Install Misfit Mods Kodi Build on Firestick

In this tutorial, we will learn how to install Misfit Mods build in just two to three minutes. Misfit Mods Kodi build is among the top Kodi builds trending nowadays. Misfit Mods Wizard has a huge collection of builds and add-ons for Kodi Matrix, Leia, & Krypton. Luckily, Misfit Mods Kodi builds work with Kodi 19 matrix.

Attention, Cord-cutters!

I want to warn you that whatever you stream online is visible to the Government, ISPs, and Third Parties. Following are some of your details:-

IP Address: 35.172.111.47
Location: Virginia US
ISP: AS14618 Amazon.com, Inc.

You must be aware that streaming copyrighted content without a license is illegal and may land you in legal trouble.

I urge you to comply with the rules and regulations in your country, but what if you land up streaming illegal content unintentionally?

Hence, I suggest using the most secure VPN, i.e., IPVanish which has military-grade encryption. In addition, IPVanish enables buffering-free streaming, hides your IP address, Location, and bypasses the geo-restrictions and bandwidth throttling.

Special Deal: Only $3.33/Month

How to Install Misfit Mods Kodi Build

Installation of Misfit Mods Kodi build is quite easy and you can install it in 2 to 3 minutes. Just follow these steps:

1. Open the Kodi and click on the Gear icon to open the Settings.

Kodi Settings

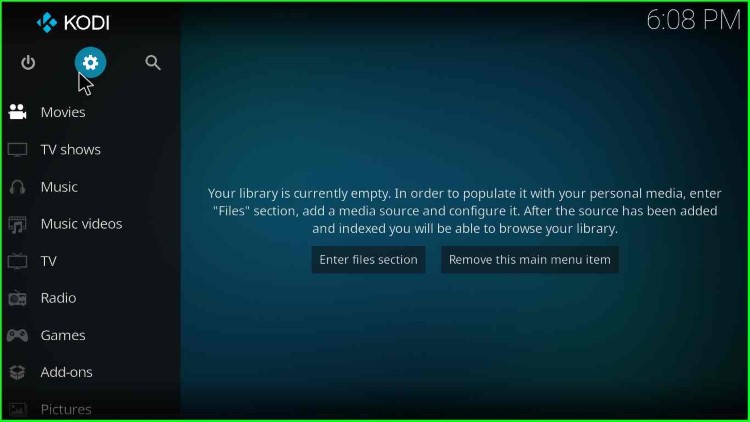
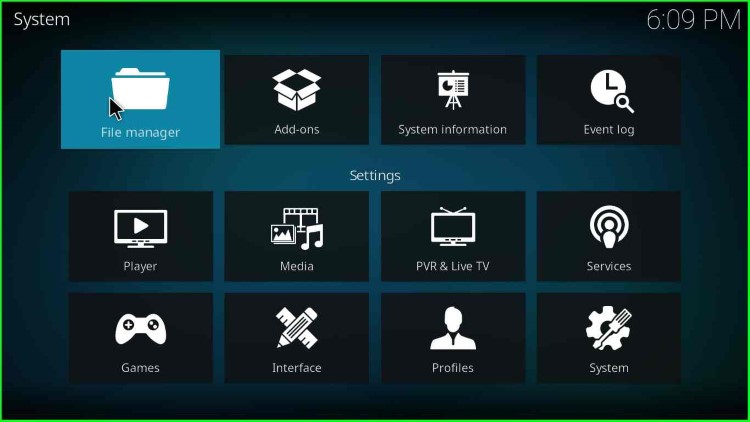
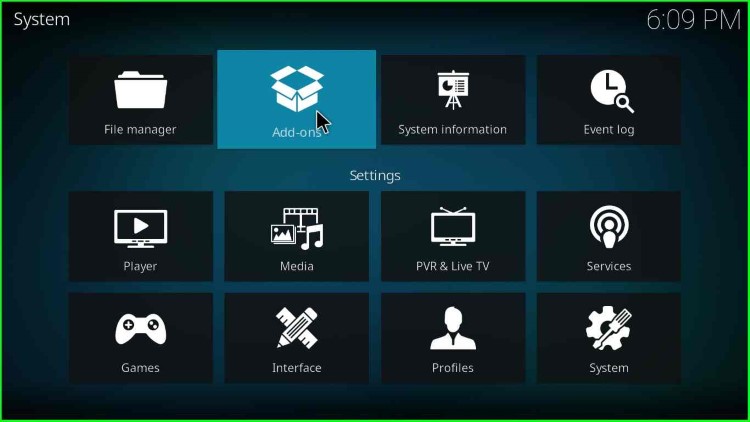
2. On the bottom right corner, click on System.

System

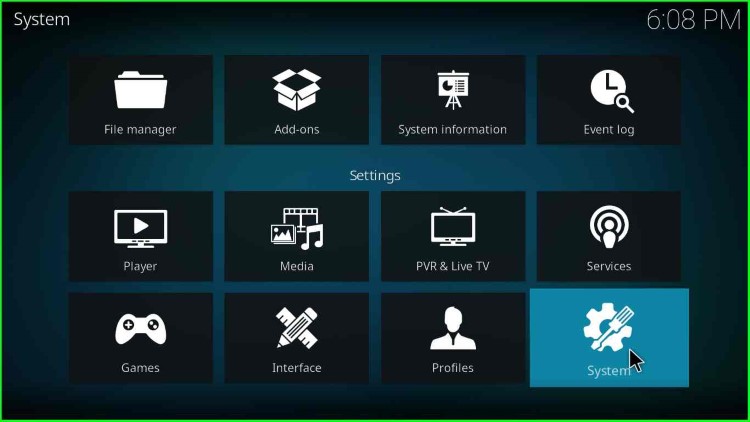
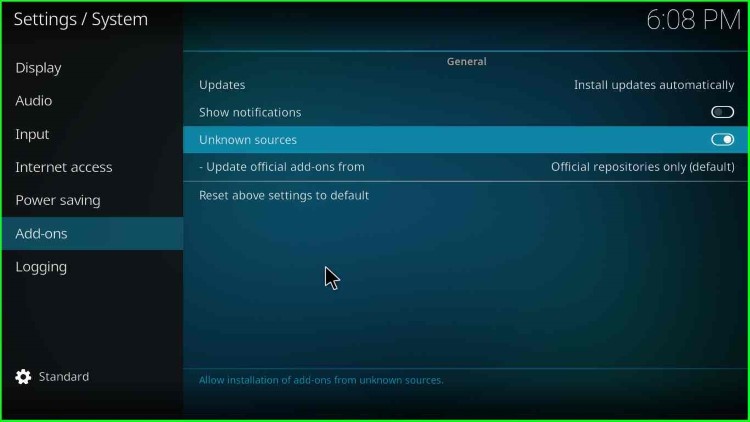
3. After that, click on the Add-ons option, and then on the right pane, click on the radio button named “Unknown sources“.

Unknown Sources

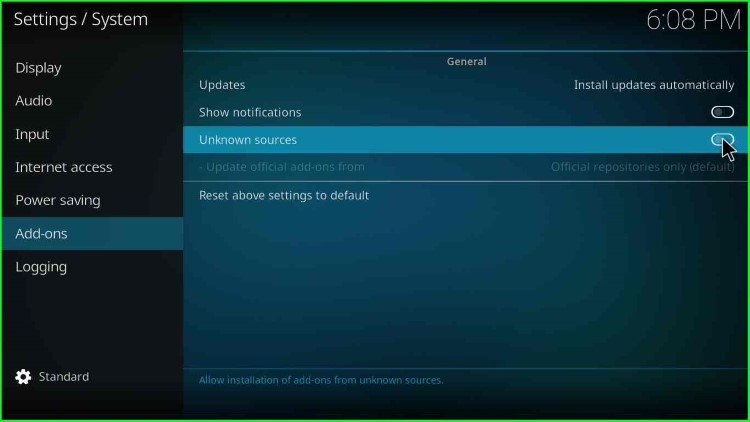
4. As soon as you click the radio button, a warning popup appears stating, “Add-ons will be given access to personal data stored on this device“.
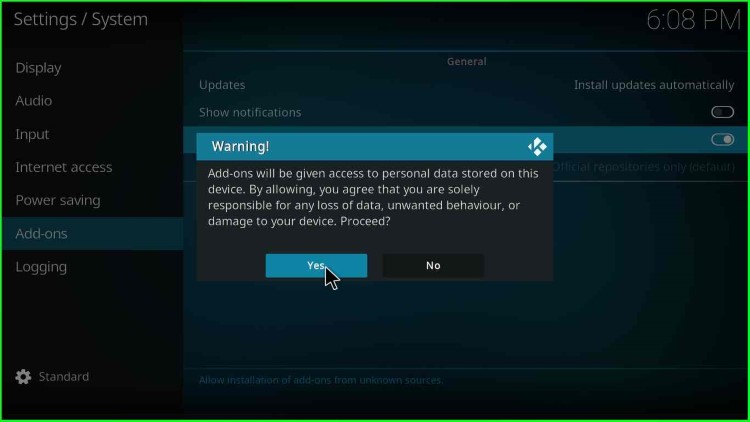
Warning

5. Click on “Yes“.

Enable Unknown Sources

Add Misfit Mods Installation Source

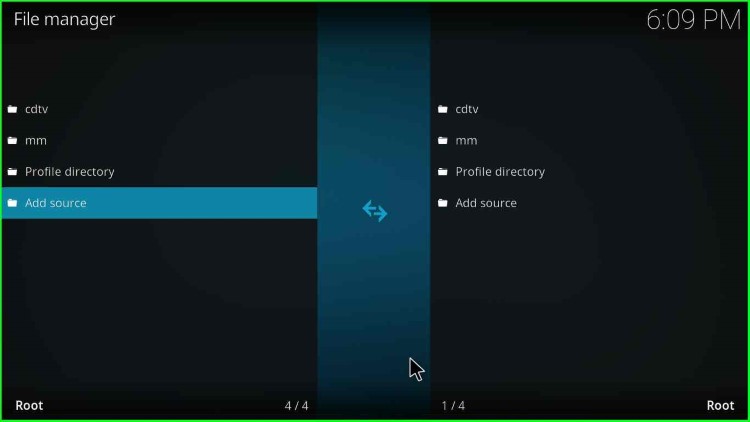
6. Now, let us start adding the source for misfit mods Kodi wizard. To do this, open “File Manager“.

Misfit Mods Kodi Build File Manager

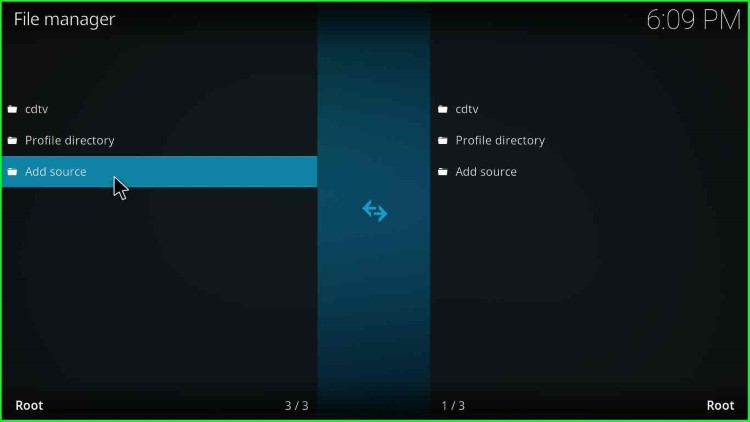
7. Click on “Add source“.

Add Misfit Mods Build Source

8. A dialogue box appears, asking for the path for the media locations. So, just click on “<None>“.

Path for Misfit Mods Kodi Build

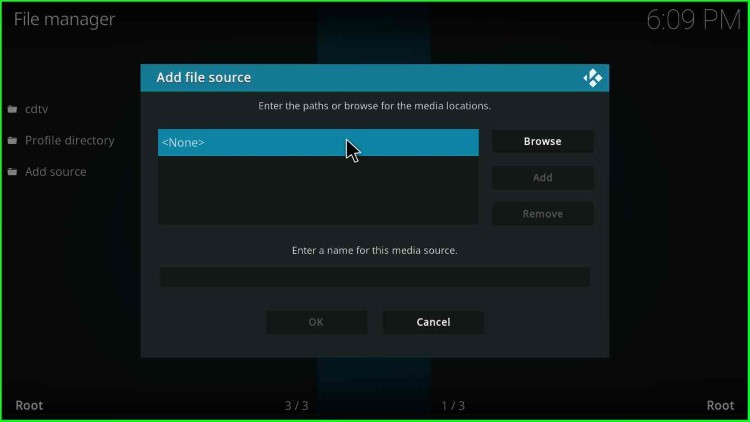
9. A text box appears to enter the path for the Misfit Mods media location.

Misfit Mods Media Location

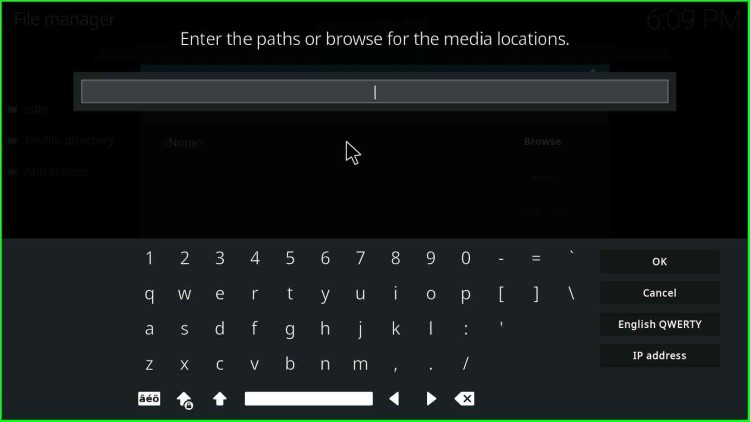
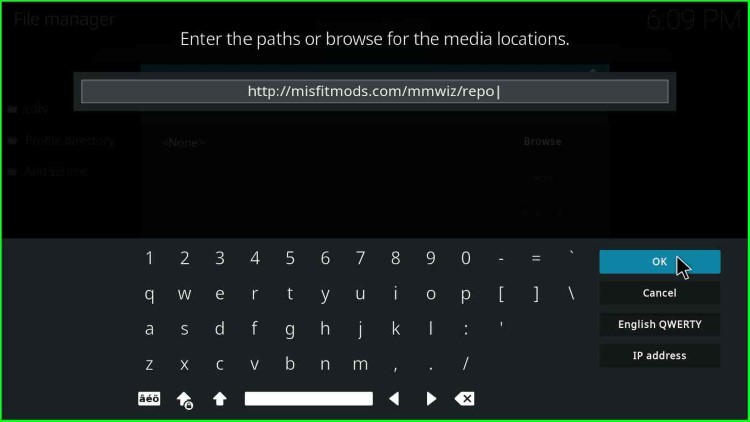
10. Enter the path as “http://misfitmods.com/mmwiz/repo“. Make sure you enter the exact Misfit Mods media path. Even remove any available space.

Media Location Misfit Mods

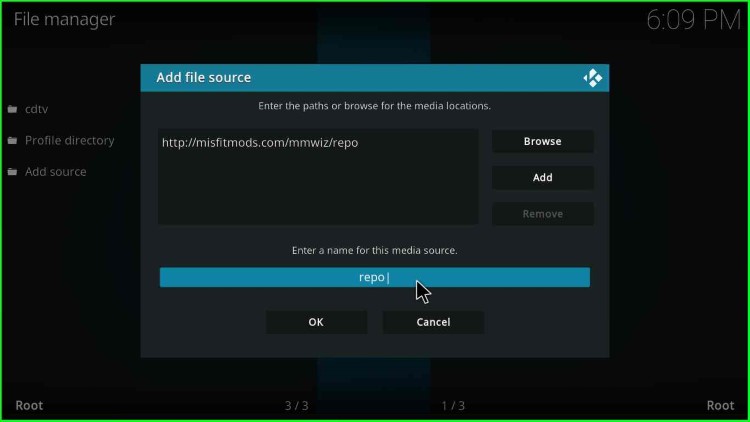
11. Further, enter the media source name; by default, the media source will have a name for the media source as “repo“.

Media Source

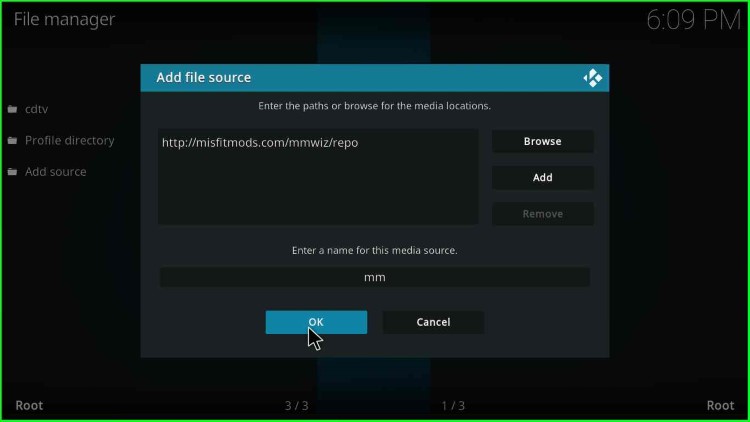
12. Change the media source name to “mm” so we can easily remember the misfit mods source name. Then click the “OK” button.

Media Source Path

13. Now, go back to the previous screen.

Add Source Screen

14. Click on “Add-ons“.

Misfit Mods Kodi Addons

Install Misfit Mods Kodi Build from Zip File

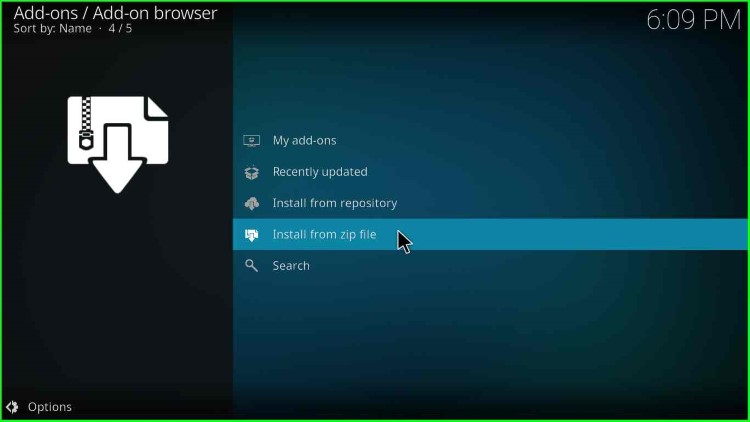
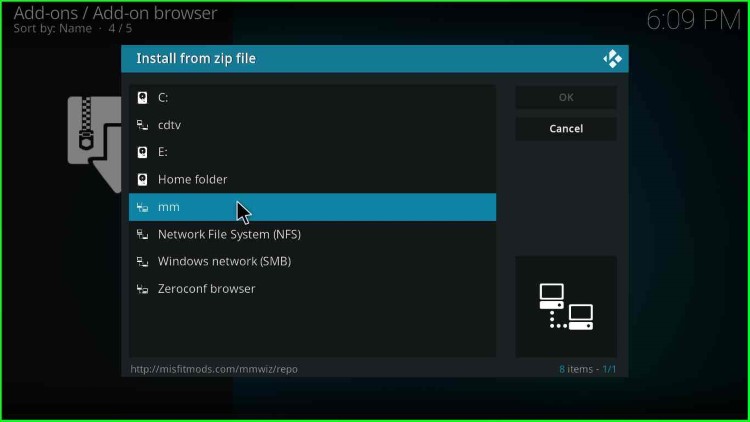
15. Click on the “Install from zip file” option.

Misfit Mods Kodi Build Zip File

16. When you click “Install from zip file“, a dialogue box appears as a warning to manually update the misfit mods zip file.

Warning Pop up

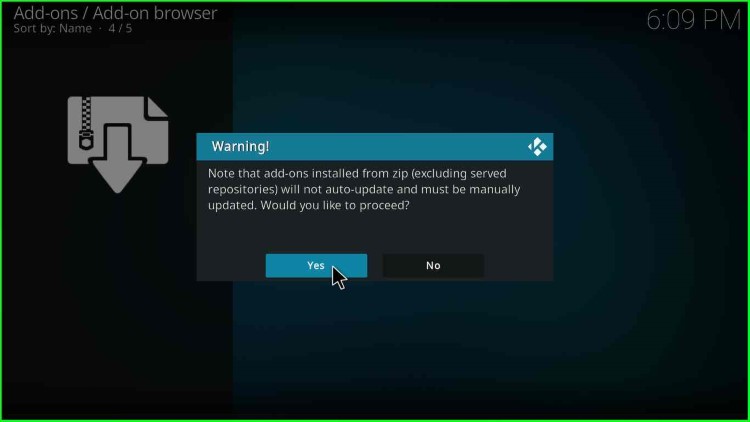
17. Click “Yes” and then double-click on “mm” from the list.

Misfit Mods Zip File

18. After that, double-click on the “repository.misfitmods.zip” file. It will start installing the Misfit mods repository add-on.

repository.misfitmods.zip

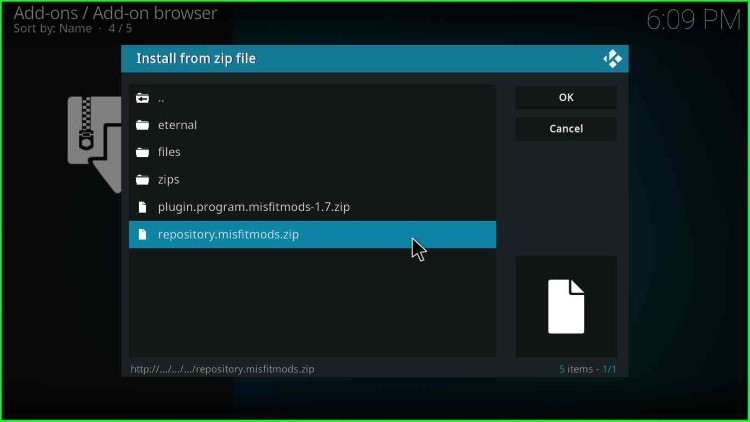
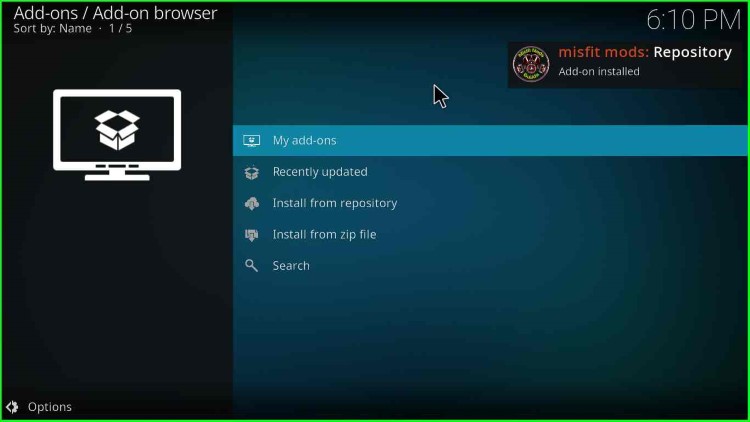
19. Wait for some time while the misfit mods repository add-on gets installed. After some time, a message appears as “Misfit mods repository Add-on installed“.

misfit mods repository

Misfit Mods Kodi Build Installation From Repository
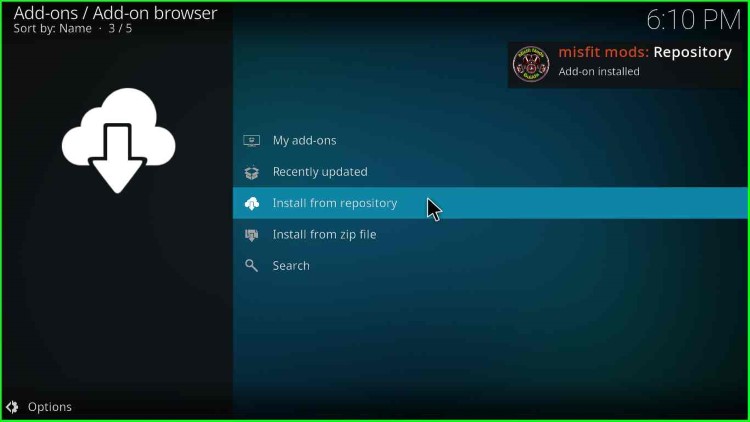
20. Thereafter, click on the “Install from repository” option from the list of options.

install from repository

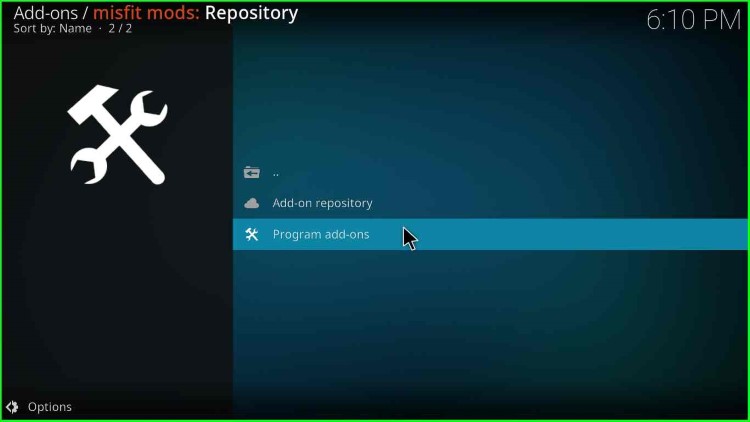
21. An option appears as “misfit mods Repository“; double click on it.

misfit mods builds

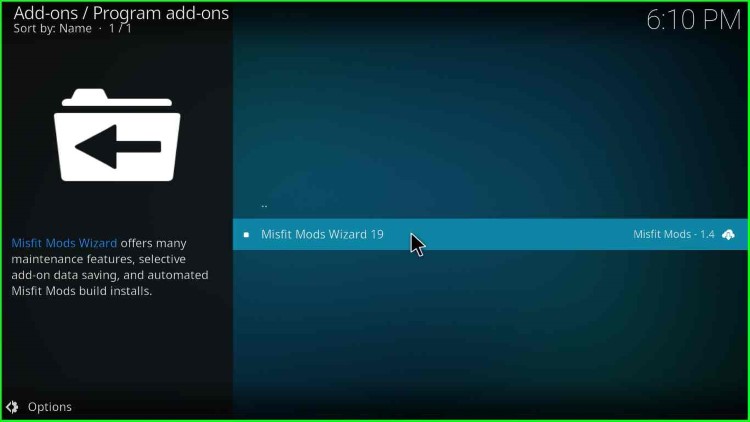
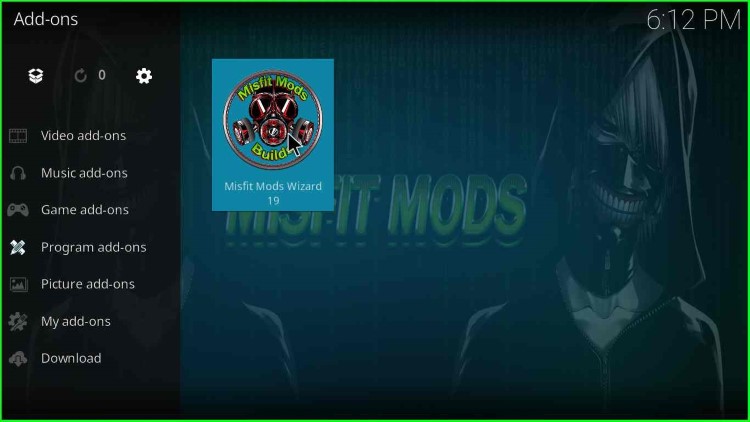
22. Click on “Program add-ons“.

Misfit mods program addons

23. Click on the “Misfit Mods Wizard 19” option.

Misfit Mods Wizard 19

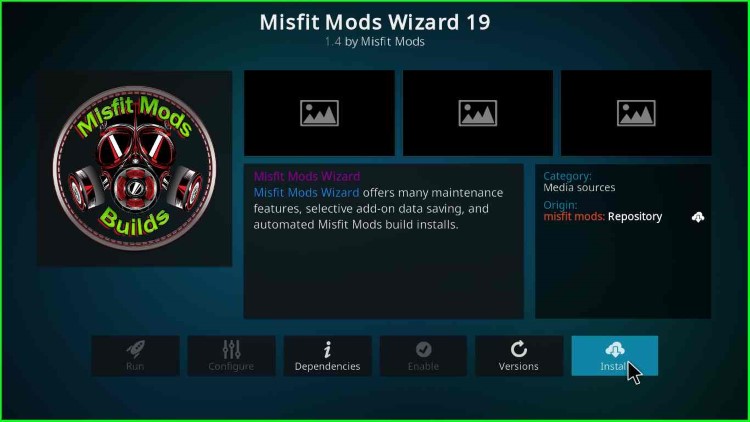
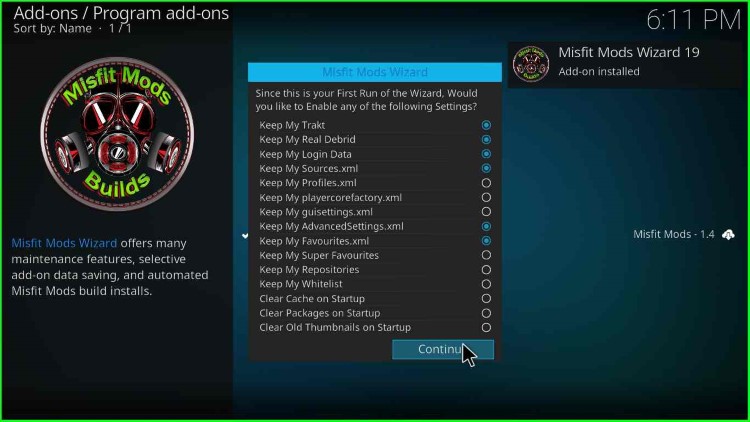
24. A window with lots of Misfit Mods Wizard 19 options appear. On the bottom-right corner, you will find an option “Install“, Just click on Install.

Install

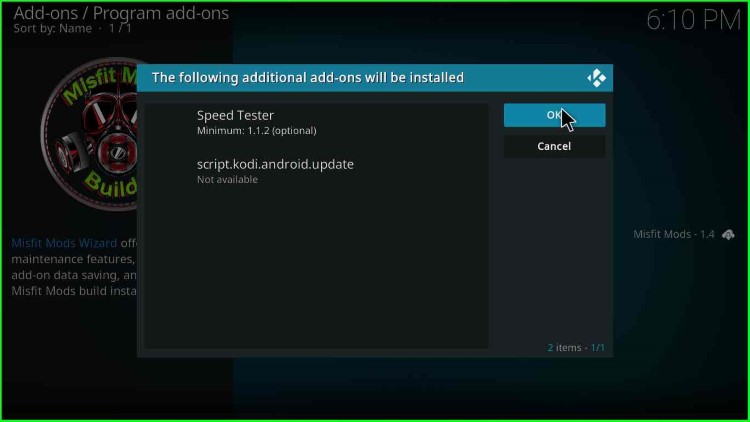
25. A box appears to apprise about the installation of Misfit Mods additional add-ons. So, click on “OK“.

Additional add-ons misfit mods build

26. Soon, on the top-right option, a message appears as “Misfit Mods Wizard 19 Add-on installed“.

Misfit Mods Wizard Addon

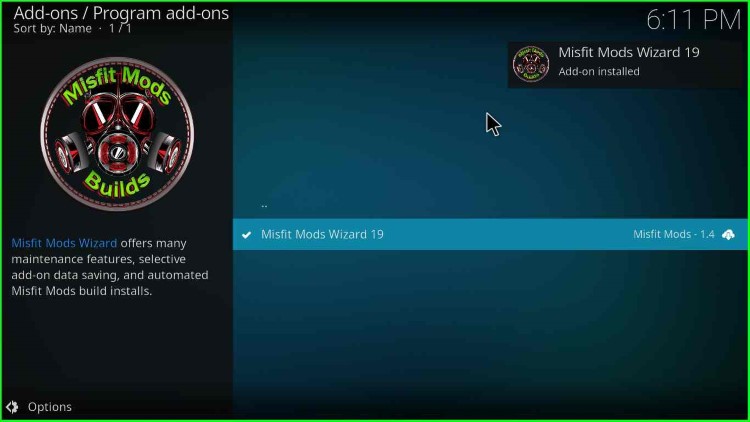
27. Click on “Continue” on the appeared message box.

Misfit Mods Wizard Continue

28. Then, click on “Ignore“. You may click “Build Menu” and choose the build you want to install.

Ignore

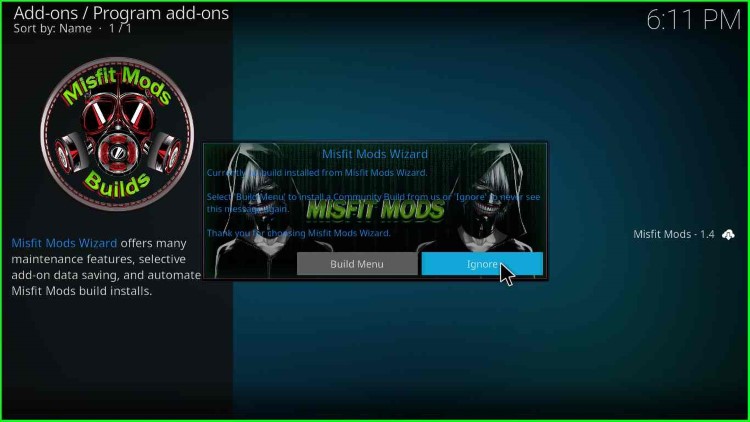
29. When you click “Ignore“, the following window will appear.

Installed Misfit Mods 19

30. Then, go to the Kodi home screen.

Kodi Home Screen

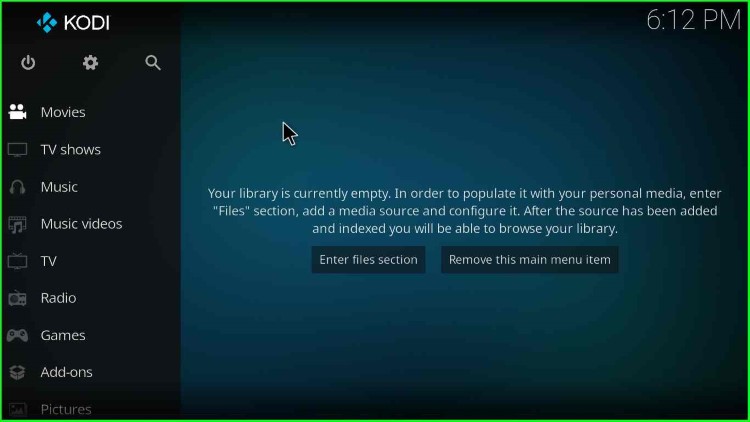
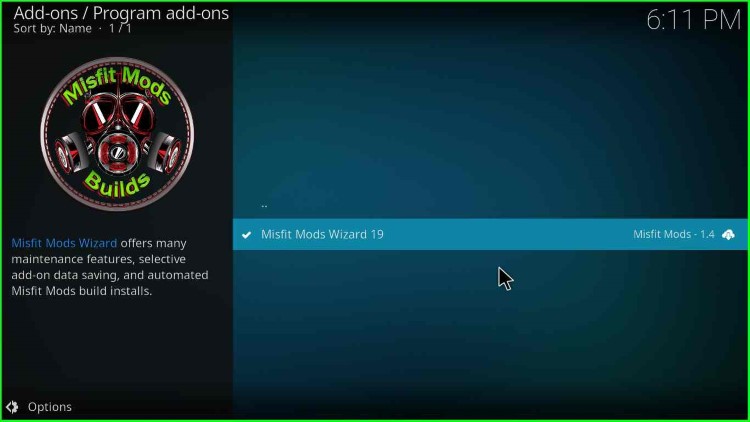
31. Click on “Add-ons“.

Add-ons option misfit

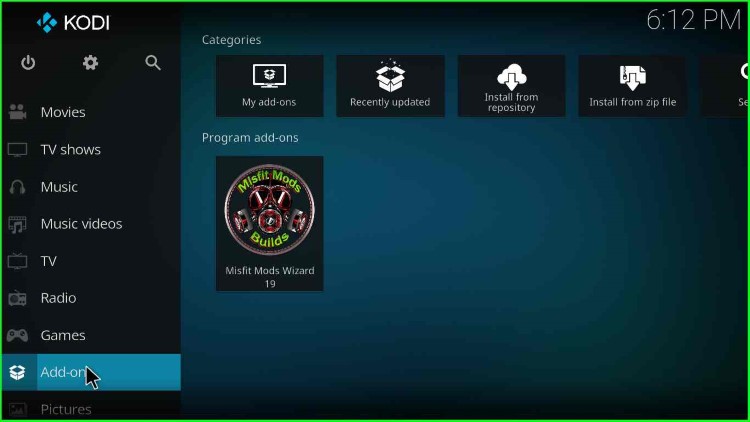
32. In the “Program add-ons” option, you will find the “Misfit Mods Wizard 19“.

Misfit Mods Wizard 19

33. Finally, you have installed the Misfit Mods Wizard. Further, you can Install your favorite builds from Misfit Mods Wizard. Happy Streaming.

Is Misfit Mods Kodi Build Safe?

I have scanned the Misfit Mods repository, i.e., zip file on many online trusted platforms. As a result, the Misfit Mods zip file does not contain any malware and is safe to use.

Notwithstanding, you may stream copyrighted content unknowingly on Misfit Mods build, which may result in legal problems. So, I recommend using IPVanish VPN all the time on Kodi.

Before you start streaming on Kodi, I would like to warn you once again that we do not know the source of Kodi Repositories, Wizards, Builds, and Addons and from where they fetch the streams.

The content you stream on Kodi may be copyrighted and may land you in legal trouble because ISPs, Government, and authorized companies may monitor your online activities like streaming copyrighted movies, videos, TV shows, live shows, animes, etc.

To stay protected, and to get an exceptional streaming experience, I suggest you use IPVanish which is the fastest, most secure, and military-grade encryption VPN on the planet. In addition, IPVanish hides your original IP address, and encrypts your internet connection, bypasses bandwidth throttling and geo-restrictions.

I have been personally using IPVanish for a couple of years and what I can say is IPVanish is the best VPN in all aspects for all devices. I did not face any problems with any app or device.

Note: VPNHacks.com does not support or encourage piracy and copyright infringements in any form. You should abide by the rules and regulations in your country. We just want to protect you because sometimes you may land up streaming copyrighted content unintentionally.

IPVanish Hot Deal: Subscribe for as low as $3.33/Month

Taking an IPVanish VPN Subscription is really simple.

1.       First, subscribe to IPVanish by clicking here.

Most of all IPVanish comes with a 30-day money-back guarantee. You can get a full refund if you are not satisfied (I do not think you will be) with IPVanish and they do not ask for any reason.

2.       Once you subscribe IPVanish, download the IPVanish app and open it. Enter your e-mail and password and click on the “Log In” button.

3.       Once you are signed in, select the VPN Server location that you want to connect to and click on the connect option.

4.       After that, you will see that your IP address has been changed. That’s all. Have a safe streaming. 

Useful Guides:

James is the Co-founder of VPNHACKS.COM. He is a Network security expert with hands-on experience on Server Administration, UTM Management, Datacentre Consolidation, Migration, etc. Also, He has Configured Proxy Servers and Implemented VPN tunnels. more...

Leave a Comment

IPVanish VPN