Save 75% - IPVanish VPN (Limited Time Offer) X
Home » Kodi » How to install OneFlix Build on Kodi 20.2 Nexus

How to install OneFlix Build on Kodi 20.2 Nexus

In this article, we will discuss the steps to install OneFlix Build on Kodi Nexus/Matrix platforms. Also, the steps work well with Kodi devices like Firestick, Android, FireTV, Roku, Chromecast, Nvidia Shield, etc. You can install Oneflix Build on Kodi installed on Windows, iOS, Android, Mac, and Linux.

OneFlix is a great Kodi Build that works on both Kodi Nexus and Matrix versions. You can stream videos on 4K and 1080px quality. Also, you can enjoy Movies and TV Shows by clicking on the buffering free HD links.

In addition, the Oneflix Kodi Build has a user-friendly interface with a lot of streaming options. Moreover, the Oneflix Kodi Build has a collection of top Kodi addons like Seren, The Crew, Homelander, and, Fen.

Attention! Before You Move Ahead.

I want to warn you that whatever you stream online is visible to the Government, ISPs, and Third Parties. Personally, I do not like someone snooping on my streaming activities.

Currently, your IP address 34.204.172.188 is visible to everyone.

Hence, I suggest using the most secure VPN, i.e. IPVanish VPN which has military-grade encryption. Also, IPVanish enables buffering-free streaming, hides your IP address and location, and bypasses geo-restrictions and bandwidth throttling.

American Football, Percentage Savings & Limited Time Offer
Till 26th Sep 2023: Only $2.99/Month

Note:- Streaming copyrighted content without a license is illegal and may land you in legal trouble. VPNHacks.com does not encourage piracy in any way.

Installation Steps

Enable Unknown Sources

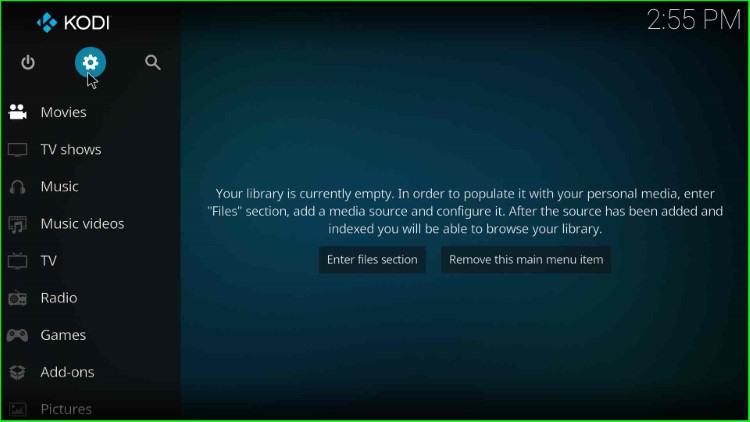
Start the Kodi and click on the gear icon Settings.

Click on the Settings icon

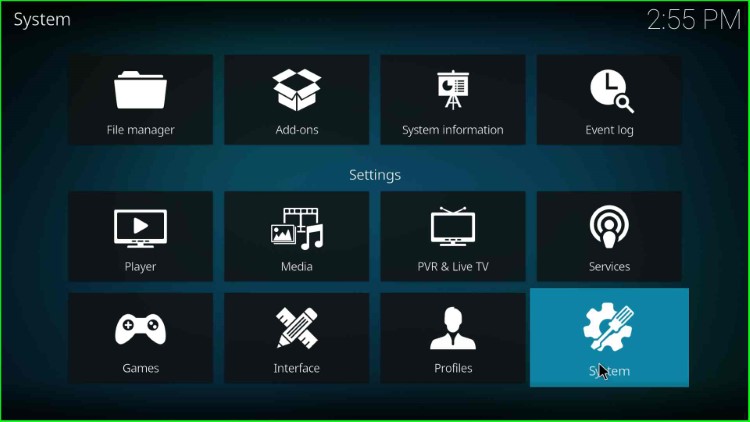
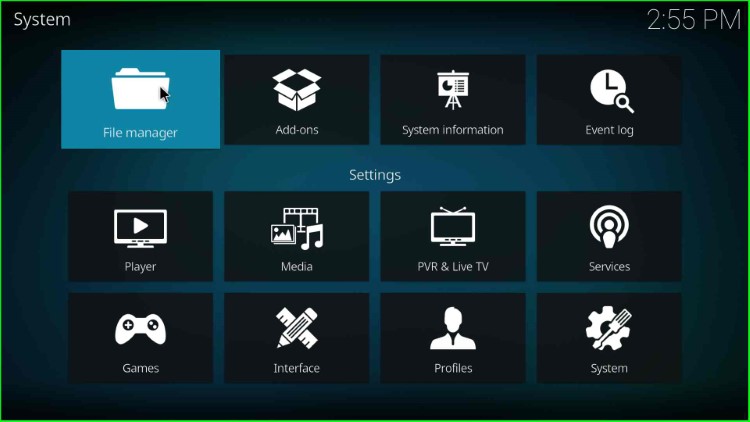
Then, click on the System option.

Select the System tab

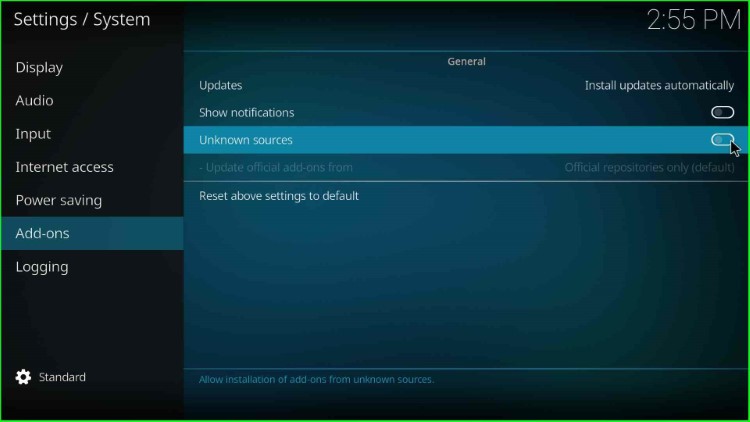
Tap on the Add-ons option and enable the Unknown sources option.

Turn on Unknown sources

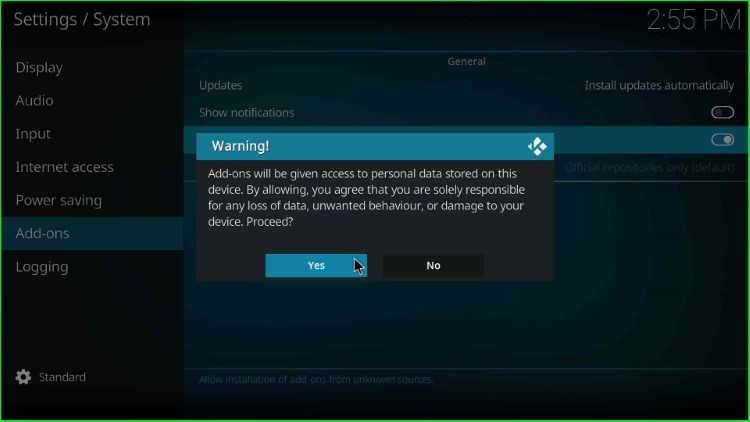
A warning popup appears; just ignore that and click on the “Yes” button.

Click Yes

Press the Esc key to return to the System window and click on the File Manager option.

Open File manager

Add Media Source

Select the Add source tab.

Add source for 7o9 repo

Hover over the <None> option.

Select None

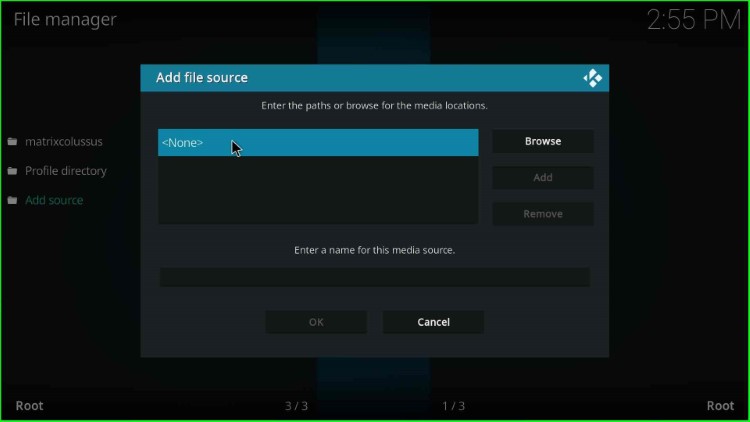
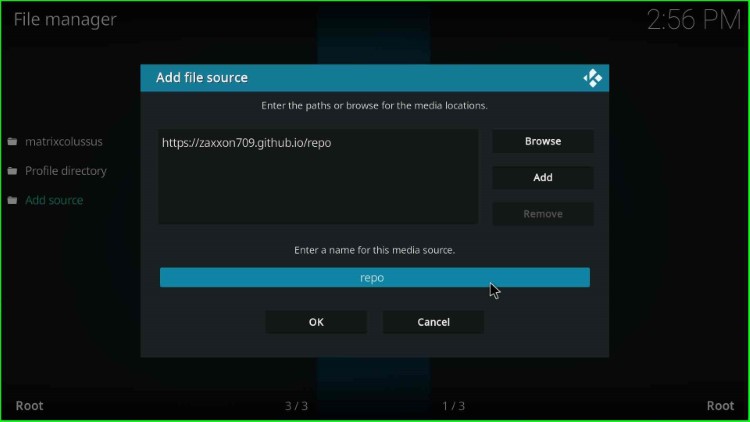
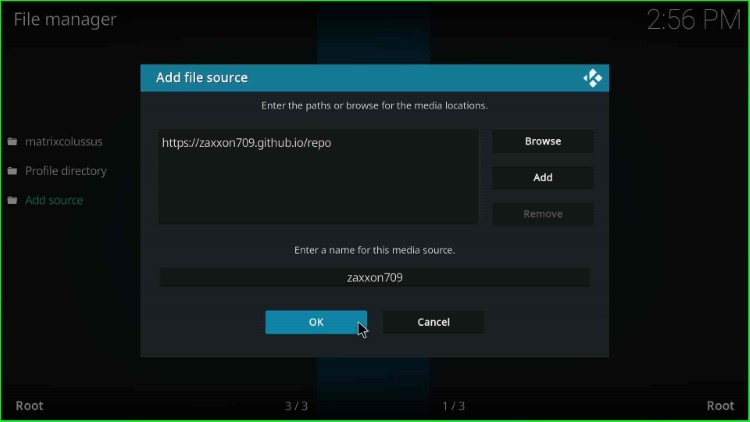
Type the following URL https://zaxxon709.github.io/repo and hit OK.

Enter the 7o9 Repo URL

Here, you will see the existing media source name repo.

Change the name repo

Change the media source name to zaxxon709 and press the OK key.

Enter name zaxxon709 and press OK

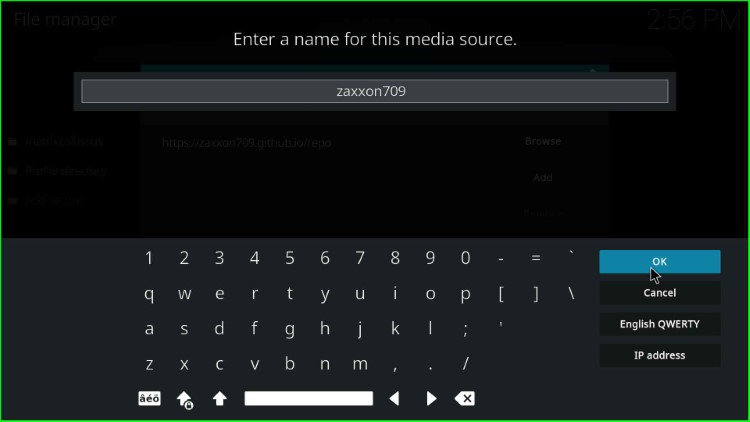
Check all the details carefully and click the OK button to save it.

Check all the details and click OK

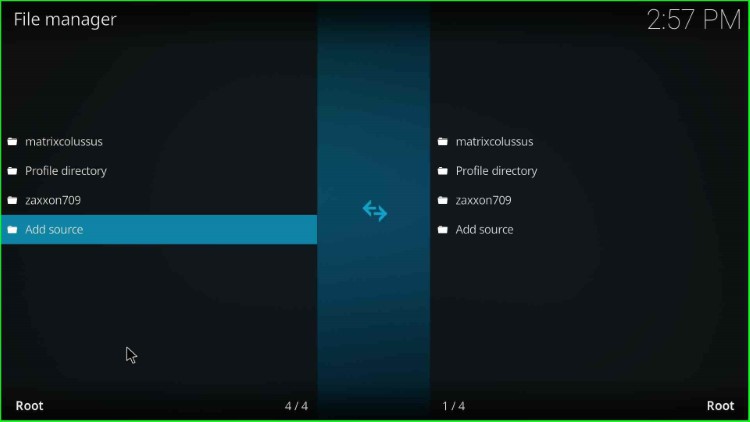
Here, you will see your source file, zaxxon709.

Your media source zaxxon709 saved on the screen

Install from Zip File

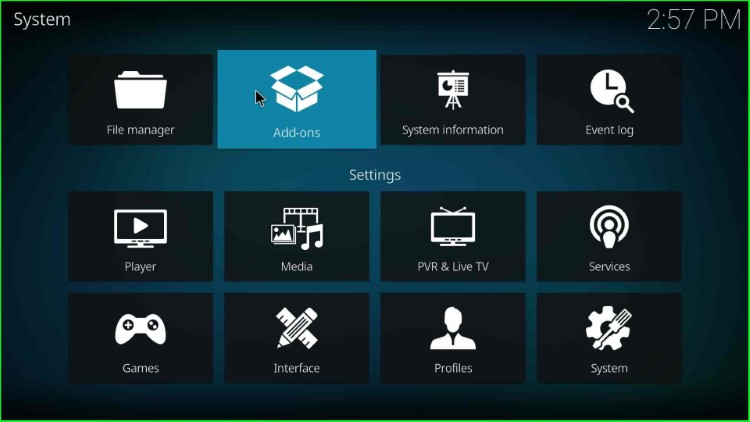
Go to the System screen and select the Add-ons option.

Tap on Add-ons

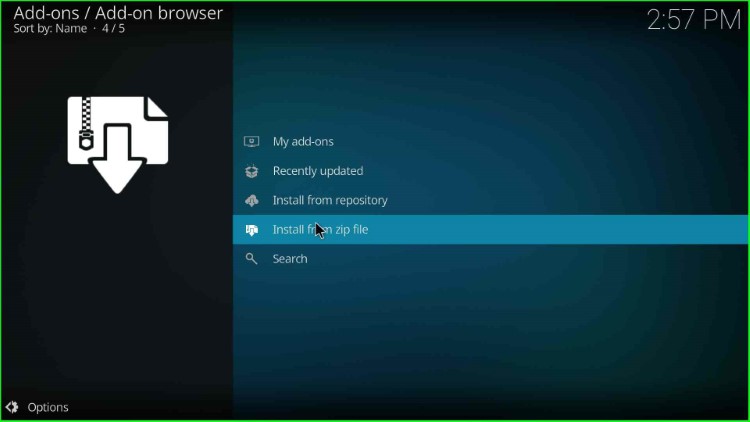
Tap on the Install from zip file option.

Click on the Install from zip file

Choose the media source, zaxxon709.

Choose zaxxon709

Here, tap on the repository.709-x.x-Nexus.zip file.

Select 7o9 Repo zip file

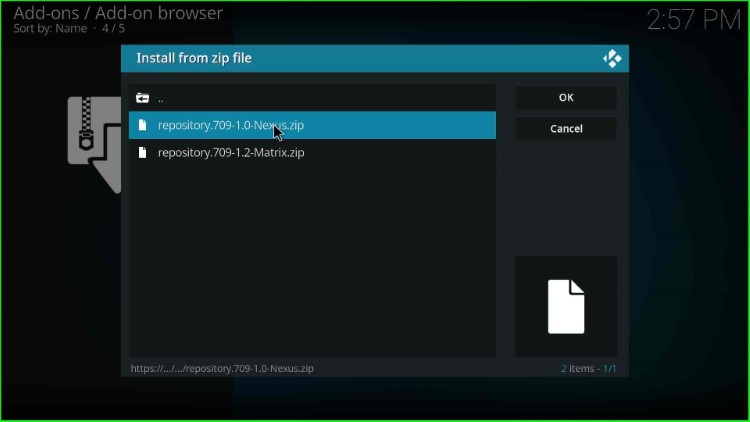
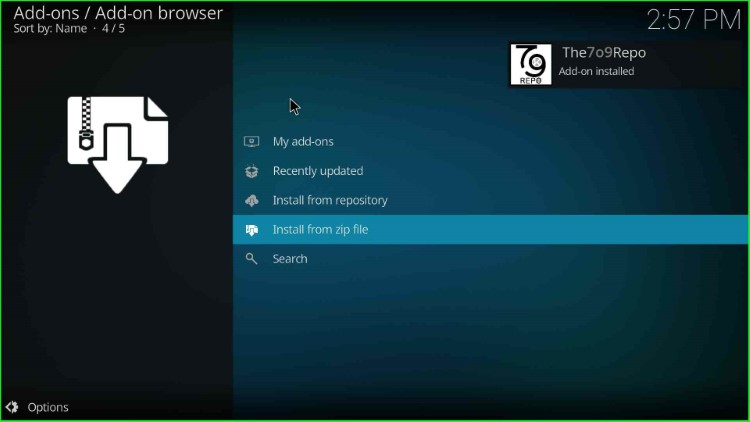
The 7o9 Repository starts installing; wait for the message “The7o9Repo Addon installed”.

Wait for the installation of The7o9Repo addon

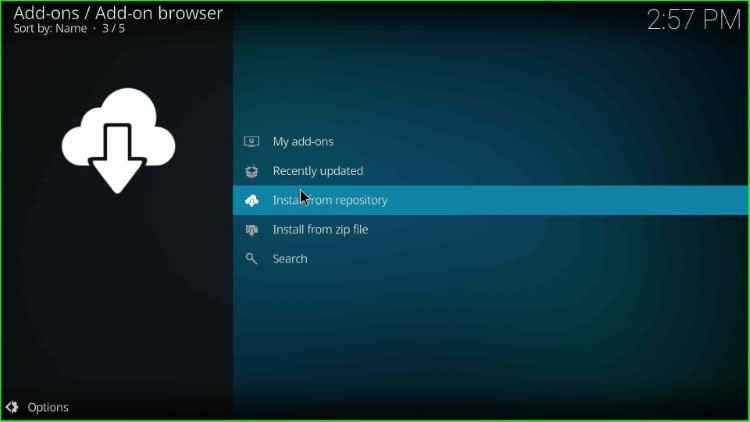
Install from Repository

After that, choose the “Install from repository tab.

Click on the Install from repository

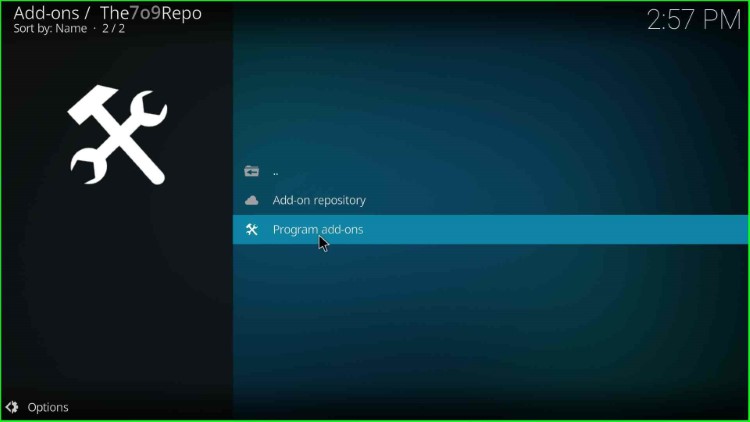
Here, click on the 7o9 Repo.

Select The7o9Repo

Install 7o9 Wizard

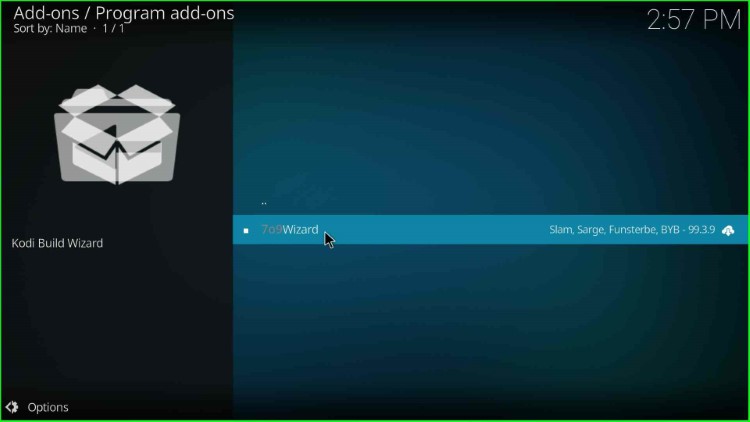
Inside it, select the Program add-ons.

Tap on Program addons

Now, choose the 7o9Wizard from the screen.

Choose 7o9 Wizard

Tap on the last key, Install.

Select the Install key

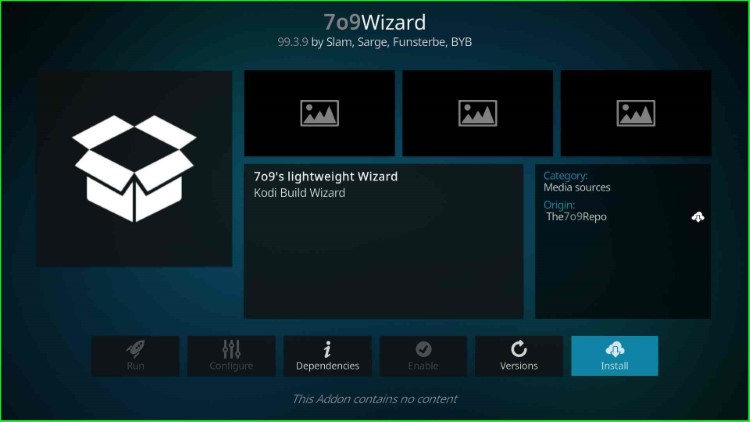
Wait for the complete installation of the 7o9 wizard addon.

Wait until 7o9Wizard installed completely

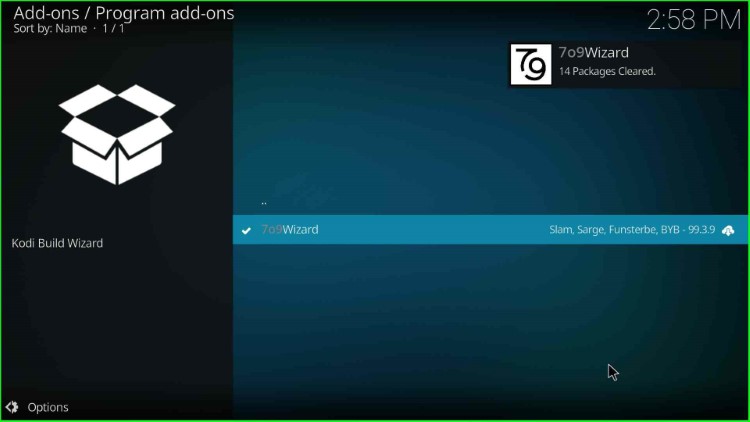
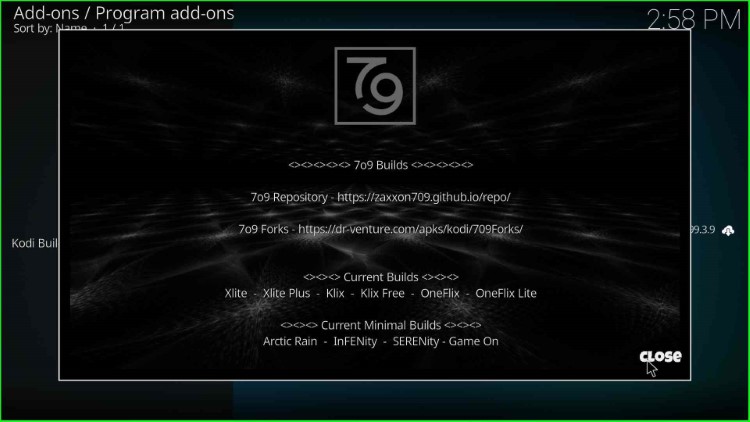
After installation, a popup window will appear; click on the Close button.

Tap on Close

Install OneFlix Build

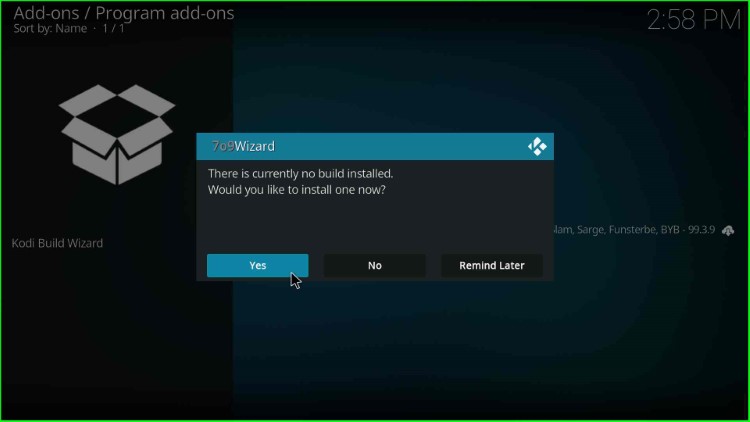
Again, a small popup box displays with the text, “There is no build currently installed. Would you like to install one now”. Tap on Yes to go ahead.

Hit Yes

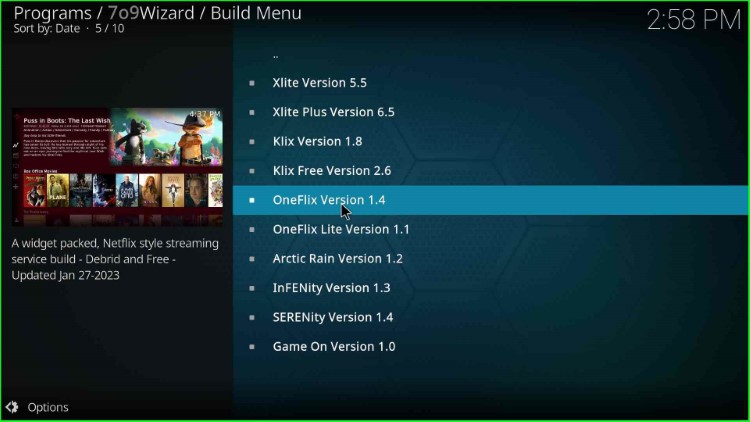
Here, choose the OneFlix Version x.x.

Click on OneFlix Build

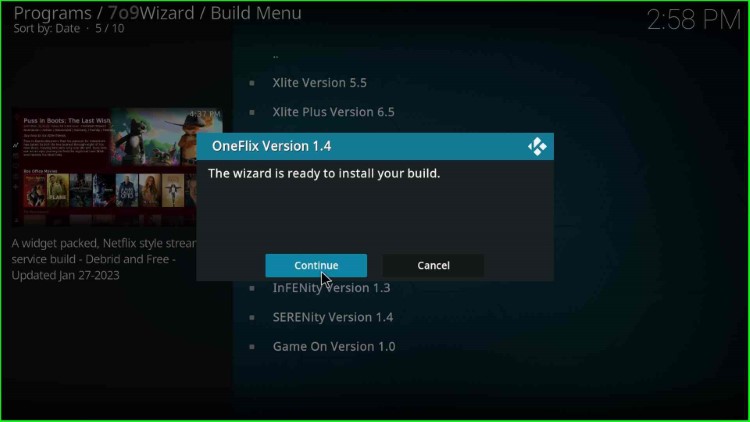
Hit the Continue key to install the Build.

Click on the Continue button

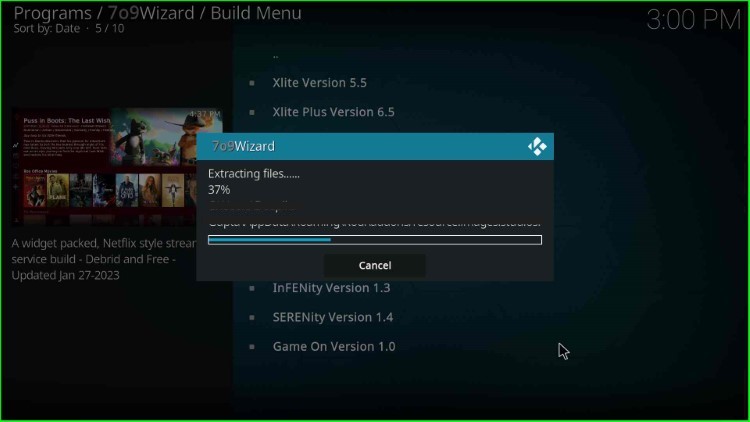
The OneFlix Build begins installing; wait for its complete installation.

Wait for OneFlix Build installation

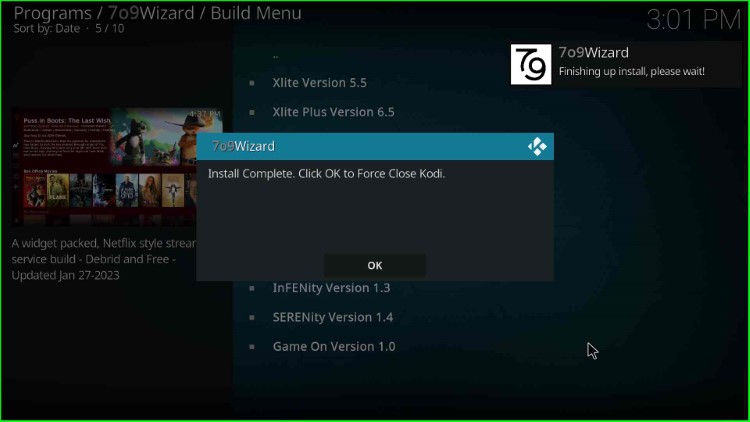
The 7o9 wizard popup box will appear with the message “Install Complete. Click OK to Force Close Kodi”. Then, click OK to close it.

Tap OK

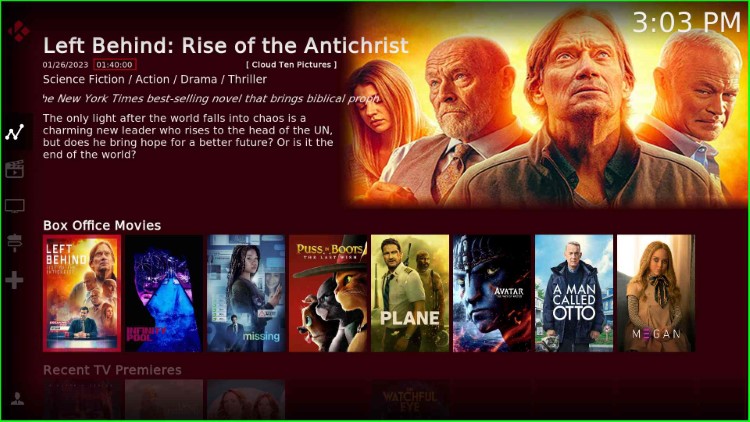
Start the Kodi app and stream your favorite shows on the OneFlix dashboard.

Start Kodi app

Final Words

In this article, we have written all the required steps to install OneFlix Build on Kodi. So, try to install it on your device by following the above-given steps. If you find any error in installing the OneFlix Kodi build, feel free to ask through the comment section.

Before you start streaming on Firestick Apps/Websites, I would like to warn you once again that we do not know from where these Apps, Websites, Kodi Repositories, Wizards, Builds, and Addons fetch the streams.

The content you stream on Firestick Apps may be copyrighted and may land you in legal trouble even if you stream them unintentionally. Most of all, ISPs, Government, and authorized companies may monitor your online activities like streaming copyrighted movies, videos, TV shows, live shows, animes, etc.

To stay protected, and to get an exceptional streaming experience, I suggest you use IPVanish which is the fastest, most secure, and military-grade encryption VPN for Firestick. In addition, IPVanish hides your original IP address, encrypts your internet connection, and bypasses bandwidth throttling and geo-restrictions.

I have been personally using IPVanish for a couple of years and what I can say is that IPVanish is the best VPN for Firestick Apps in all aspects for all devices because the VPN unlocks geo-restricted streams and enhances my streaming experience.

Disclaimer: VPNHacks.com does not support or encourage piracy and copyright infringements in any form. You should abide by the rules and regulations in your country. We just want to protect you because sometimes you may end up streaming copyrighted content unintentionally.

American Football, Percentage Savings & Limited Time Offer
Till 26th Sep 2023: Only $2.99/Month

Taking an IPVanish VPN Subscription is really simple.

1.       First, subscribe to IPVanish by clicking here.

Most of all IPVanish comes with a 30-day money-back guarantee. You can get a full refund if you are not satisfied (I do not think you will be) with IPVanish and they do not ask for any reason.

2.       Once you subscribe to IPVanish, download the IPVanish app and open it. Enter your e-mail and password and click on the “Log In” button.

Login to IPVanish App

3.       Once you are signed in, select the VPN Server location that you want to connect to and click on the connect option.

Choose the VPN Location

4.       After that, you will see that your IP address has been changed. This way, you can protect your privacy and have an exceptional streaming experience.

Connect the Server

Grab IPVanish Hot Deal: Subscribe for as low as $2.99/Month

Related Guides:

James is the Co-founder of VPNHACKS.COM. He is a streaming geek and a privacy expert. James streams over different devices like Firestick, Kodi, Roku, Shield, Boxes, Google Chromecast, and Apple TV. IPVanish VPN is his favourite VPN for streaming. more...

Leave a Comment

American Football IPVanish VPN offer