This tutorial has covered all the details regarding the Widgetry Kodi Build installation process. You can easily apply all the steps for Android TV Box, Firestick, Windows, Mac, iOS, Fire TV Cube, Google Chromecast, and, Rasberry Pi platforms. Let’s discuss the Widgetry Kodi Build.
Widgetry Kodi Build is one of the great Kodi Builds on the cMaN Wizard Repository. It contains various streaming genres to explore, like Live TV, Movies, TV shows, and, Sports. Also, the Build ensures you get fresh and trending content as per your streaming choice.
Aspire Build, Grindhouse, Diggz Xenon, Luxray, Hardnox, Smokin, and Doomzday Builds are close competitors of Widgetry Build and are being used as the best alternatives to Widgetry Build.
Following are the steps for installing the Widgetry Kodi Build.
Installation Steps
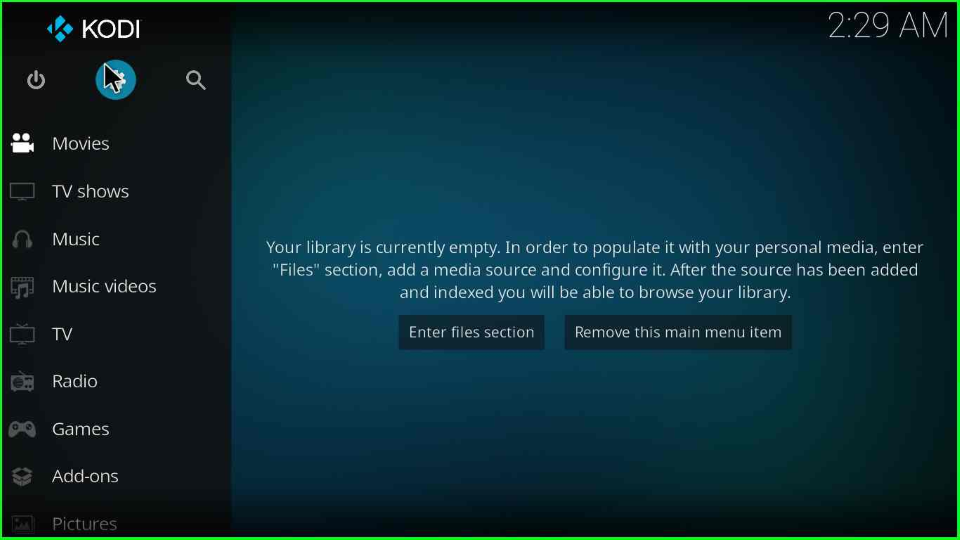
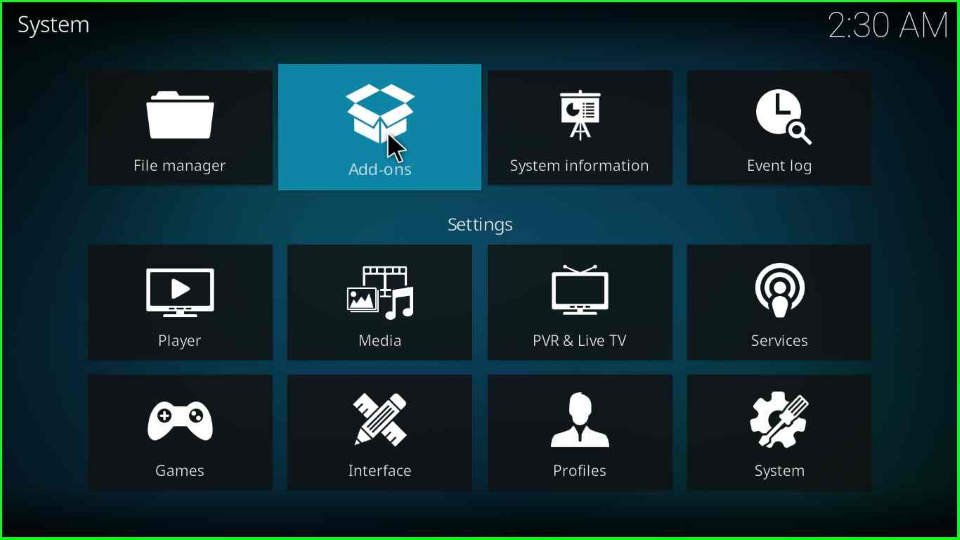
Switch on your device viz. Firestick, Google Chromecast, Windows, etc., start the Kodi app and select the Settings option.
Hover over the System tab and click on it.

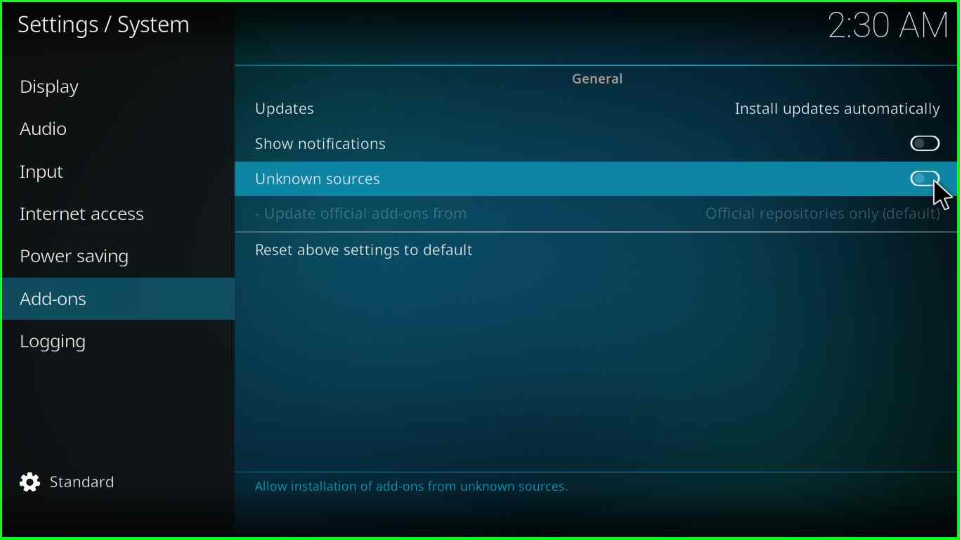
Put the cursor on the Add-ons tab and turn on the right-side switch of the Unknown sources.
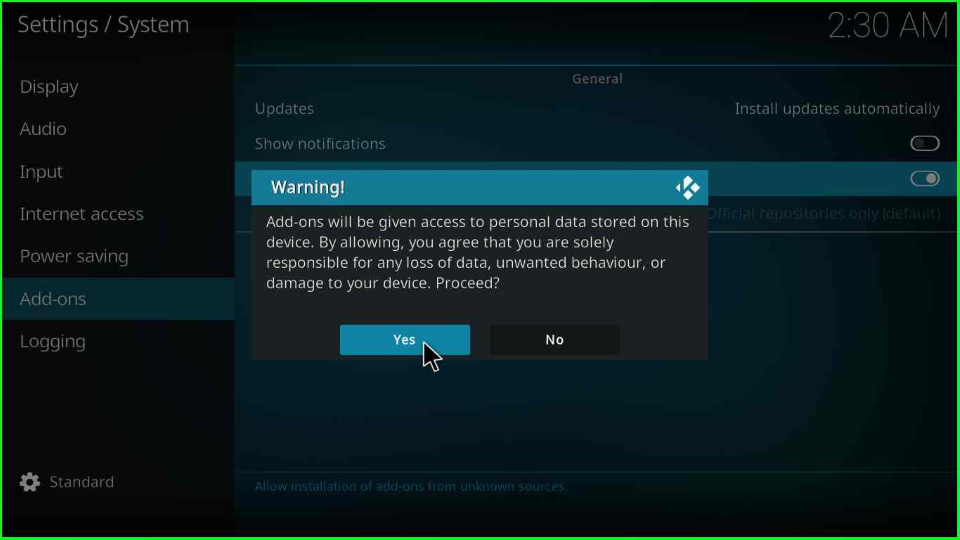
Tap the Yes button that appears on the warning popup.
Add Media Source and Repository
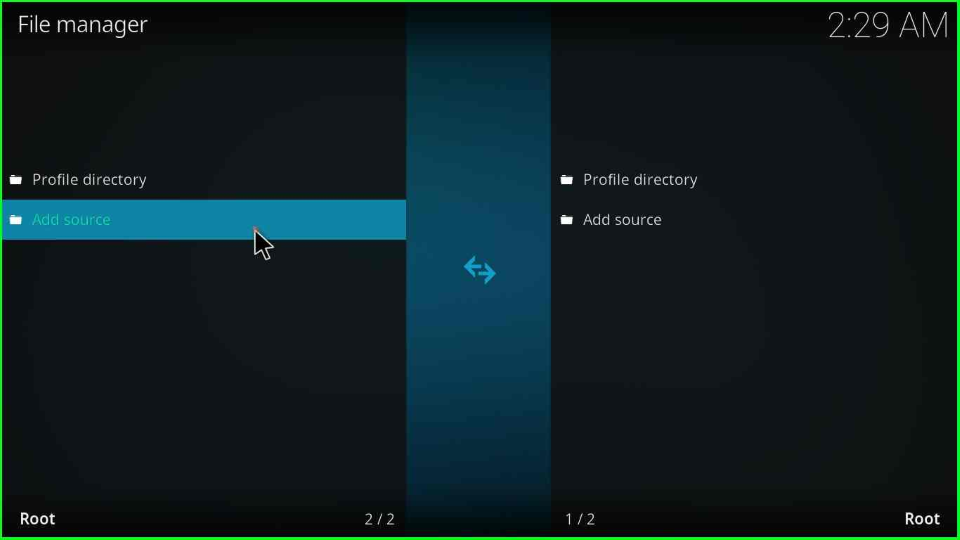
Select Settings and click the File manager key.

Go to the Add source option visible on the File Manager tab.
Select the top option <None>.
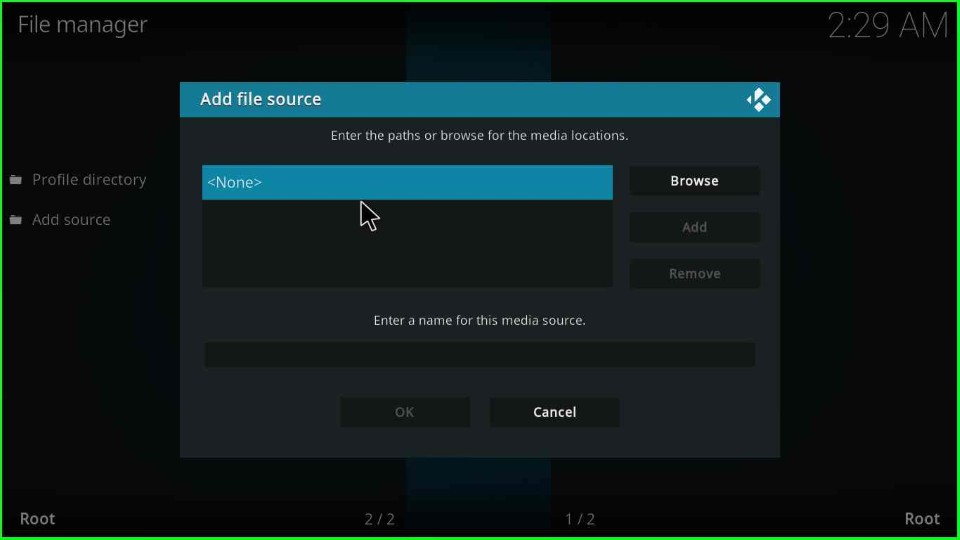
A screen shows blank text inside the Enter the paths or browse for the media locations label.
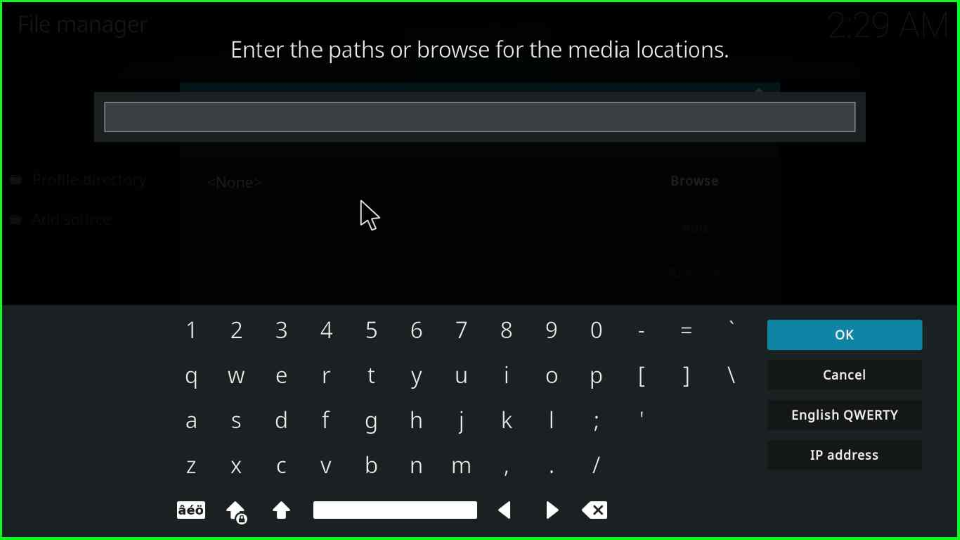
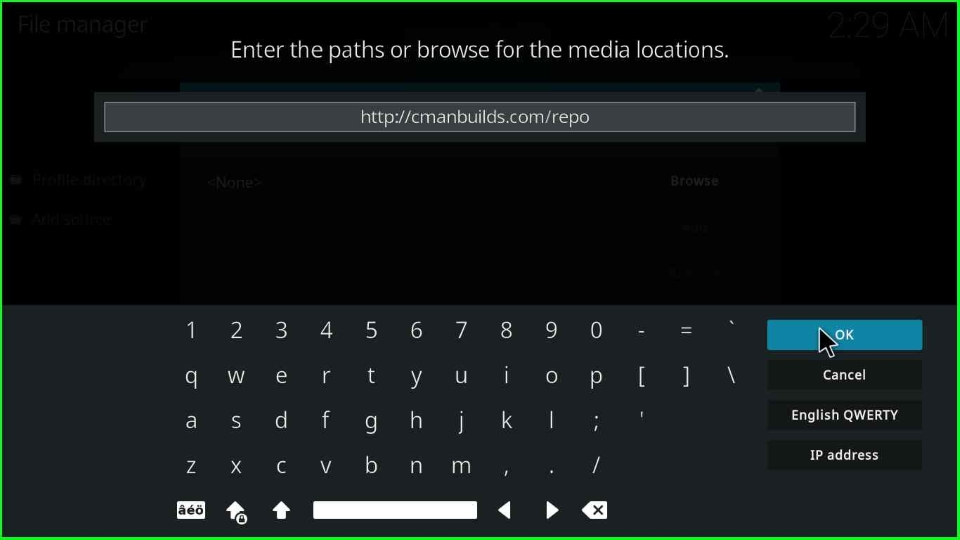
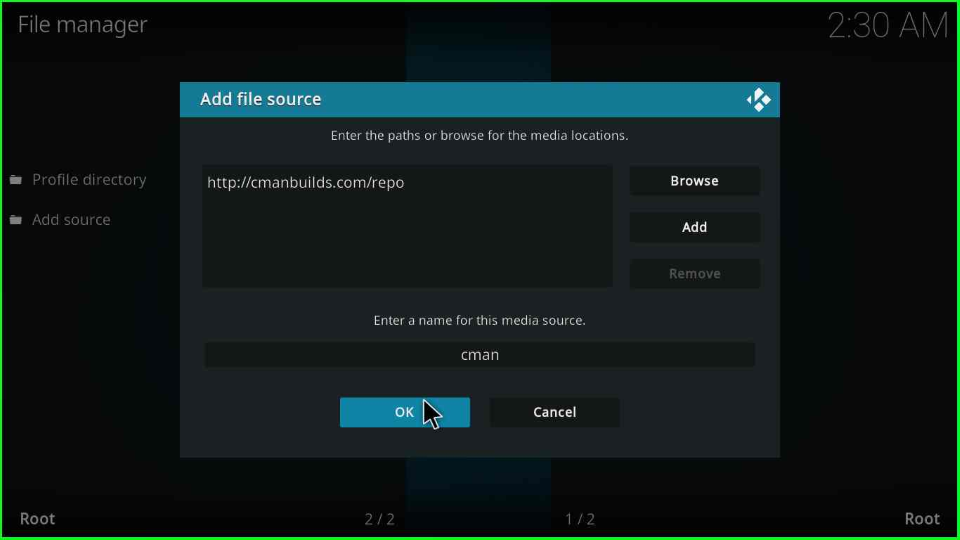
Type the path URL as http://cmanbuilds.com/repo and click on OK.
Click on the bottom section of the popup box.
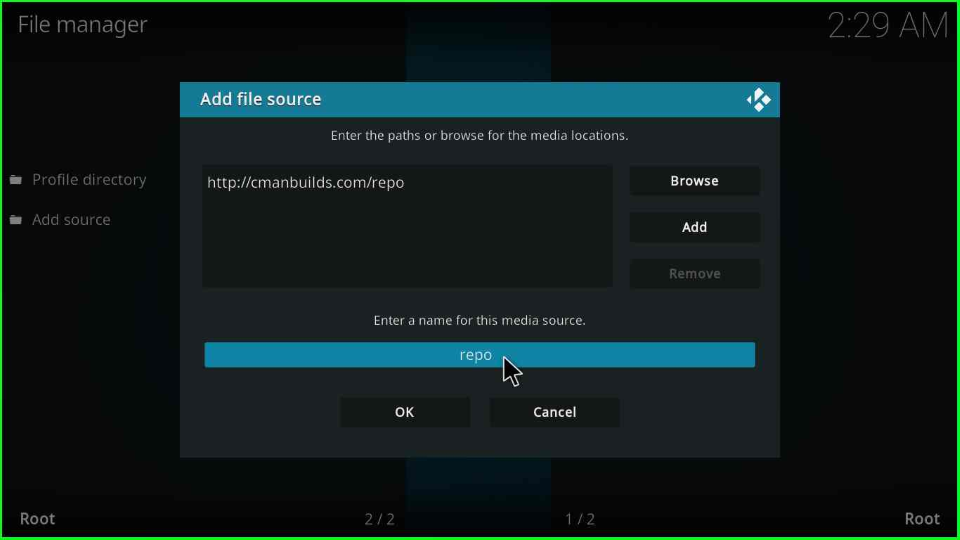
The page shows an existing source name repo.
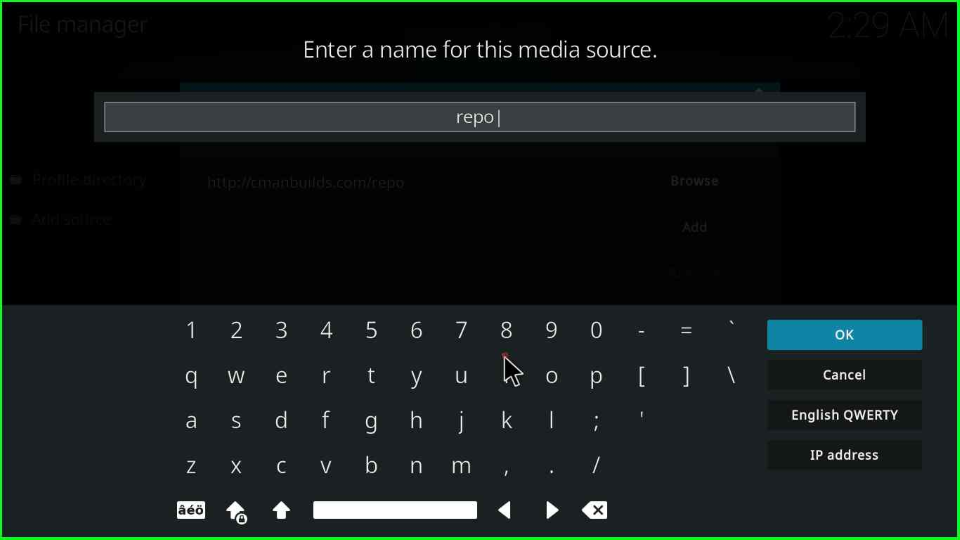
Remove it, enter a new source name, cman, and tap OK.
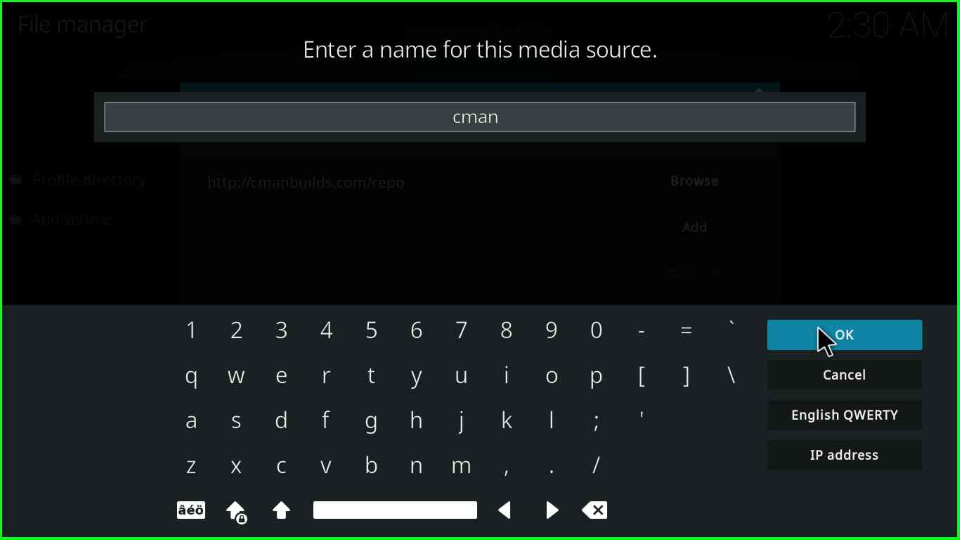
Double-check to verify all entries are right, then click OK to submit.
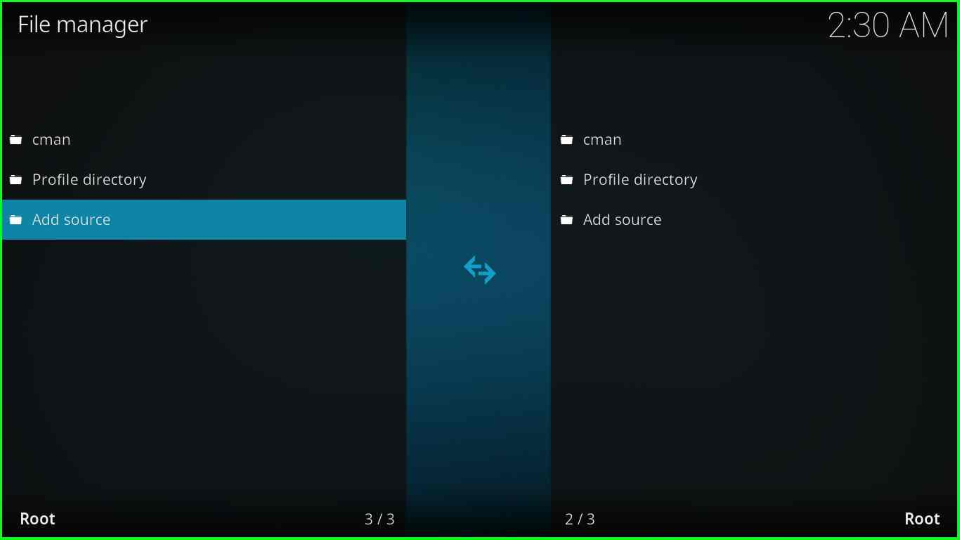
You will see your media directory cman at the top of the File Manager window.
Install from Zip File
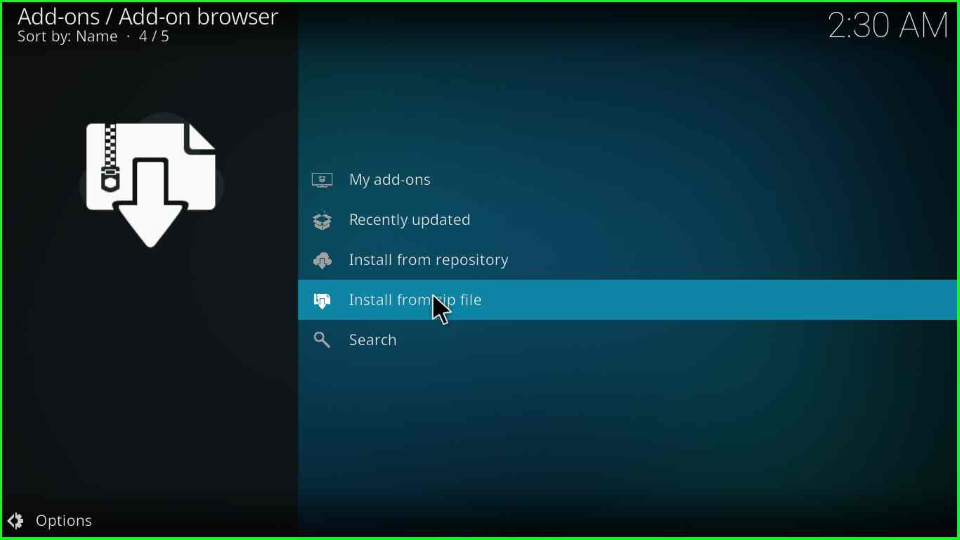
Press the escape key to move toward the Settings screen. Now, choose the package logo Add-ons option.
Pick Install from the zip file label.
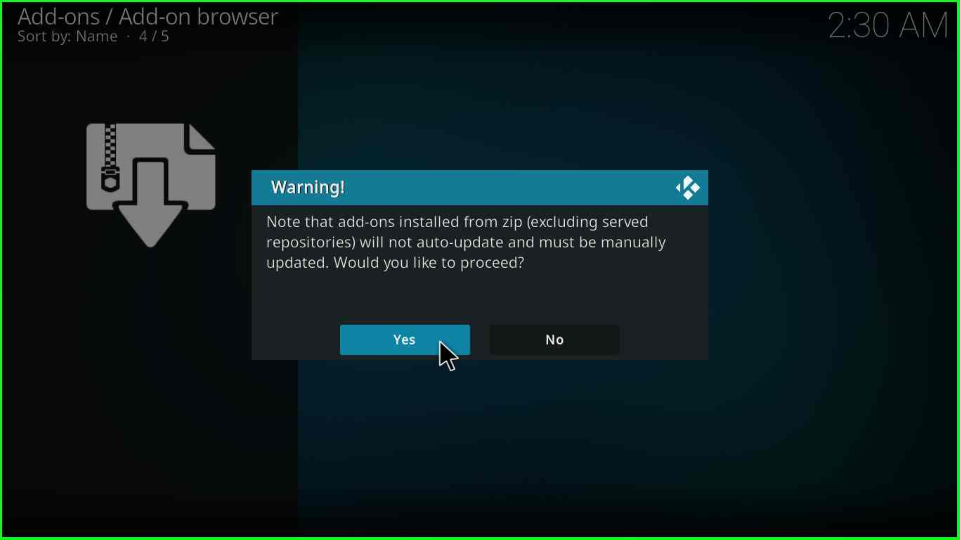
A warning box will pop up; click Yes to accept it.
Thereafter, choose the cman directory.
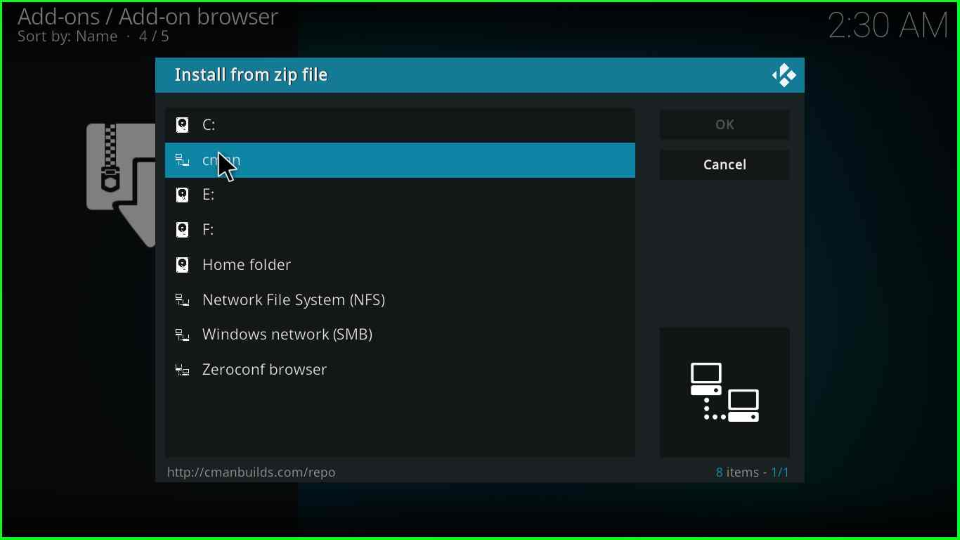
The cman folder consists of the repository.cMaNWizard.zip zip file URL. Select it.
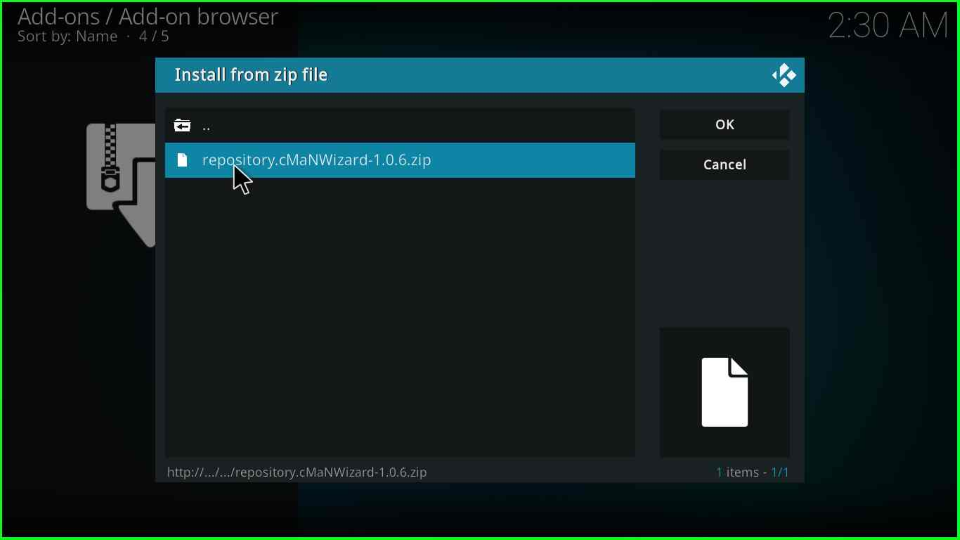
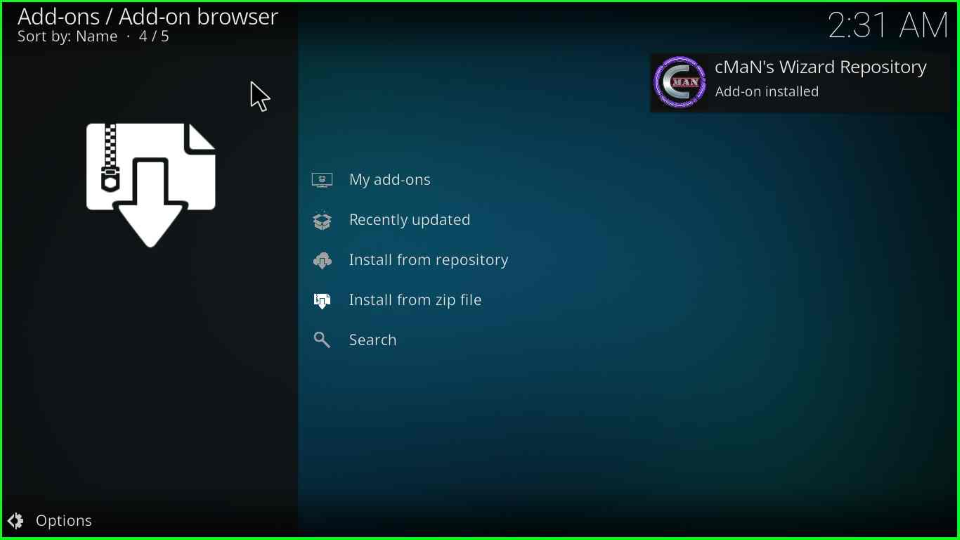
Wait for the “cMaN’s Wizard Repository installed” notification to appear at the top right of the window.
Install from Repository
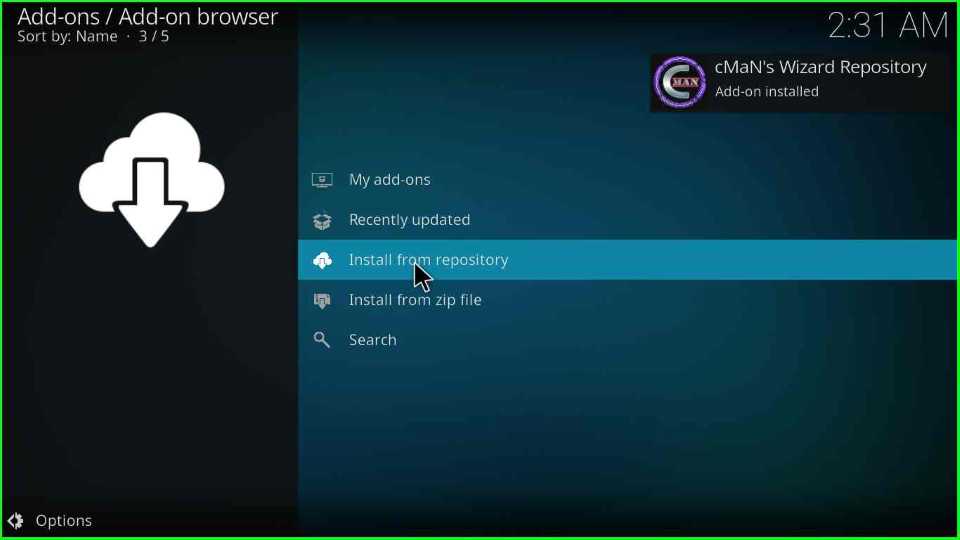
Now, hover over another option, Install from the repository.
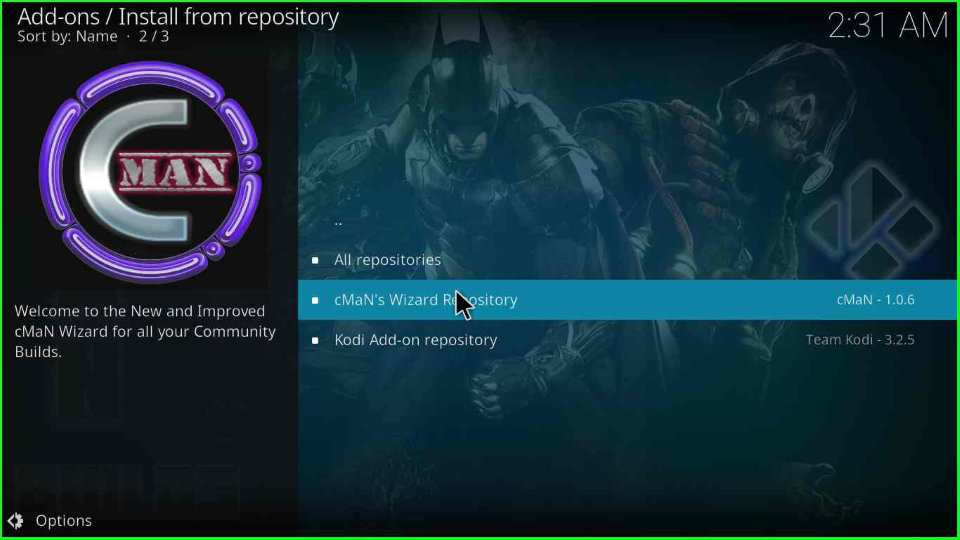
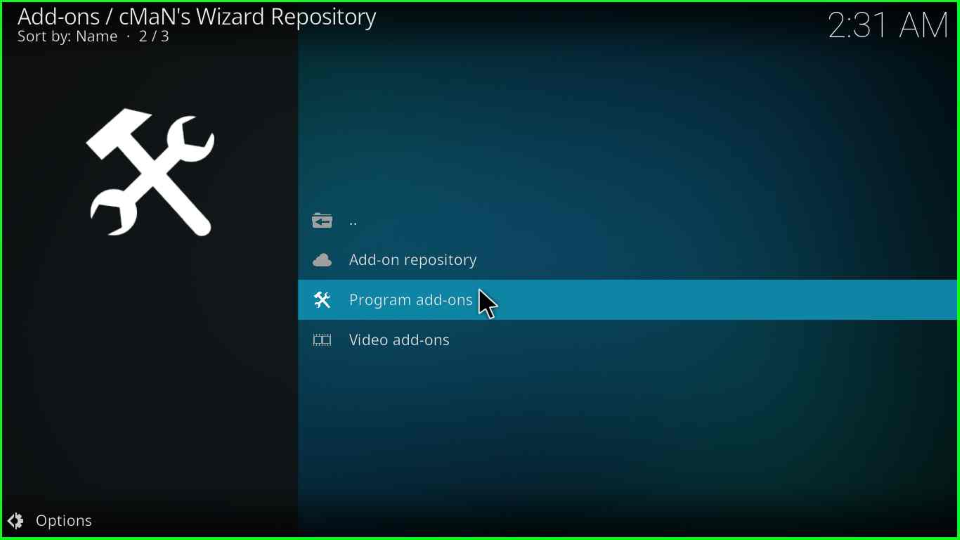
Select the cMaN’s Wizard Repository from the page.
Install cMaN Wizard
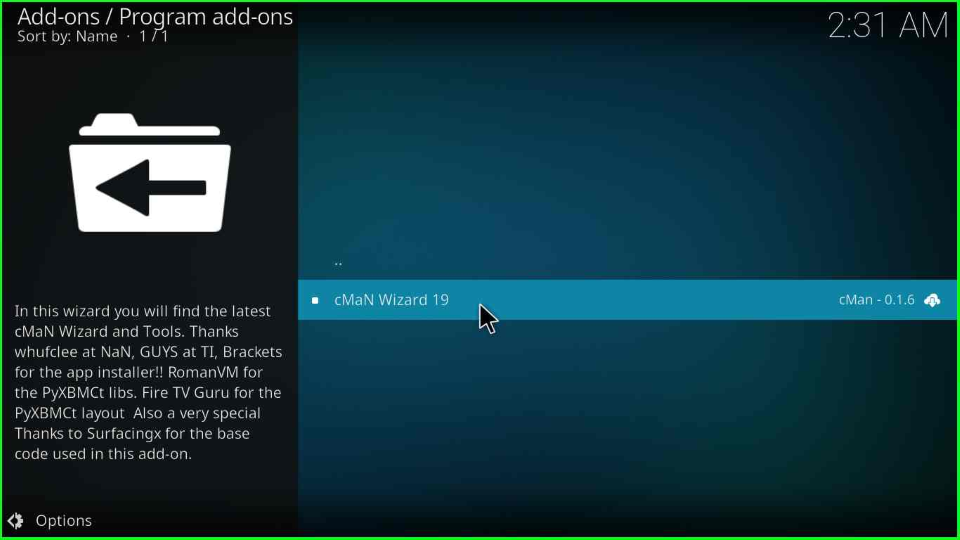
Inside it, go to the Program add-ons.
Click on the single option, cMaN Wizard 19.
Press the Install tab from the bottom right corner.
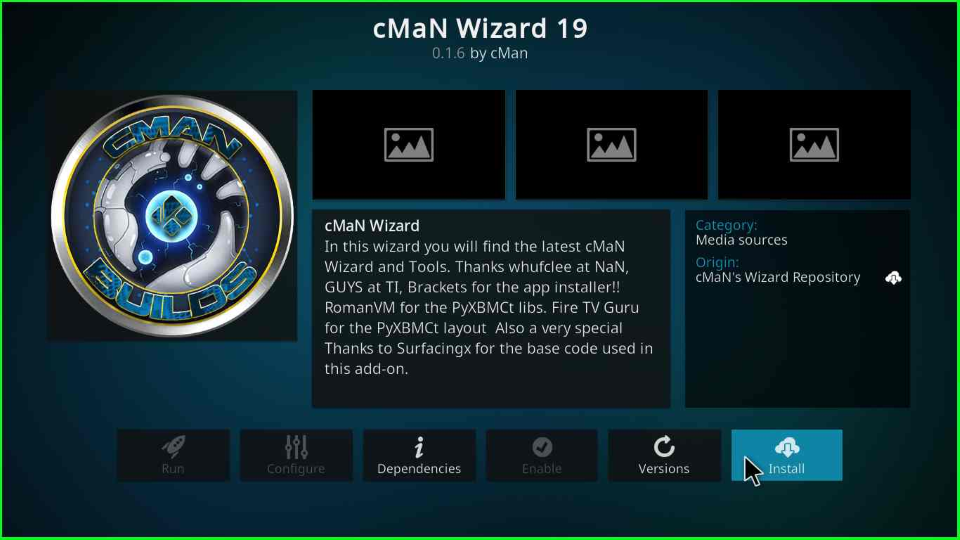
After a few seconds, you will receive a cMaN Wizard installation message.
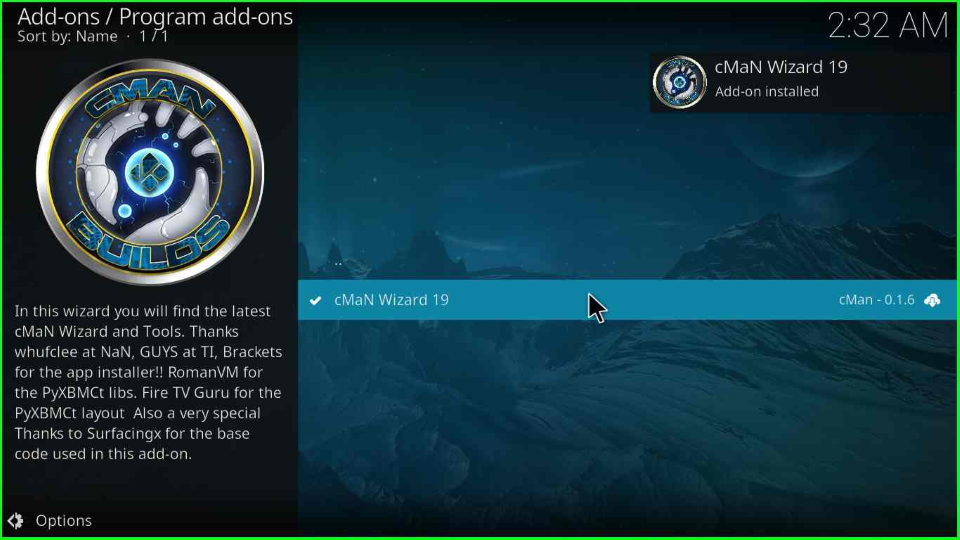
Install Widgetry Build
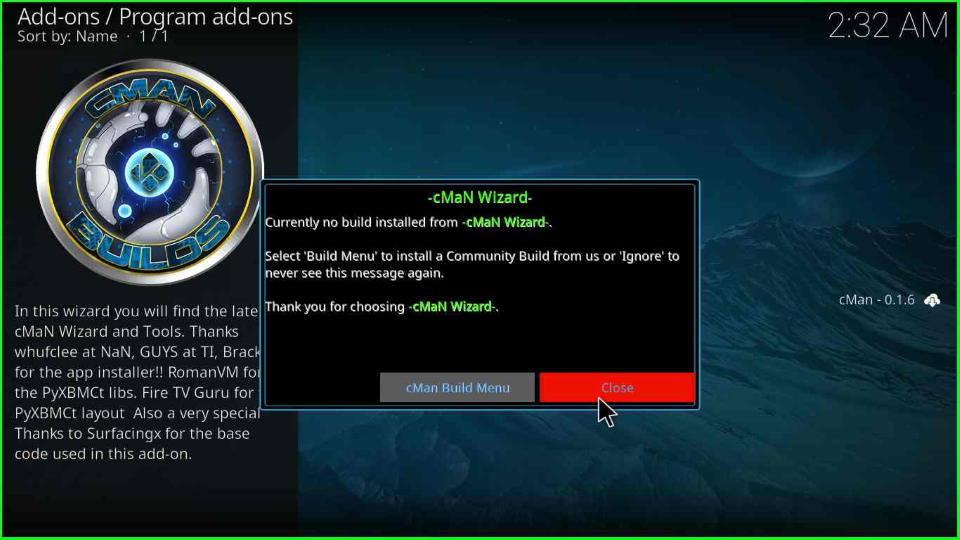
Tap the Continue key to move ahead.
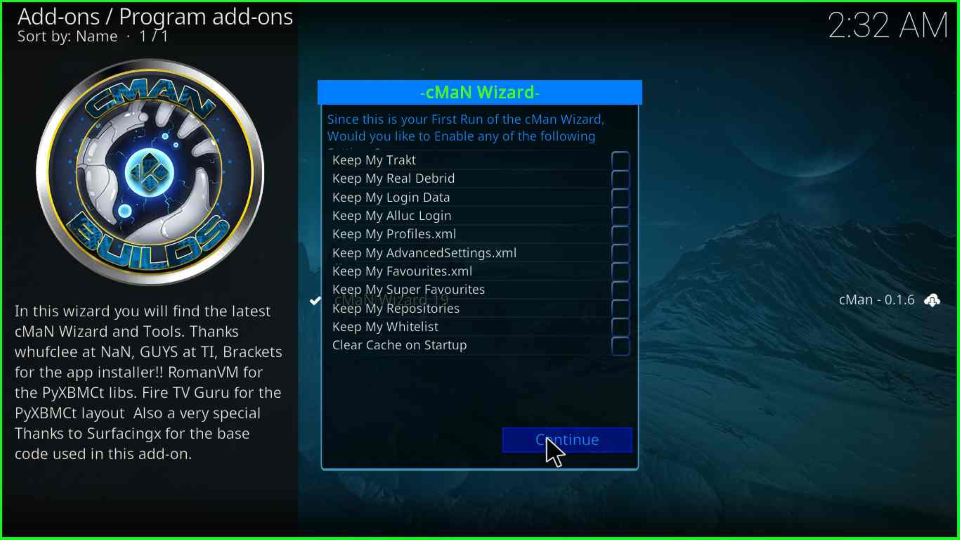
Select the second option, Close, as shown on the cMan Wizard box.
Go back to the Home screen, select Add-ons, and open the cMaN Wizard 19 icon available inside the Program add-ons.
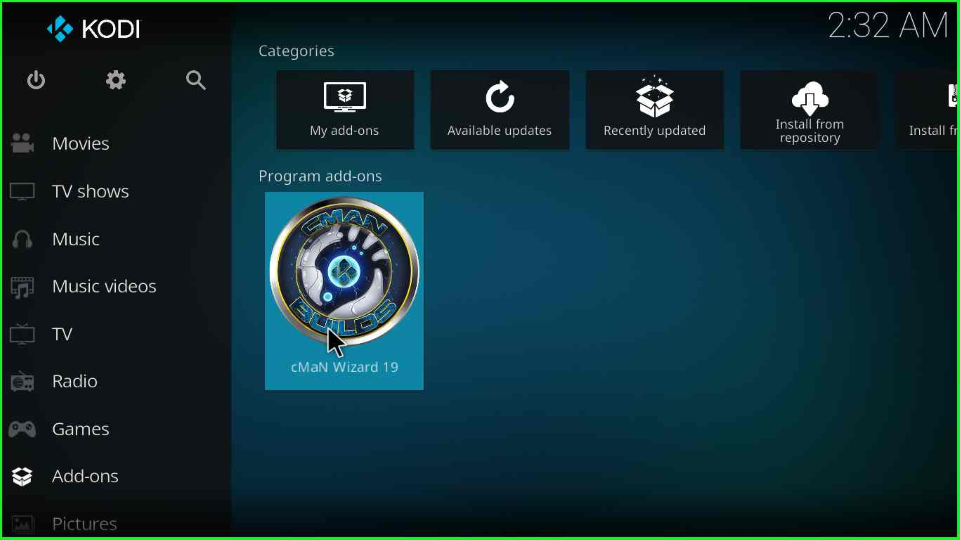
The cMaN Wizard dashboard will appear soon.
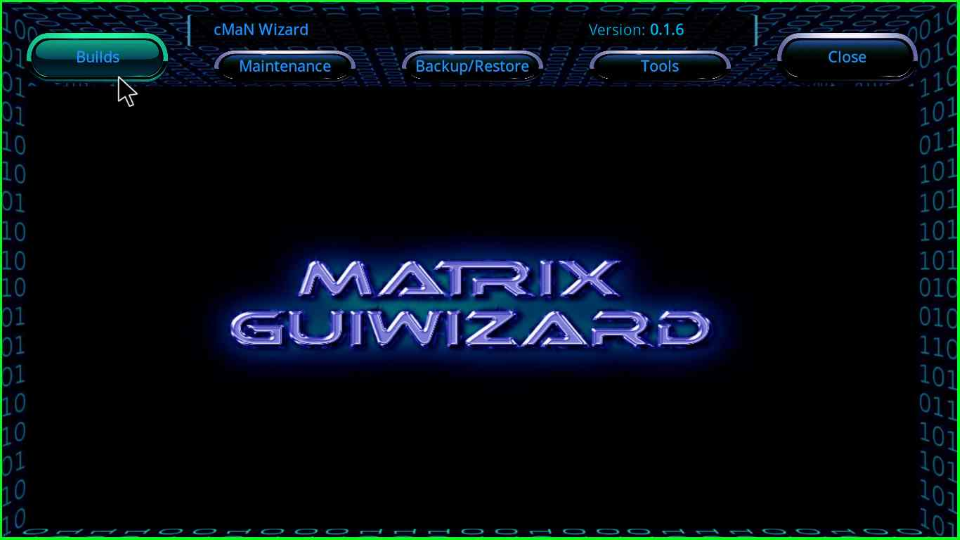
Click on the first tab, Builds.
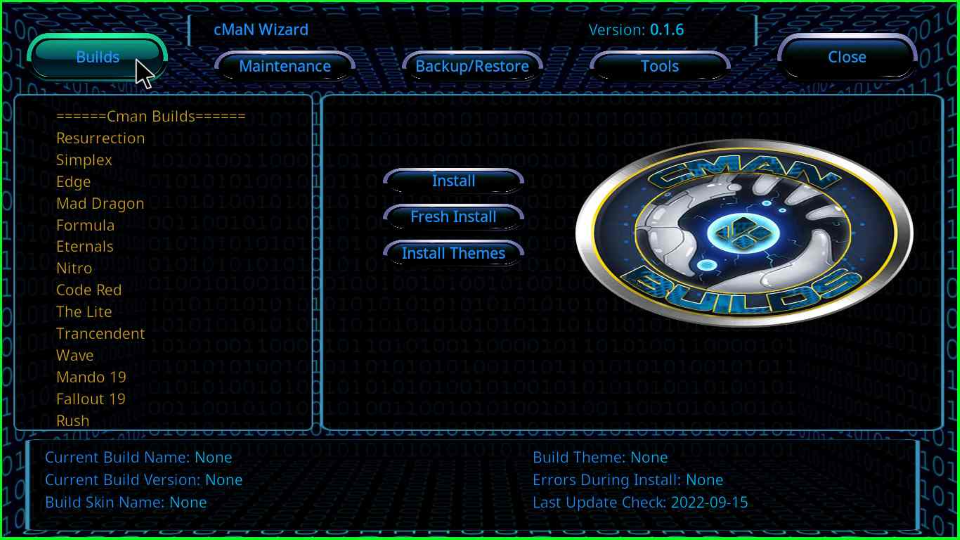
The tabs display a list of Builds; scroll down and select Widgetry.
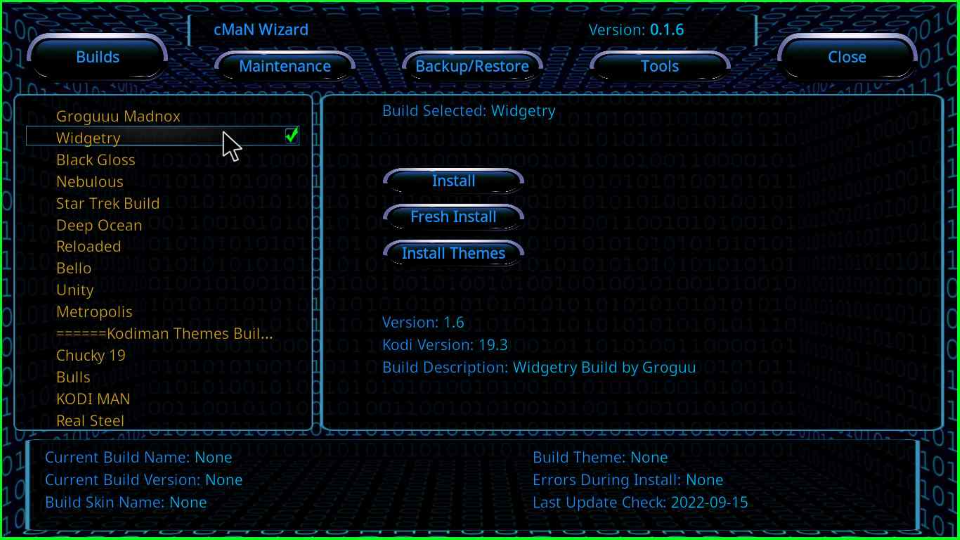
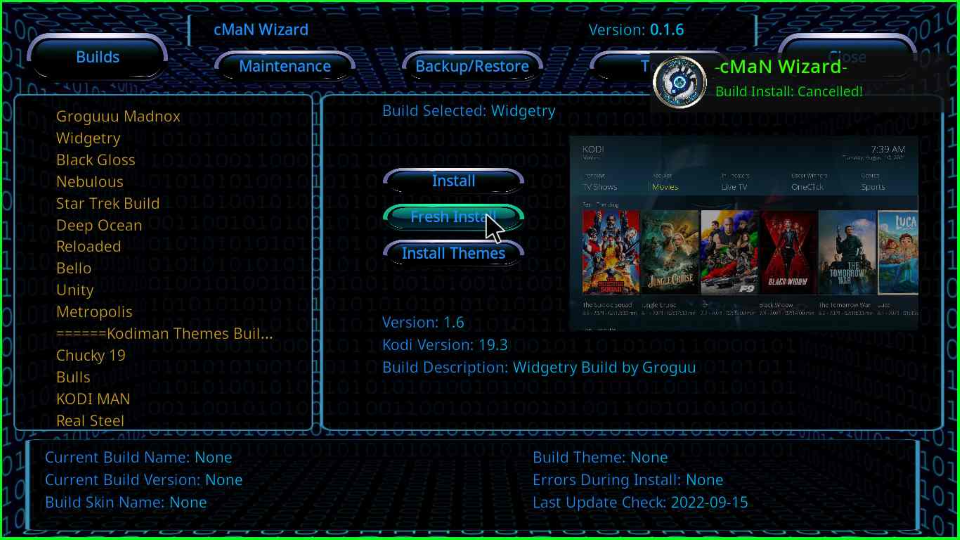
Choose the middle option, Fresh Install.
Next, tap Yes to fresh install Widgetry Build.
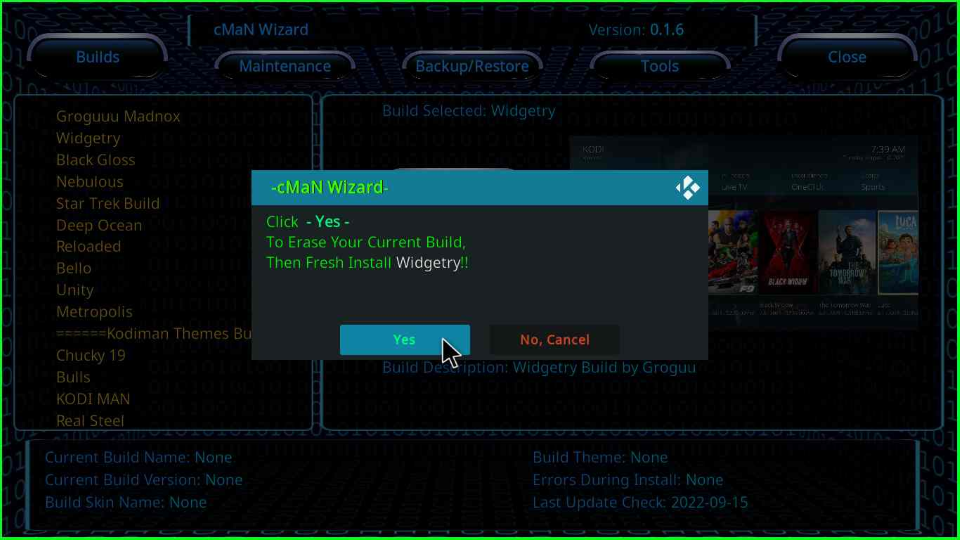
After clicking on Yes, a loading bar starts the installation process.
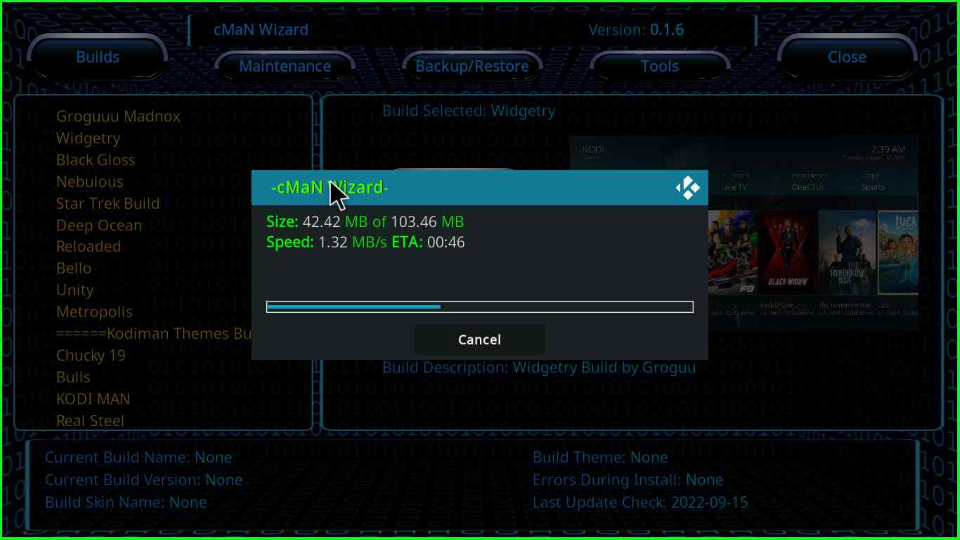
Wait for the completion of the progress bar.

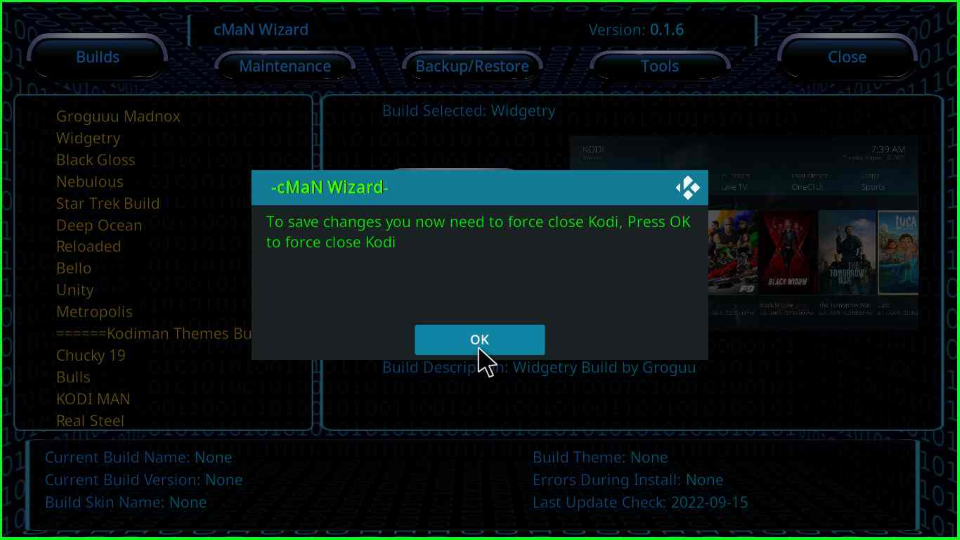
Click OK to save the latest changes and force close the Kodi app.
Look for different streaming options.

Widgetry Kodi Build Questions
Some of the top Builds of the cMaN’s Wizard are Mad Dragon, Edge, Simplex, Nitro, The Lite, Wave, Rush, Code Red, Formula, Eternals, Bello, Bulls, Unity, Deep Ocean, Reloaded, Black Gloss.
No, Widgetry Build belongs to the unofficial or third-party cMaN repository.
Wrap Up
At last, I hope that you liked the article from start to end. Then, please share it in your circle. So, they can also take advantage of it. Besides, you can contact us anytime if you face any problems during the installation process.
