Home » Kodi » TVOne Kodi addon: Installation on Kodi Nexus

TVOne Kodi addon: Installation on Kodi Nexus

In this guide, we will learn how to install the TVOne Kodi addon on Firestick, Android, iOS, Android TV, Mac, Fire TV Cube, Linux, Windows, and supported devices.

TVOne is a great live addon for Kodi that lets you stream TV channels of different countries, i.e., USA, Canada, UK, etc.

Here, all channels are available in different sections, including kids, food, news, entertainment, documentaries, sports, music, etc.

The best thing about the addon is that it works on the single-click play method, where you have to just select your favorite channel or TV show, and it starts streaming. You can install the addon easily through the Narcacist Wizard Repository.

Attention! Before You Move Ahead.

I want to warn you that whatever you stream online is visible to the Government, ISPs, and Third Parties. Personally, I dislike someone snooping on my online activities.

Currently, your IP address 34.228.52.21 is visible to everyone.

Hence, I suggest using the most secure VPN, i.e. IPVanish VPN which has military-grade encryption. Also, IPVanish enables buffering-free streaming, hides your IP address and location, and bypasses geo-restrictions and bandwidth throttling.

Black Friday Offer: Save 81%: Only $2.49/Month

Note:- Streaming copyrighted content without a license is illegal and may land you in legal trouble. VPNHacks.com does not encourage piracy in any way.

Installation Steps

The installation steps for the TVOne addon are very simple. But, before proceeding further, you need to enable the unknown source of the device, and then install the addon. So, follow the steps below for quick installation.

Enables Unknown Sources

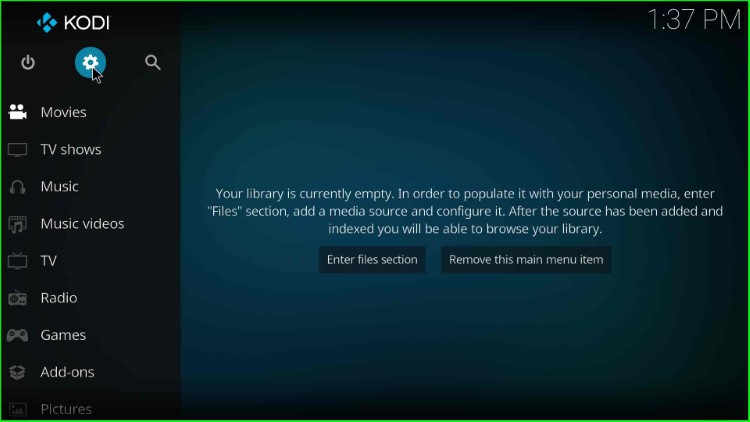
Navigate to the Kodi Settings by simply clicking on the middle gear icon.

Go to Kodi Settings

Let’s select the System tab.

Select System icon

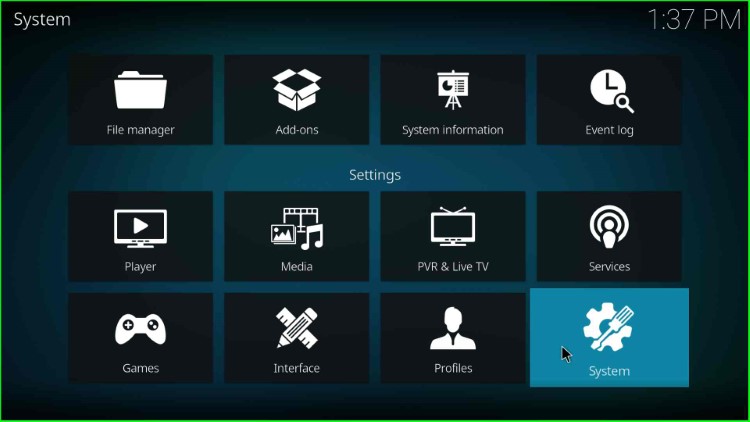
Here, you can look for the Addons option on the left side and tap on it. And turn on the Unknown Sources slider button.

Turn on Unknown sources button

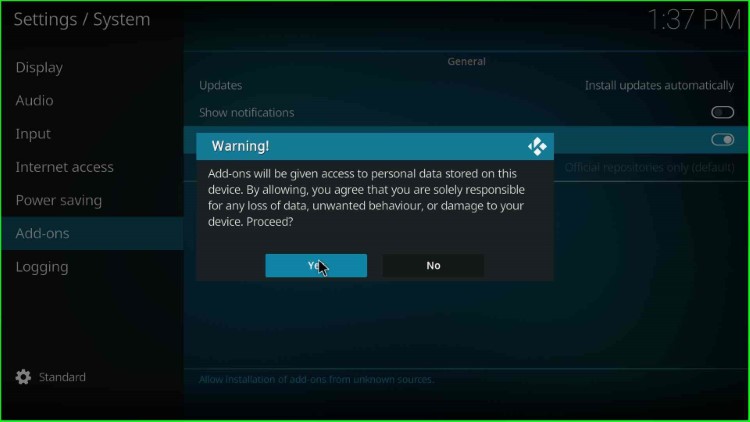
It shows a warning popup; click Yes to allow unknown addon installation.

Click Yes to agree

Add Media Source and Repository

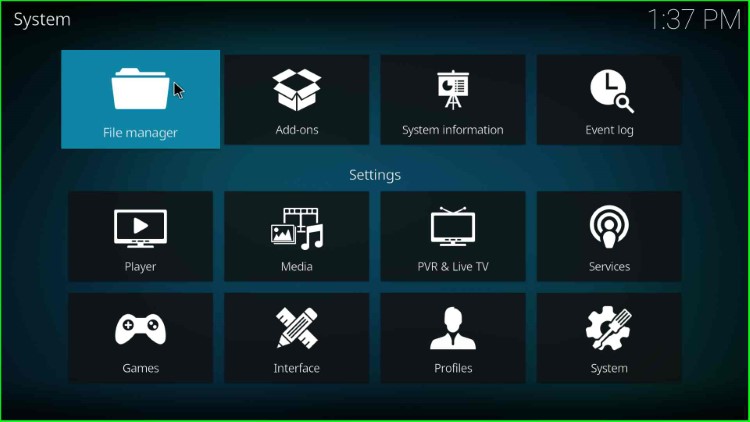
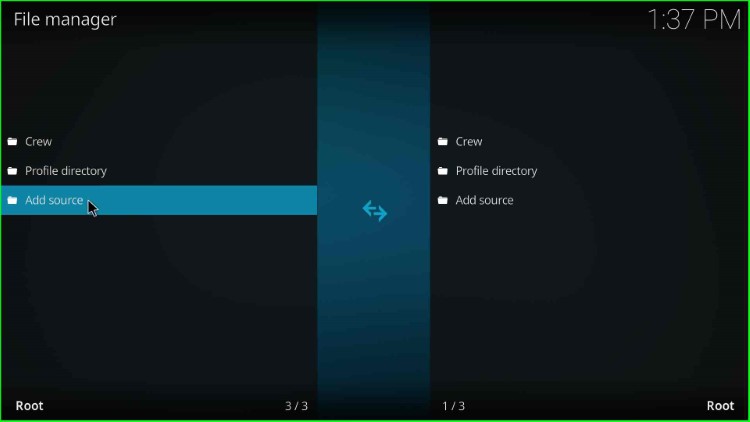
Go back to the Settings screen and choose the File Manager option.

Open File manager page

Now, click on Add source to add a new media source for the repository.

Add source for Narcacist Wizard repo

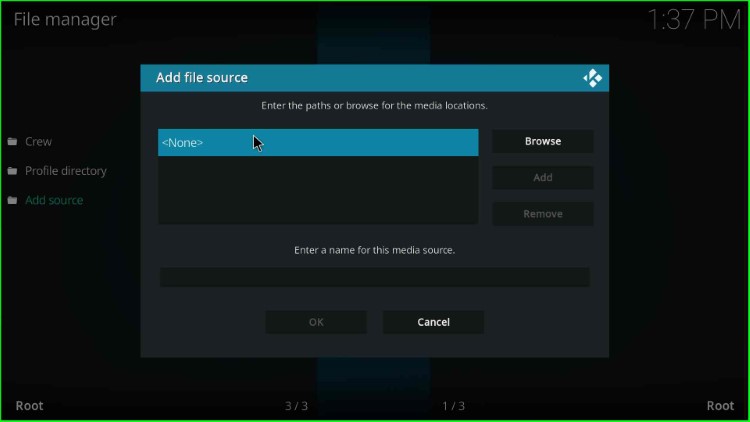
Tap on <None> to enter a new repository URL.

Choose None

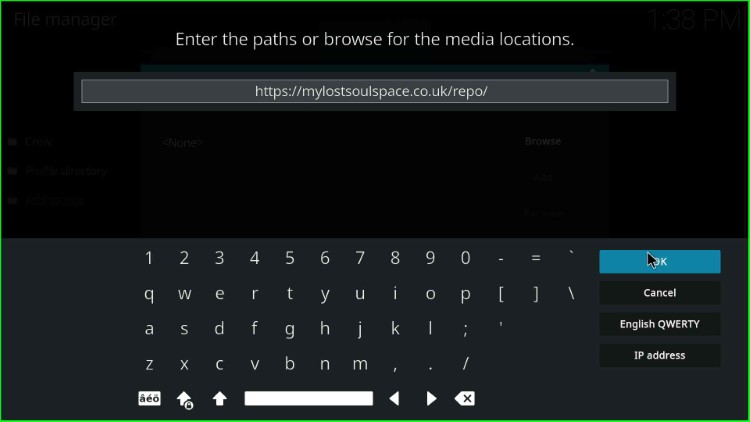
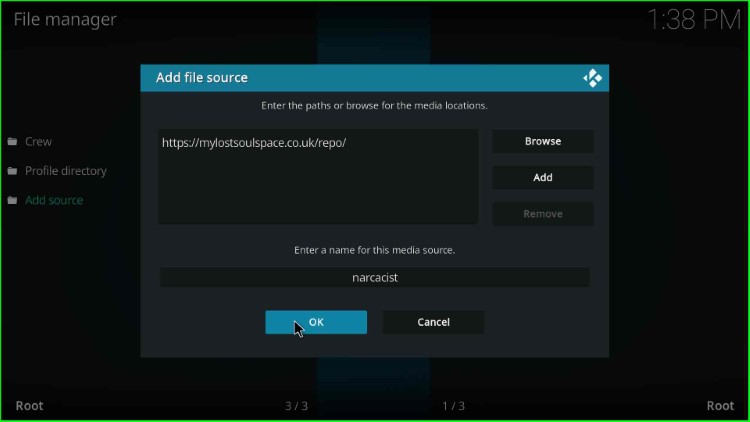
Here, enter the repository path as https://mylostsoulspace.co.uk/repo/ and press the OK key.

Enter Narcacist Wizard repo url

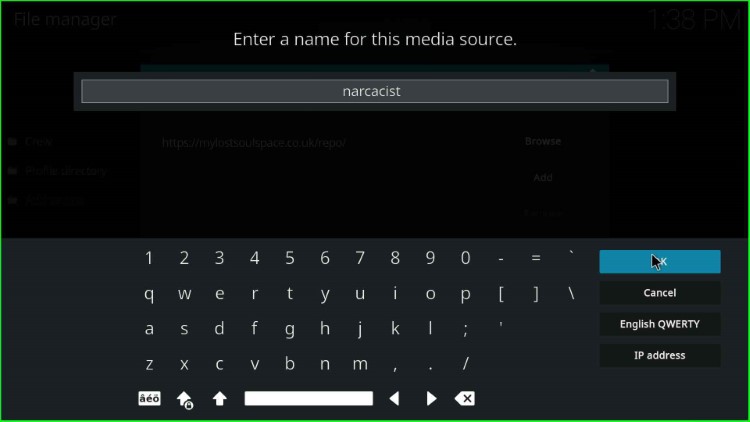
Click on the below section to change the existing source name.

Change bydefault source repo

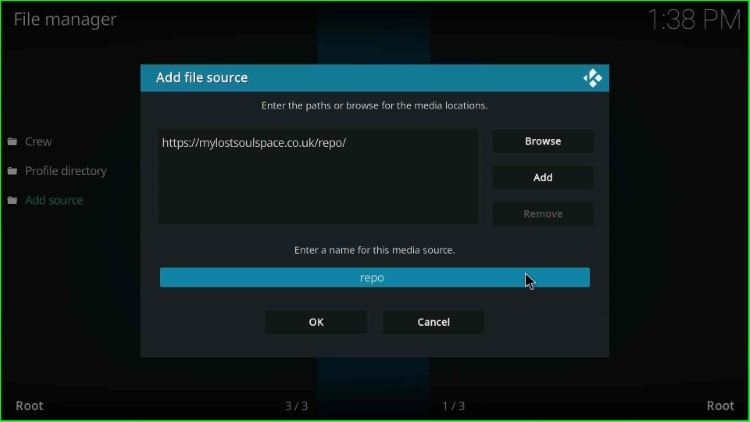
Type the new name for the media source here as narcacist and hit OK.

Add new source narcacist

Check the details once, and finally submit the OK button.

Check all entries and hit OK

On the File Manager screen, you can see your added media folder, narcacist.

narcacist folder added on the File manager page

Install from Zip File

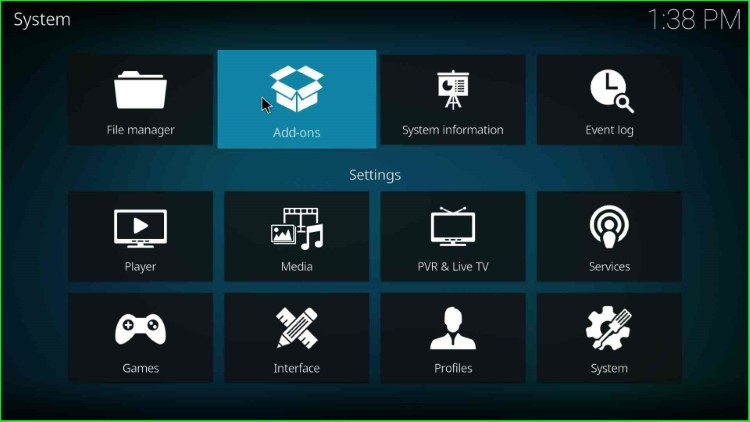
Press the ESC key to go to the Kodi Settings. Here, select the Add-ons package icon.

Click on Add-ons icon

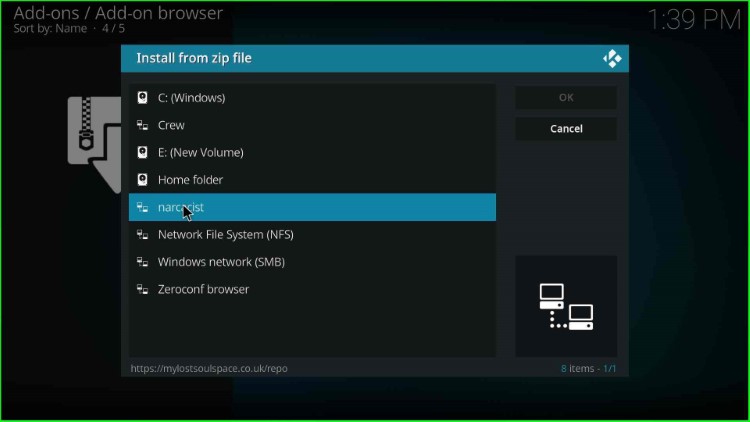
On the Addons page, tap on the Install from zip file.

Tap on Install from zip file

Thereafter, choose the media source narcacist.

Choose narcacist folder

Now, select repository.NarcacistWizard.zip file appears on the popup window.

Select the narcacist wizard zip file

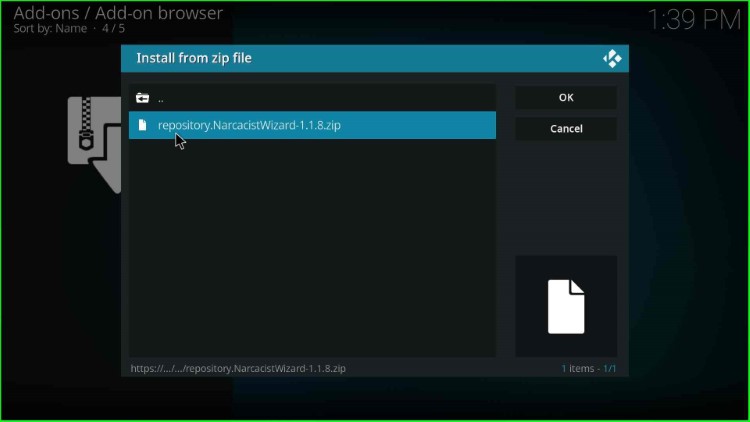
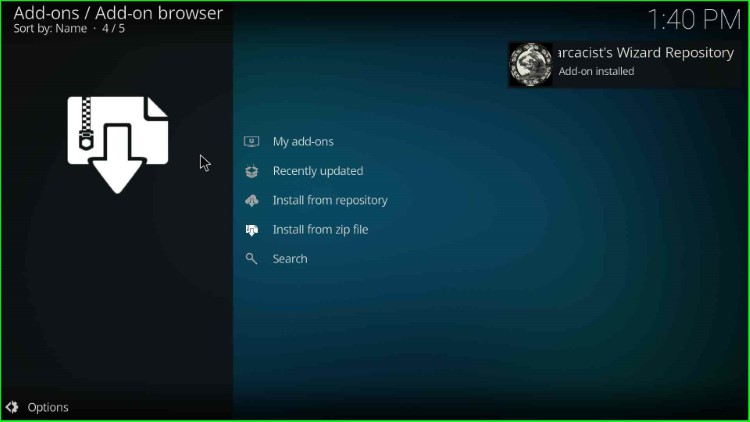
After clicking on it, the repository starts installing; wait for the notification Narcacist’s Wizard Repository Add-on installed.

Wait for Narcacist Wizard repo installation

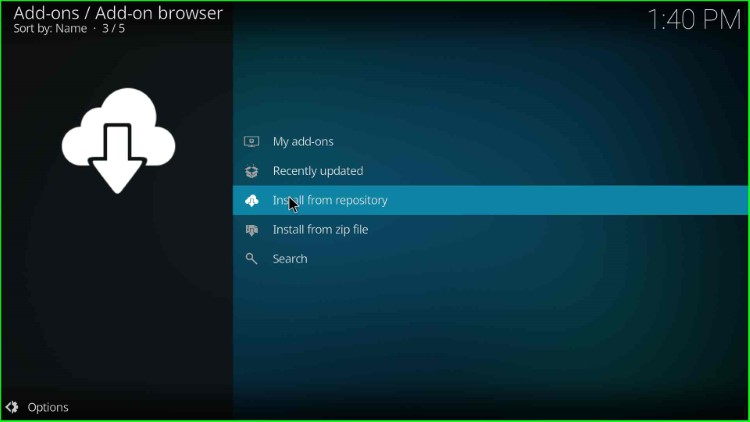
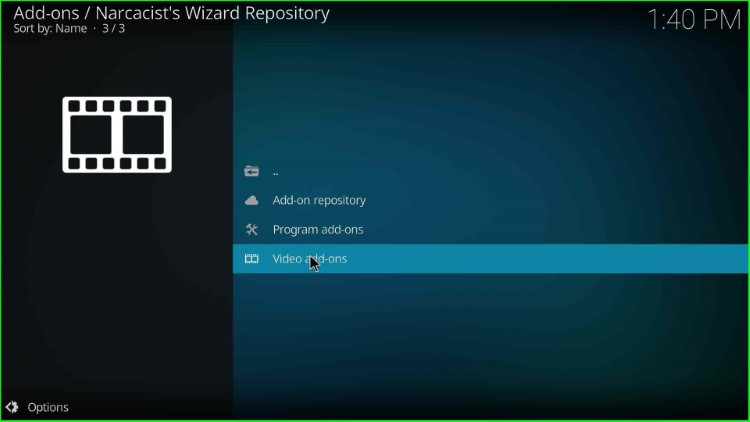
Install from Repository

Move ahead and click on the Install from repository option.

Tap on Install from repository

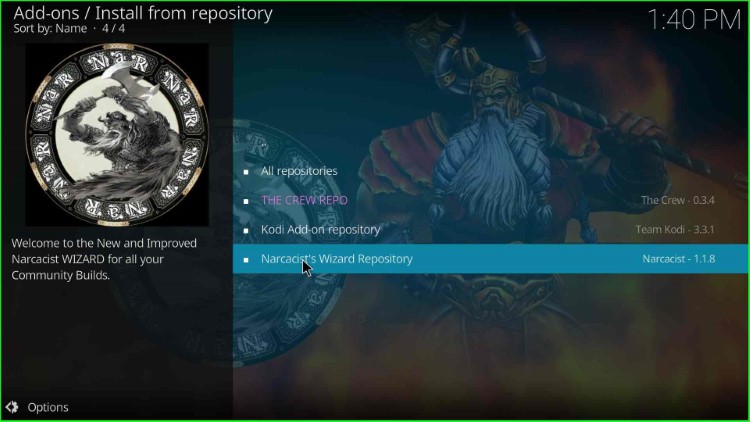
Choose the recently installed Narcacist’s Wizard Repository.

Choose Narcacist Wizard repository

Install TVOne Addon

Now, click on the Video add-ons.

Open Video add-ons

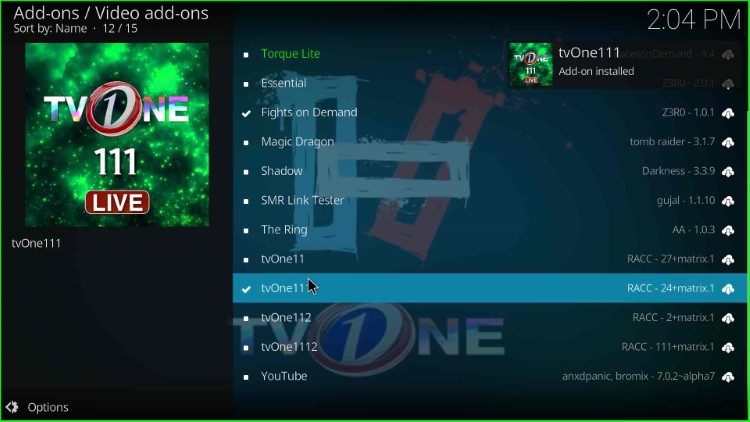
Scroll down the cursor and select the tvOne111 addon.

Click on tvone111 addon

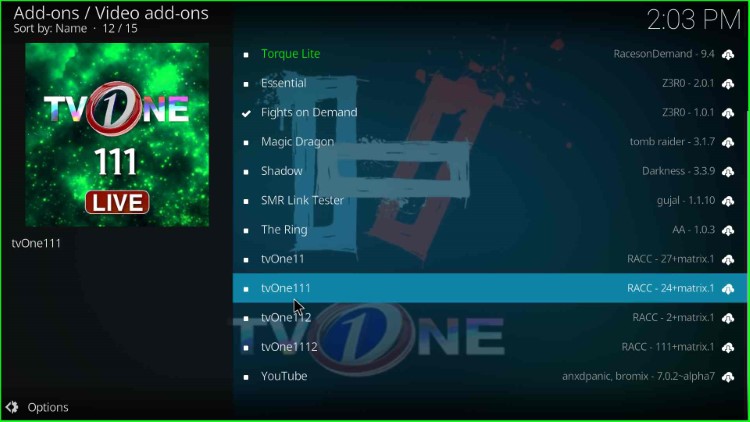
Hit the Install button available at the bottom right corner.

Hit the Install key

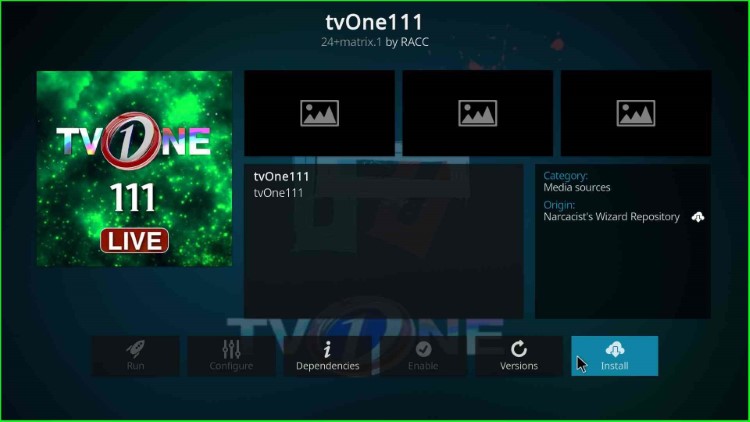
Wait a few moments for the tvOne111 Add-on to be installed on the screen.
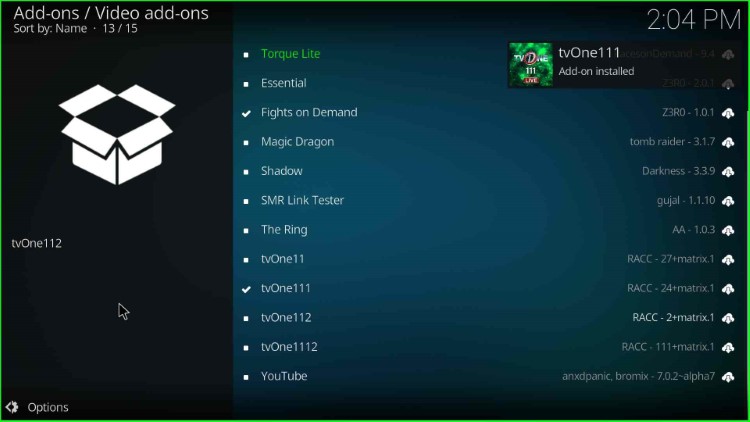
tvone111 add-on installed successfully

Launch TVOne Addon

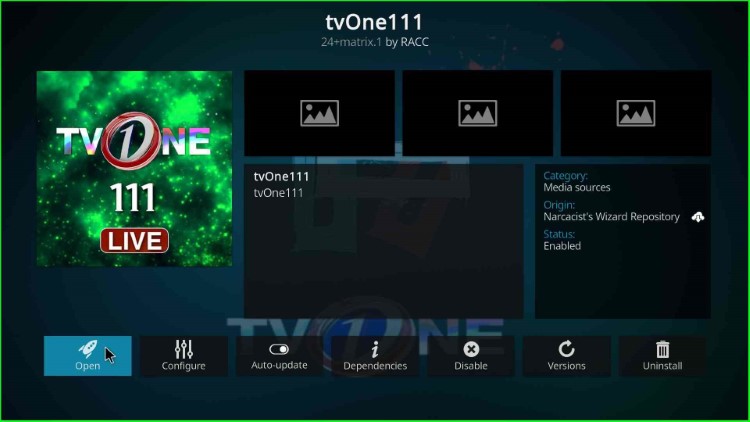
Now, click on the installed TVOne addon.

Again, click on tvone111 add-on

Tap on the Open key.

Click on the Open icon

The TVOne addon screen shows a variety of streaming sections.

Choose any of the streaming category

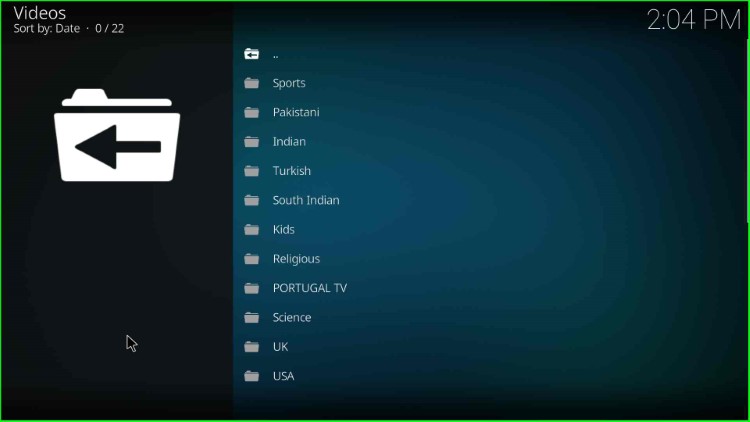
Using these steps, you can install the TVOne addon on Kodi successfully.

Final Words

Within this guide, we have discussed easy steps to install the TVOne addon on your Kodi platform. So, try to install using the steps; I hope it doesn’t need any setup and smoothly works on your device as well.

Before you start streaming on Firestick Apps/Websites, I would like to warn you once again that we do not know from where these Apps, Websites, Kodi Repositories, Wizards, Builds, and Addons fetch the streams.

The content you stream on Firestick Apps may be copyrighted and may land you in legal trouble even if you stream them unintentionally. Most of all, ISPs, Government, and authorized companies may monitor your online activities like streaming copyrighted movies, videos, TV shows, live shows, animes, etc.

To stay protected, and to get an exceptional streaming experience, I suggest you use IPVanish which is the fastest, most secure, and military-grade encryption VPN for Firestick. In addition, IPVanish hides your original IP address, encrypts your internet connection, and bypasses bandwidth throttling and geo-restrictions.

I have been personally using IPVanish for a couple of years and what I can say is that IPVanish is the best VPN for Firestick Apps in all aspects for all devices because the VPN unlocks geo-restricted streams and enhances my streaming experience.

Disclaimer: VPNHacks.com does not support or encourage piracy and copyright infringements in any form. You should abide by the rules and regulations in your country. We just want to protect you because sometimes you may end up streaming copyrighted content unintentionally.

Save 81%: Only $2.49/Month

Taking an IPVanish VPN Subscription is really simple.

1.       First, subscribe to IPVanish by clicking here.

Most of all, IPVanish comes with a 30-day money-back guarantee. You can get a full refund if you are unsatisfied (I do not think you will be) with IPVanish, and they do not ask for any reason.

2.       Once you subscribe to IPVanish, download the IPVanish app and open it. Enter your e-mail and password and click the “Log In” button.

Login to IPVanish App

3.       Once you are signed in, select the VPN Server location that you want to connect to and click on the connect option.

Choose the VPN Location

4.       After that, you will see that your IP address has been changed. This way, you can protect your privacy and have an exceptional streaming experience.

Connect the Server

Save 81%: Only $2.49/Month

James is the Co-founder of VPNHACKS.COM. He is a streaming geek and a privacy expert. James streams over different devices like Firestick, Kodi, Roku, Shield, Boxes, Google Chromecast, and Apple TV. IPVanish VPN is his favourite VPN for streaming. more...

Leave a Comment

IPVanish Black Friday Offer