This article will show you how to install the TempTV addon on Kodi installed on Firestick 4K Max, Firestick Lite, and Fire TV devices.
TempTV is a Kodi addon that allows you to watch movies, shows on-demand, live TV, kids’ entertainment, sports, and other video content.
Most importantly, you can integrate Real Debrid with the TempTV addon. Though it works with the on-demand part, the Live TV part is functional; most channels are only available in SD.
Because TempTV, on the other hand, appears to be a viable streaming addon worldwide, you should give it a shot with this easy step-by-step TempTV Kodi installation process.
TempTV Installation Process
To install the TempTV addon on your device, follow these steps.
1. Open the Kodi application and navigate to Settings.
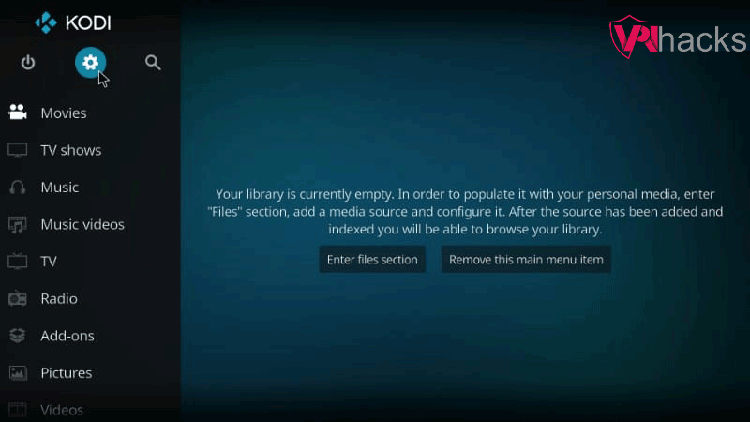
2. When this screen appears, click on the Unknown Sources

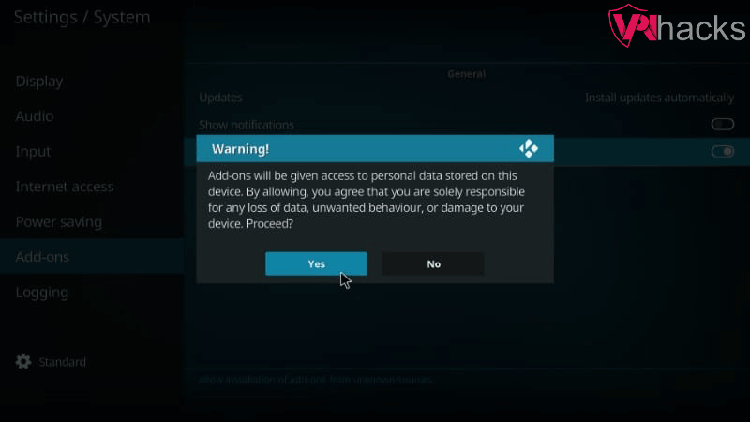
3. To confirm, click Yes when this message appears.
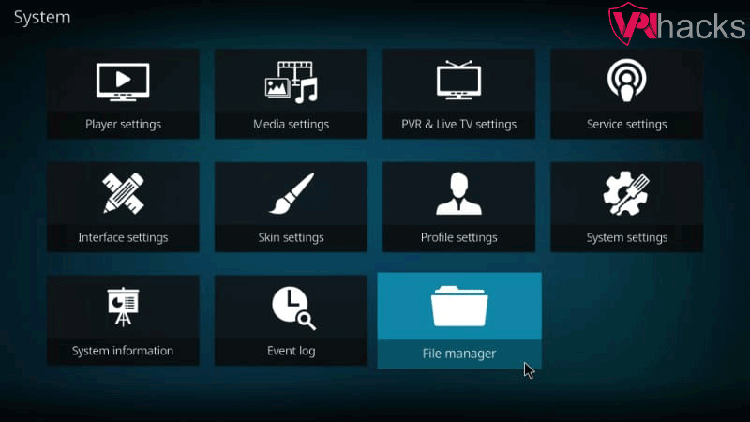
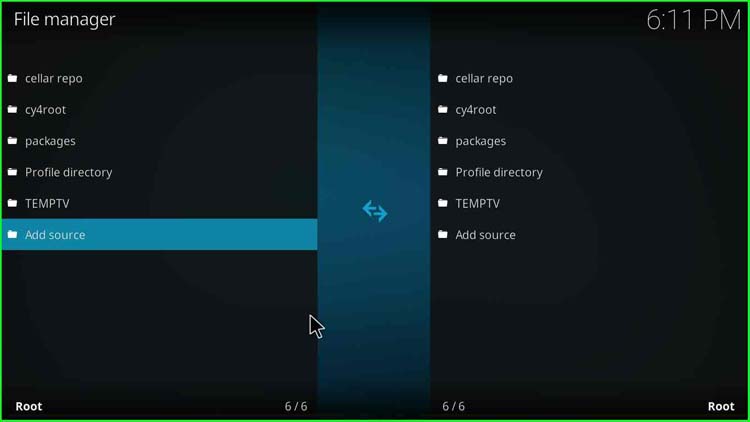
4. Now select the File Manager option.
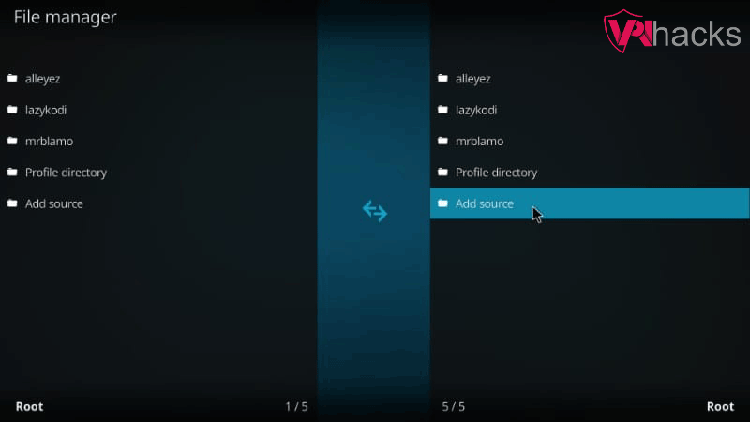
5. And then, Select Add source from the drop-down menu.
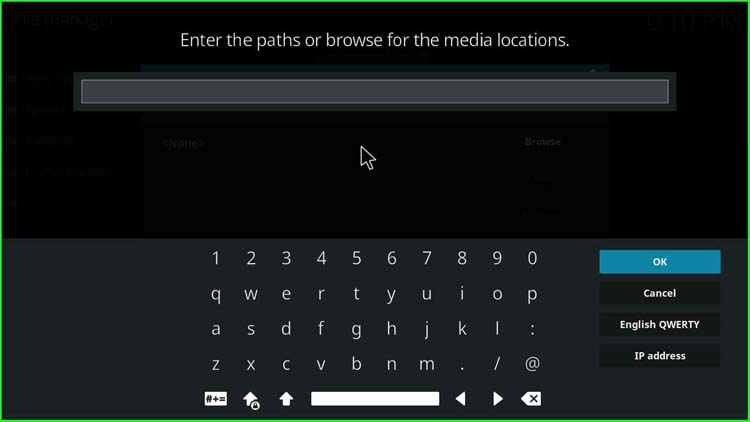
6. Click on the section that says <None> on the next popped screen.

7. Enter the source URL for the Temptv repository in this box.
To avoid any mistakes, double-check the URL.
And then, Select OK.
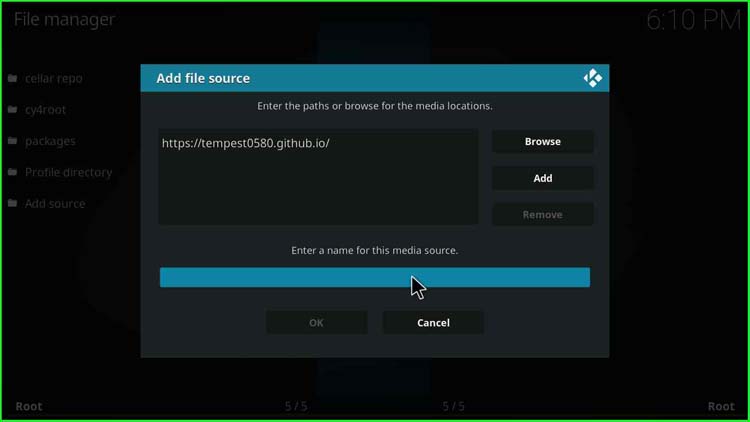
8. We have input the source URL for the Temptv repository in this box.
Type: https://tempest0580.github.io

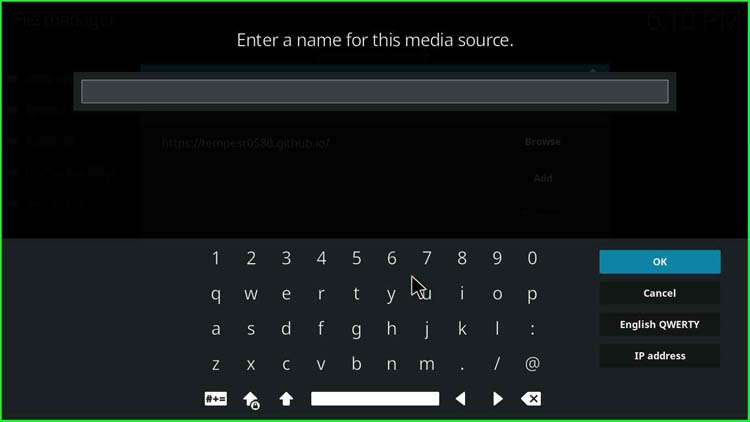
9. When you return to this page, you must select a source name.
10. Enter the name here, and any name would work.
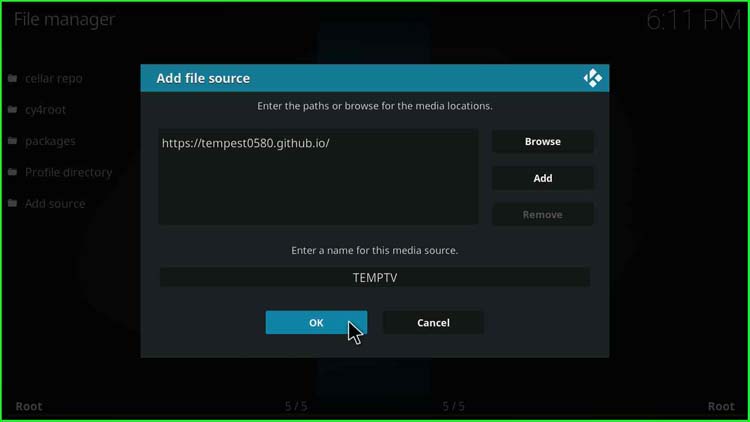
11. We are going with the name temptv; select OK.

12. Select ok after entering the name for the media source.
13. One more time, go back to the file manager and select add source from the drop-down menu.
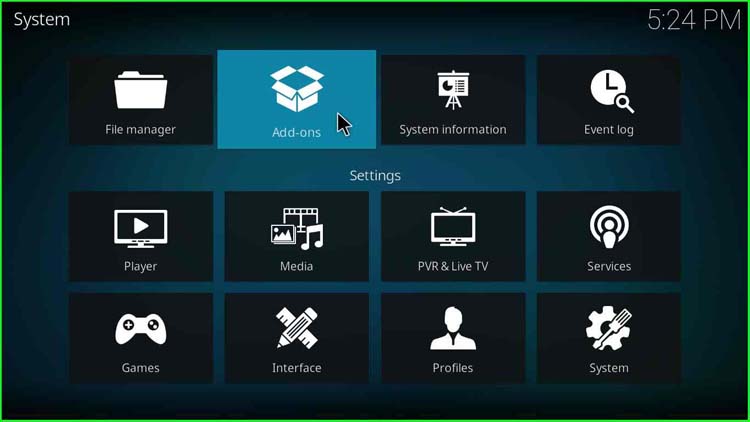
14. Return to the Settings screen and select Add-ons.
Install TempTV From Zip File
15. When you see the following options.
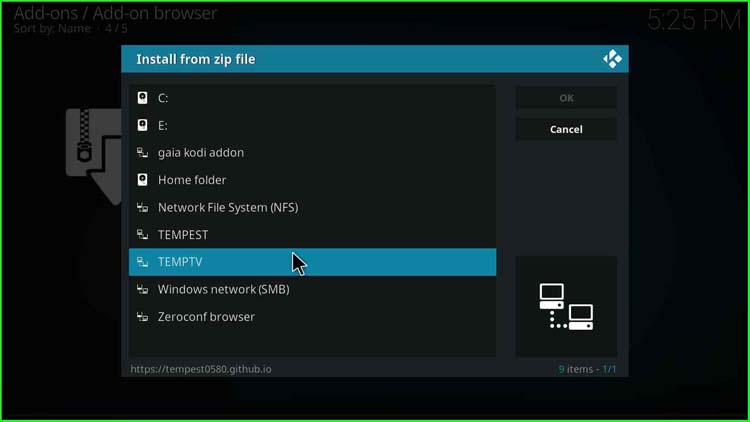
then select, Install from zip file

16. Click on the source name you filled earlier, which in our case is TEMPTV
17. Select the zip file repository temptv-x.x.x from the pop-up screen.
It’s number two on the list.

18. The Temptv Repo is now being installed in the background.
The notification of the Temptv Repo Add-on added will slide out in the top-right corner after a few seconds so that you know the installation is in progress.

TempTV Installation From Repository
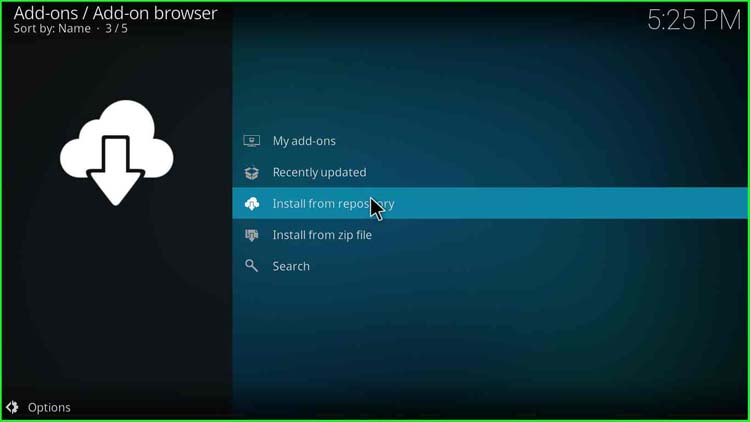
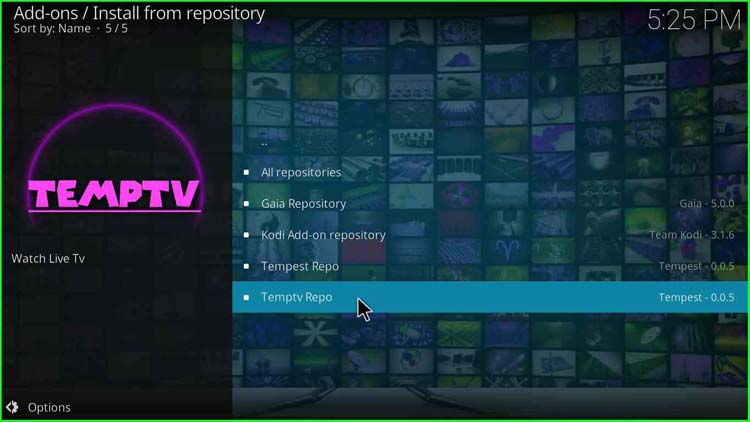
19. You may now choose to install from the repository
by clicking on the option that appears on the third number.
20. Click the Temptv Repo that you just installed.
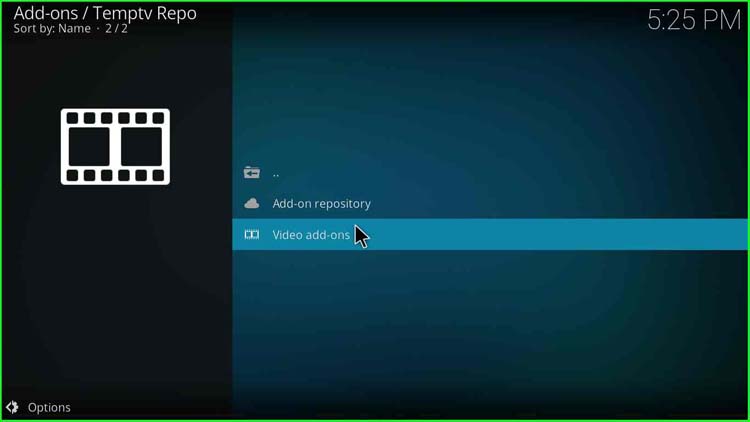
21. And after that, go to Video add-ons and click on it.
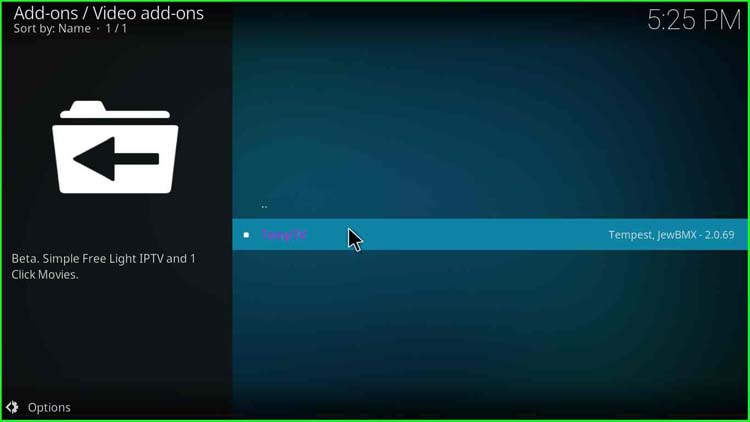
22. On the next screen, select TempTV.
23. When the following screen opens, then select Install.
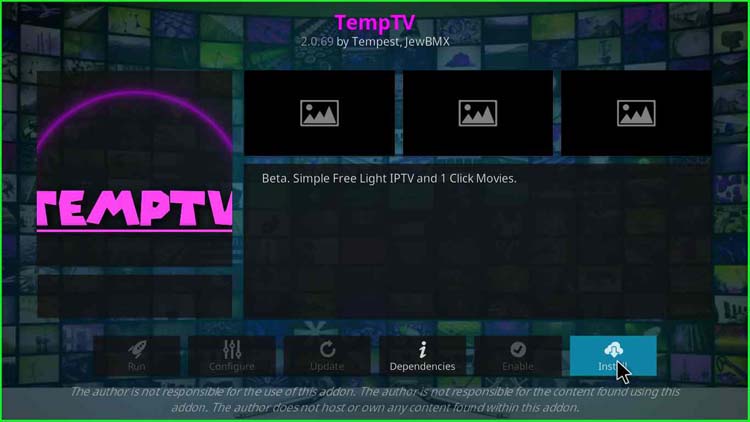
24. A popup window displays a list of add-ons to be installed with the TempTV Kodi addon.
Select OK.
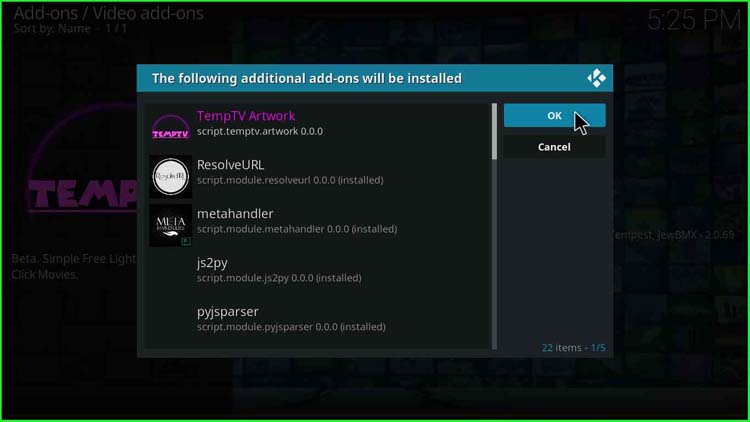
25. Wait for some time; you will get a message “TempTV Artwork Add-on installed“.

Great! On Kodi, you have successfully installed the TempTV addon.
Use TempTV Addon
26. After that, navigate to the Add-ons menu on Kodi’s home screen.
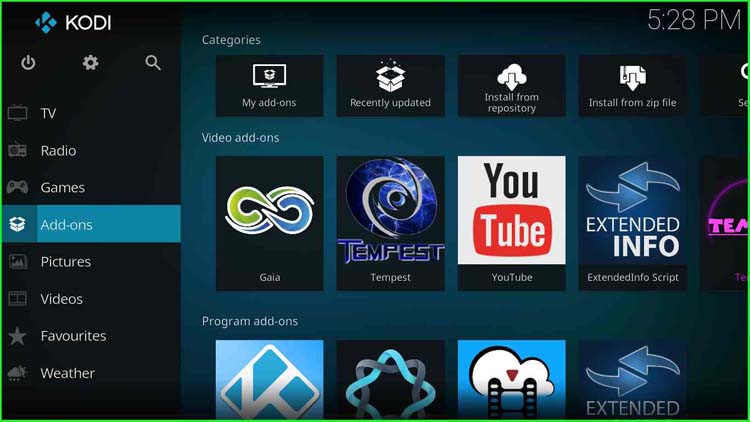
27. On the right side, you will find the TEMPTV add-on icon.
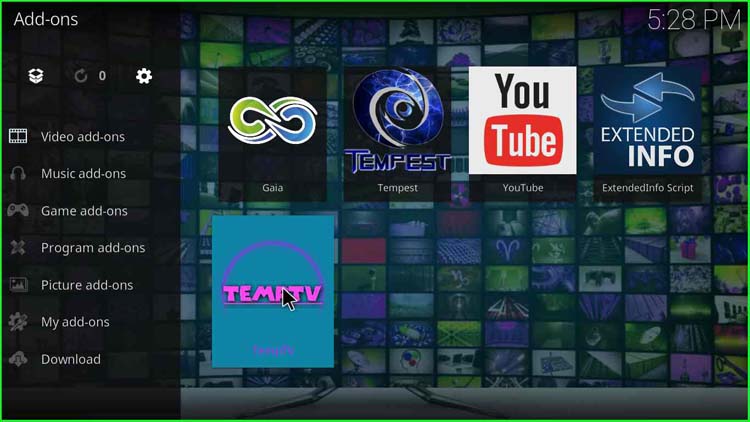
28. Click on it to start loading TempTV add-on options.
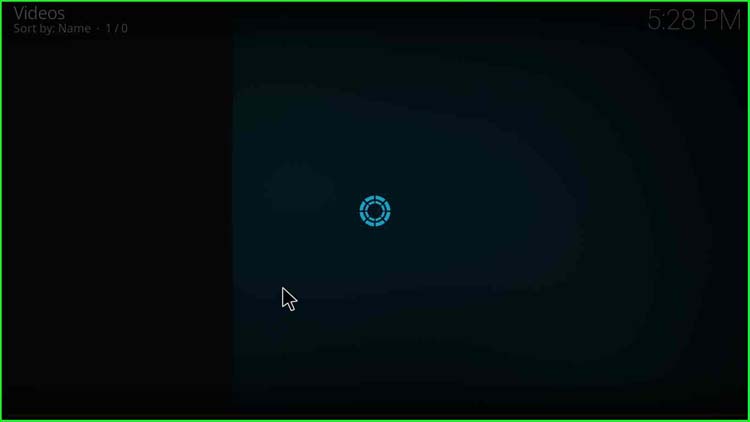
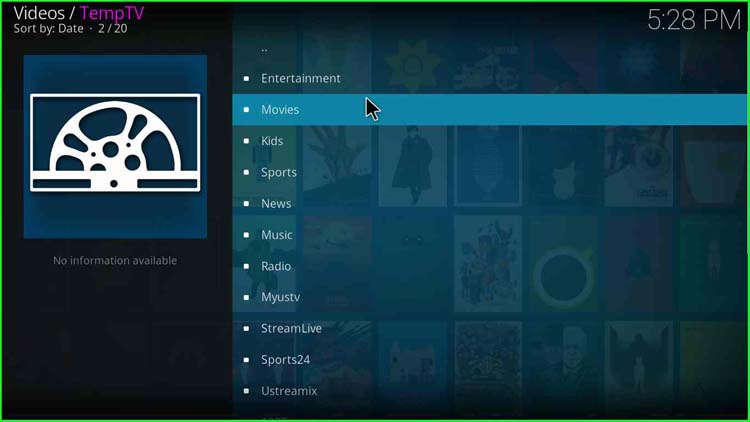
29. Now, you have different categories available, like Movies, Kids, Sports, News, Music, Radio, Myustv, StreamLive, Sports24, Ustreamix, etc.
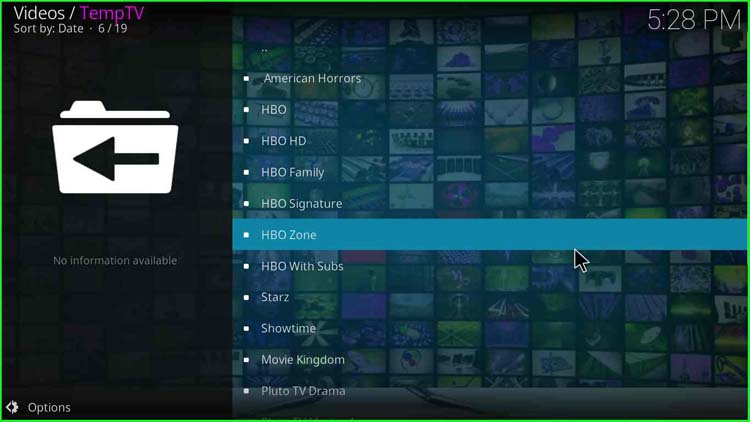
30. If you select the Movie category, you will find many sub-categories American Horrors, HBO, HBO HD, Starz, Showtime, Movie Kingdom, Pluto TV Drama, etc.
TempTV Direct Installation Method
Another way to install the TempTV Kodi add-on is to get the TempTV Repository zip file straight from Kodi. In this step, you do not need to add the repository path. Follow the steps:-
- Download and save the TempTV Zip File to your computer
- Start Kodi; go to the Add-ons option, then choose Box-icon > Install from Zip File
- Upload the downloaded zip file
- Choose Install from Repository > TempTV Repo > Video Add-ons > TempTV > Install > OK from the drop-down menu
Install TempTV Addon on Firestick
To install the TempTV addon on a Firestick, first, you should install ES File Explorer. Let’s install File Explorer.
- Go to the Home Screen of your FireStick > Select System > Developer Option > Click on Settings
- Enable Apps from Unknown Sources and ADB Debugging options
- Click OK, when a caution message appears
After that, repeat the above-mentioned TEMPTV installation steps
