Save 75% - IPVanish VPN (Limited Time Offer) X
Home » Kodi » How to Install Onyx Kodi Build on Firestick (4K, Max, Lite)

How to Install Onyx Kodi Build on Firestick (4K, Max, Lite)

In this article, we will provide the steps to install Onyx Kodi Build on Firestick, Firestick Lite, Firestick 4K, Firestick 4K Max, and Fire TV Cube.

Onyx is the latest Kodi Build that belongs to the well-known CMan Repository. It is a non-debrid Build that provides streaming links for even those users who don’t use a Real Debrid.

Here, you can find free streaming links for a variety of Movies, TV Shows, Sports, and, Live TV content. Onyx Build has many sections like Movies, TV, Genres, Sports, Live TV, Wizard, etc.

Attention! Before You Move Ahead.

I want to warn you that whatever you stream online is visible to the Government, ISPs, and Third Parties. Personally, I do not like someone snooping on my streaming activities.

Currently, your IP address 34.204.172.188 is visible to everyone.

Hence, I suggest using the most secure VPN, i.e. IPVanish VPN which has military-grade encryption. Also, IPVanish enables buffering-free streaming, hides your IP address and location, and bypasses geo-restrictions and bandwidth throttling.

American Football, Percentage Savings & Limited Time Offer
Till 26th Sep 2023: Only $2.99/Month

Note:- Streaming copyrighted content without a license is illegal and may land you in legal trouble. VPNHacks.com does not encourage piracy in any way.

Here are the steps to install Onyx Kodi Build on Firestick:

Installation Steps

Step 1: Enable Unknown Sources

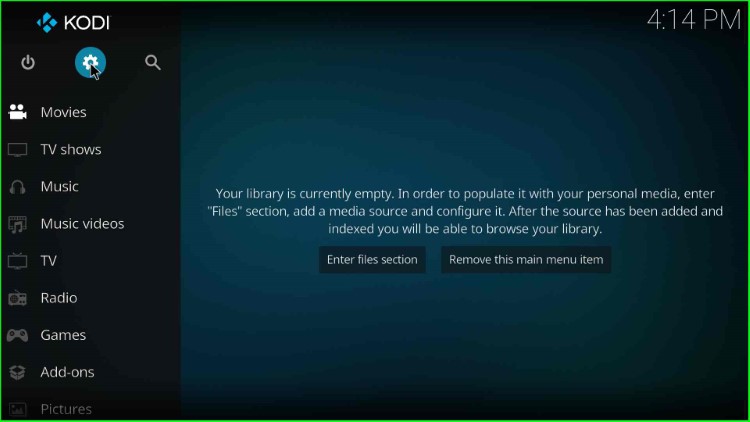
Open Settings from the Kodi Home page.

Click on Kodi Settings

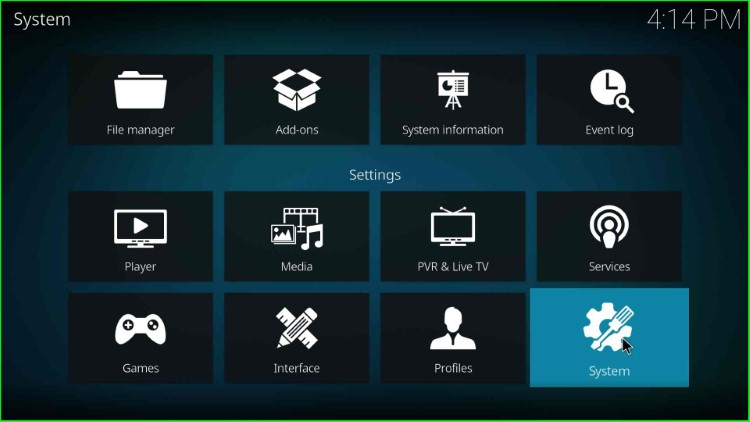
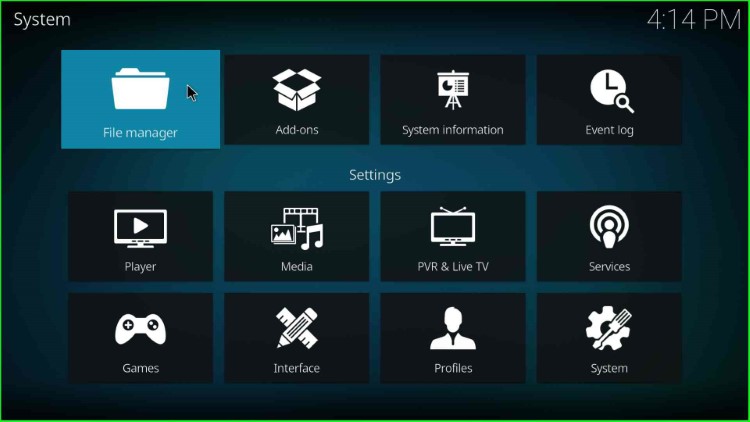
Tap on the System icon available at the bottom right corner.

Open System icon

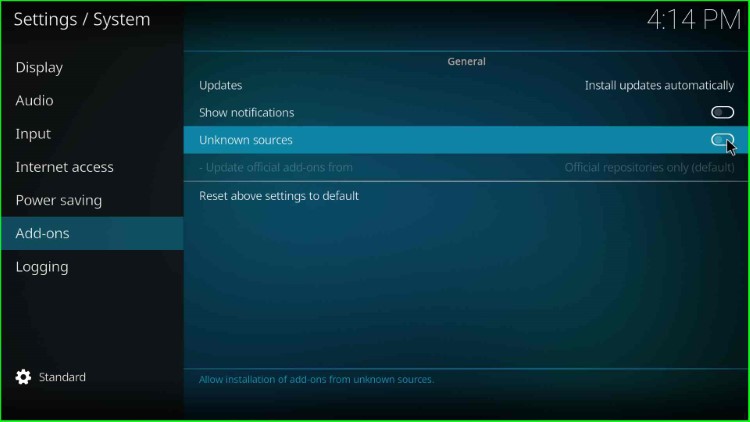
Click on the Addons option and turn on the Unknown sources button.

Enable Unknown sources

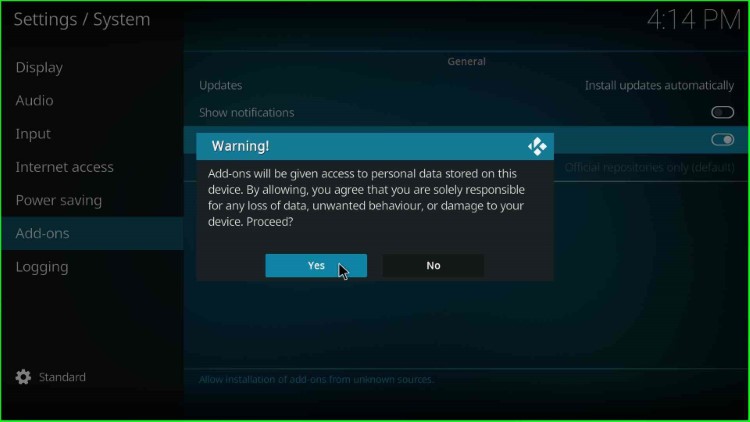
Hit Yes to allow the installation from unknown sources.

Hit Yes

Step 2: Add Media Source and Repository

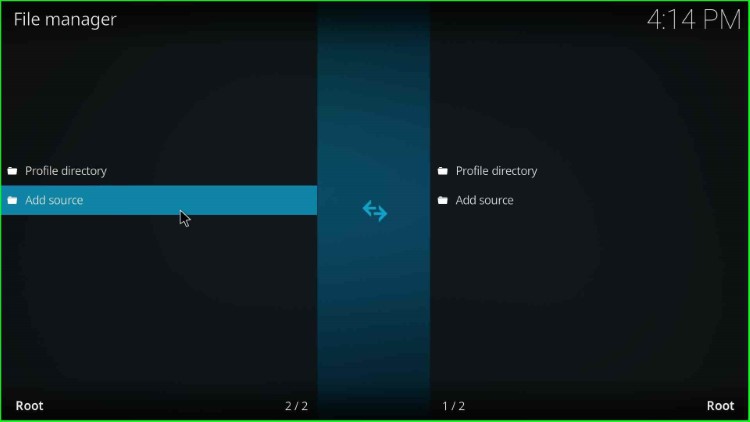
Go to the Kodi Settings and select the File Manager option.

Select File manager

Choose the Add source option.

Click on Add source

Select <None>.

Choose None

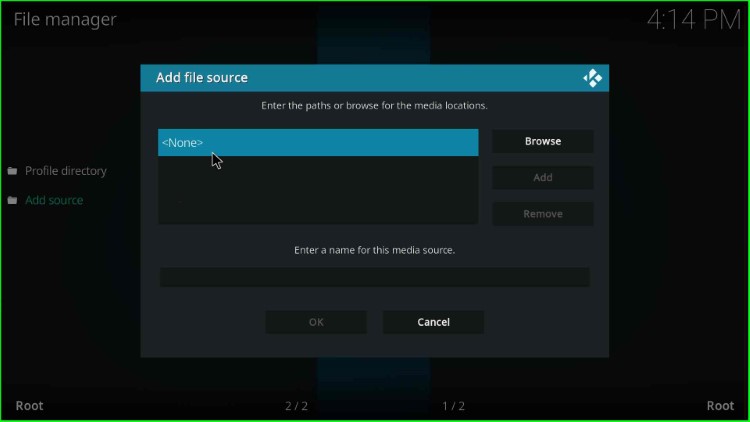
Here, it asks to enter the path of the repository.

Click on Enter the URL section

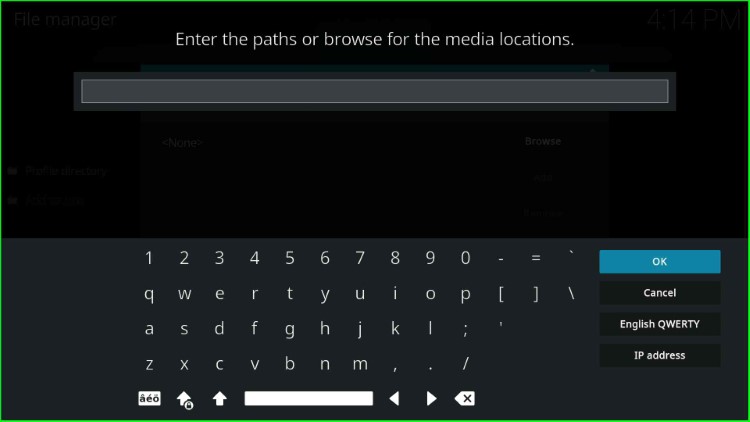
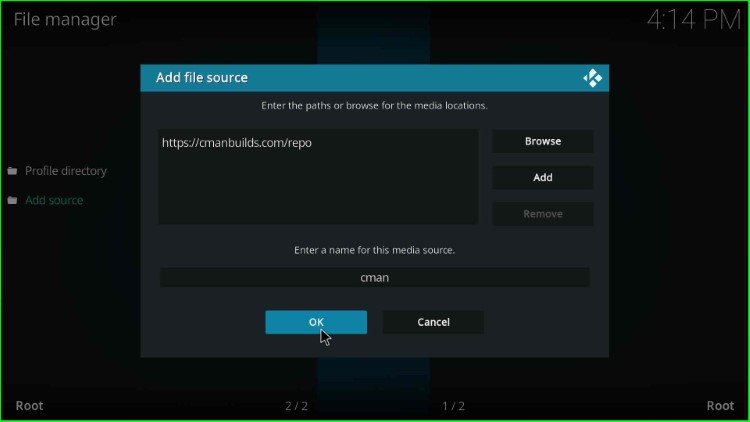
Enter the repository URL as https://cmanbuilds.com/repo and press the OK button.

Type cMan repo URL

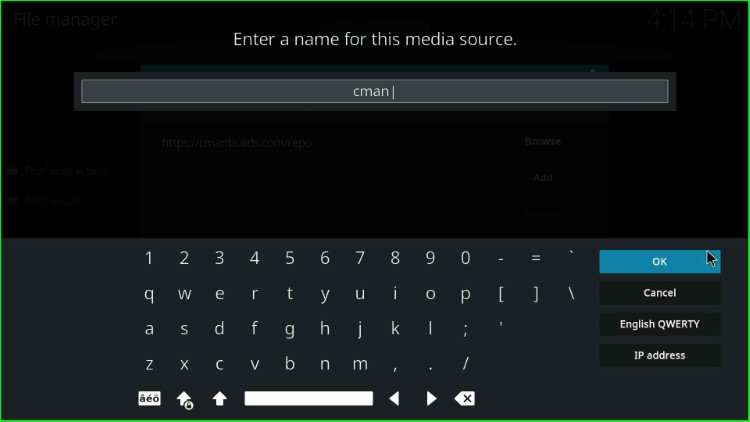
Put the cursor in the “media source” text field.

Change the source name

Now, type the media source name as cman and click OK.

Type source name cman

Double-check the media URL and path you entered above and hit the OK button.

Click OK to save details

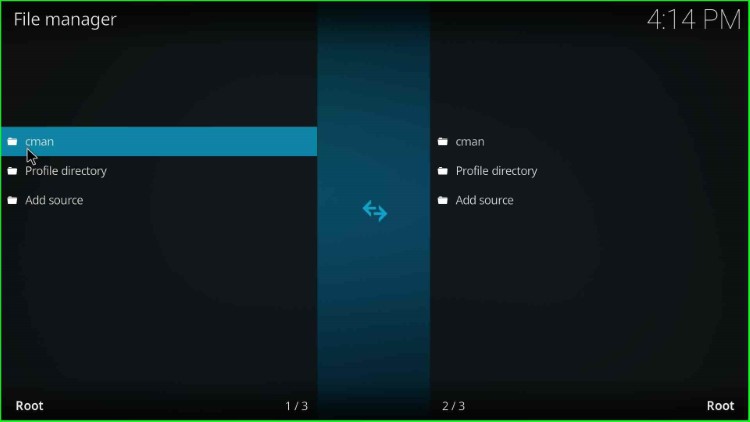
On the File Manager page, you can see the recently added cman media source.

Media source cman added successfully

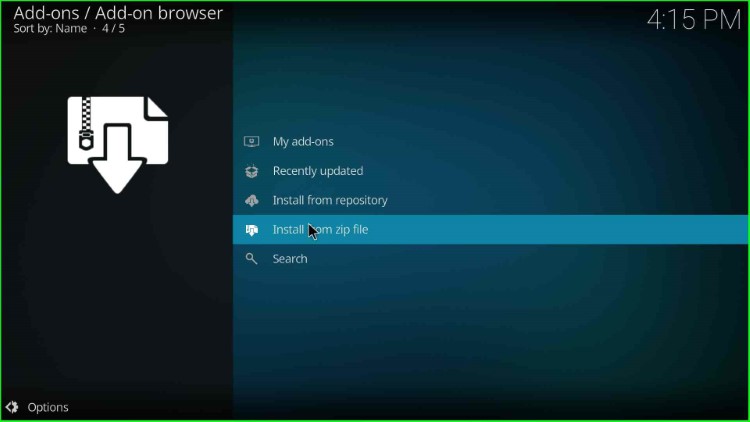
Step 3: Install from Zip File

Go back to the Settings screen and this time tap on the Addons icon.

Click on Add-ons

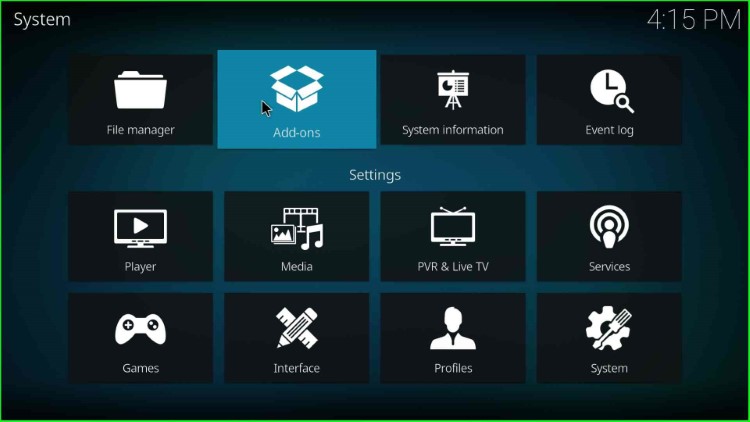
Tap on Install from the zip file.

Choose Install from zip file

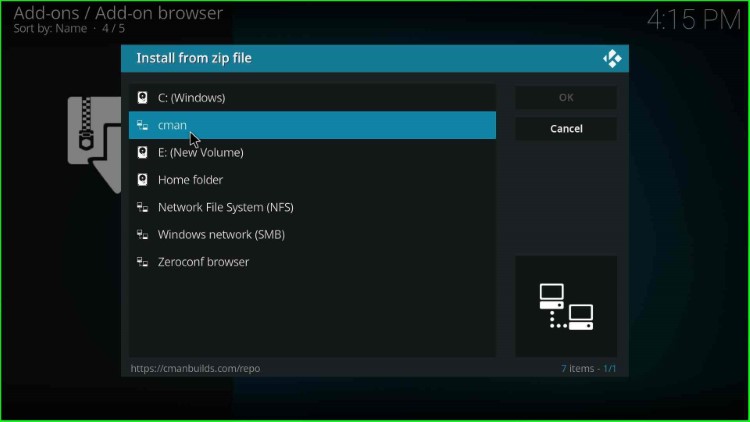
Choose the media source cman.

Choose cman media source

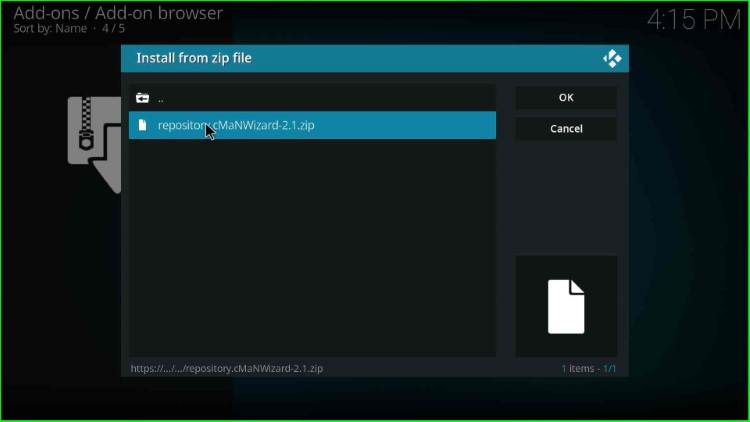
Select the repository.cMaNWizard.zip file.

Click on the cMan WIzard zip file

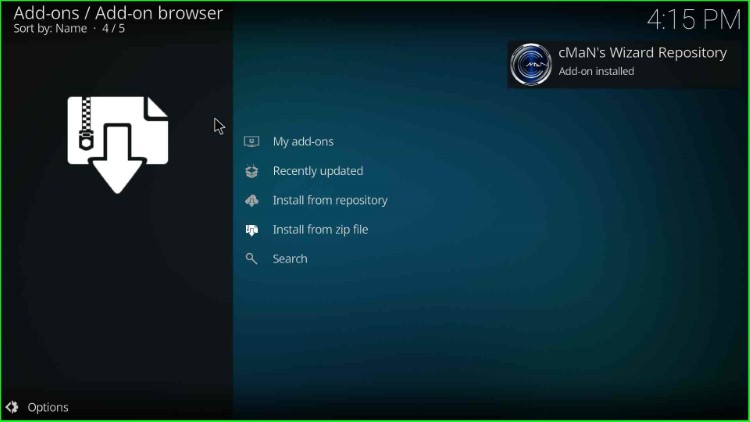
Wait for the “cMaN Repository Add-on installed” notification on the Addons screen.

Wait for the cMan Wizard repository installation

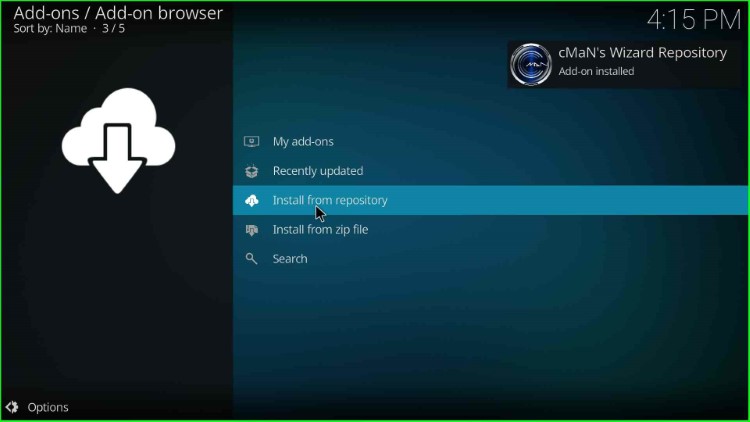
Step 4: Install from Repository

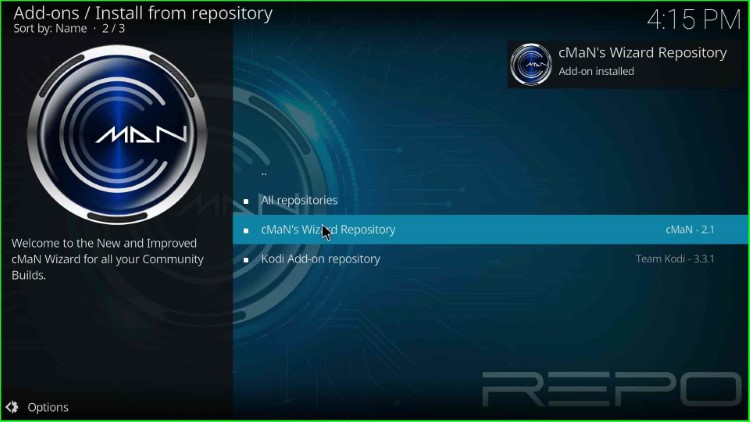
Choose Install from the repository.

Click on Install from repository

Select cMaN’s Wizard Repository.

Click on cMan's Wizard Repository

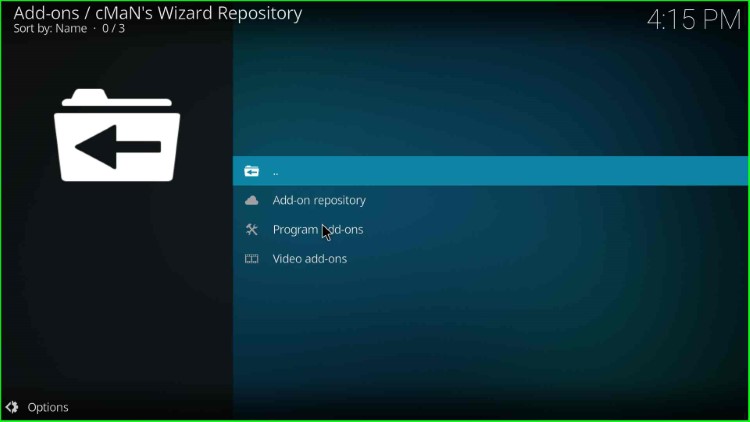
Step 5: Install CMan Wizard

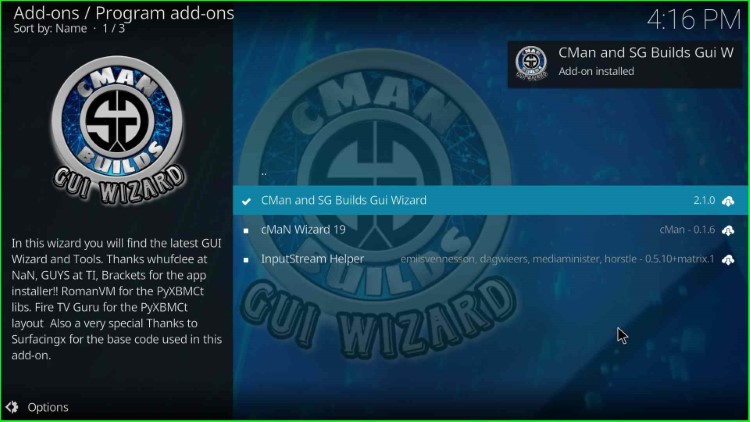
Open Program addons.

Open Program  add-ons

Click on the CMan and SG Builds Gui Wizard.

Choose CMan and SG Builds Gui Wizard

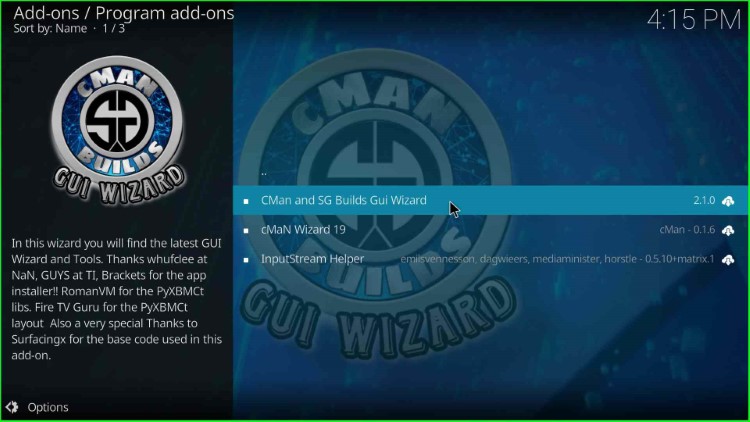
Tap on the Install button.

Click on Install key

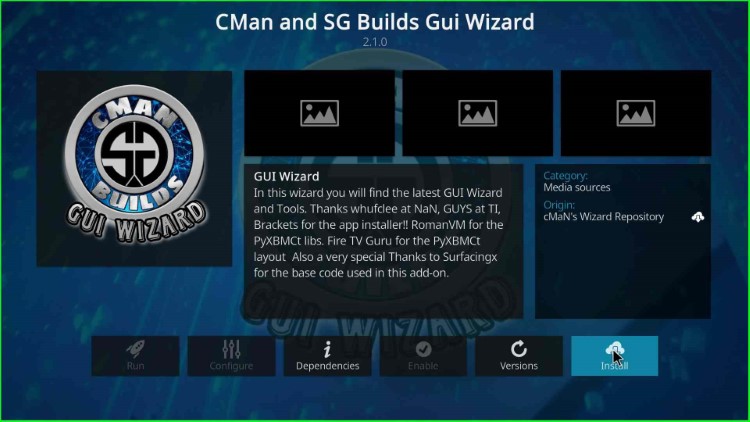
Wait until the CMan and SG Builds Gui Wizard installation message appears on the page.

Select the CMan and SG Builds Gui Wizard

Click on the Continue button as shown on the screen.

Tap on Continue key

Step 6: Install Onyx Kodi Build

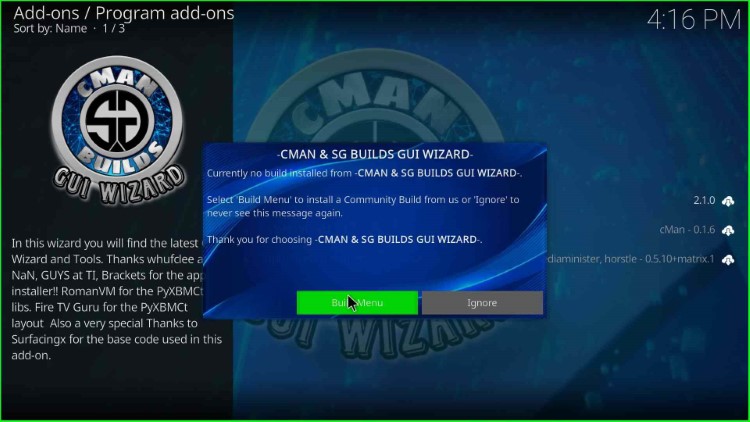
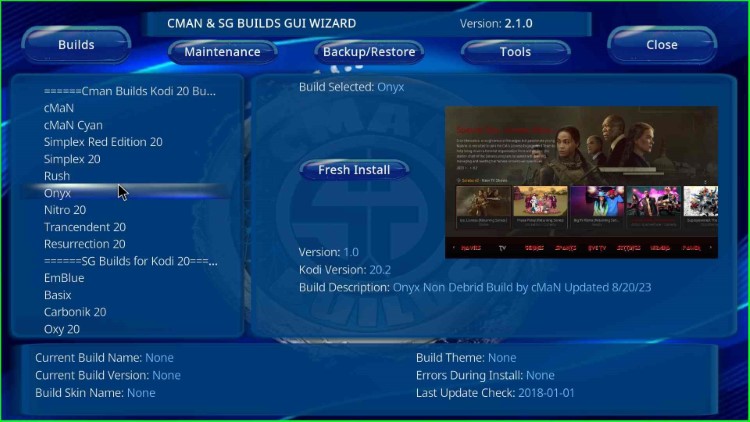
Tap on the Build Menu.

Open Build Menu

Choose the first option, Builds.

Click on Builds

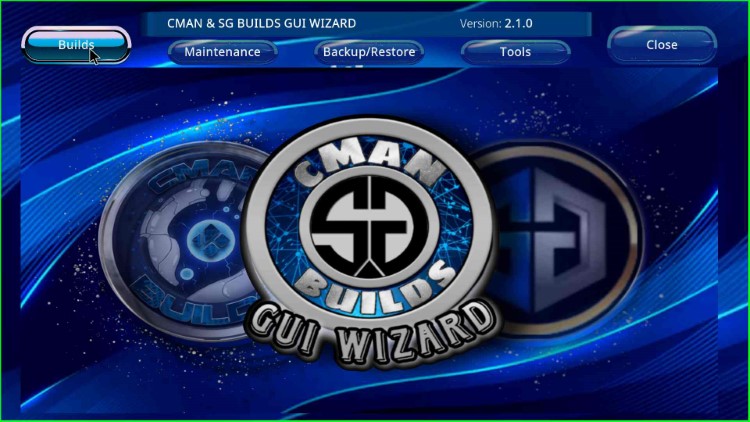
Here, find the Onyx Build and click on it.

Choose Onyx Build

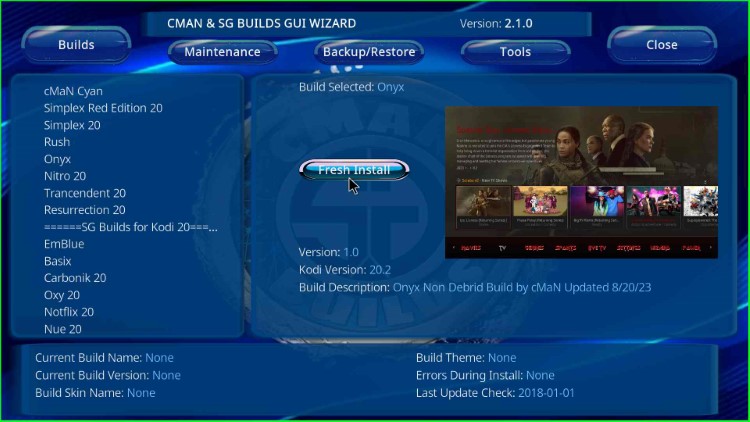
Tap on the Fresh Install button.

Tap on Fresh Install

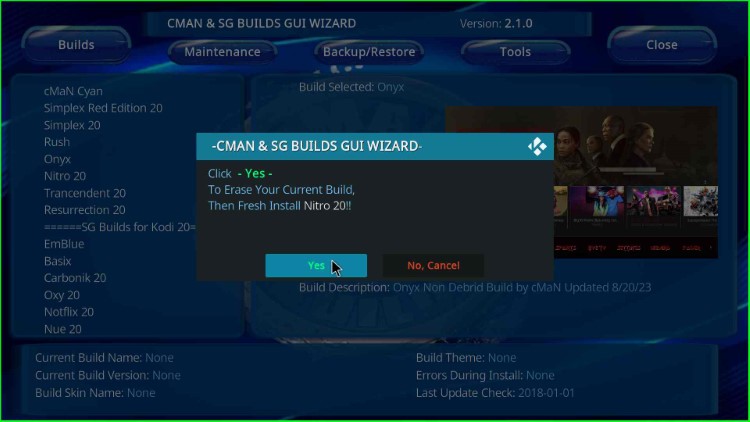
Click on Yes, Install key.

Click Yes to install the Onyx Build

Wait for the downloading of the Onyx Kodi Build.

Wait for Onyx Build downloading in progress

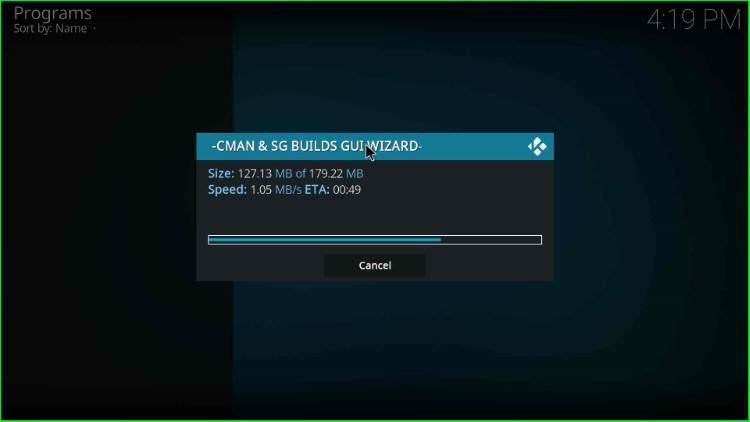
After downloading, Onyx Build starts the installation process; wait for it.

Onyx Build starts installing

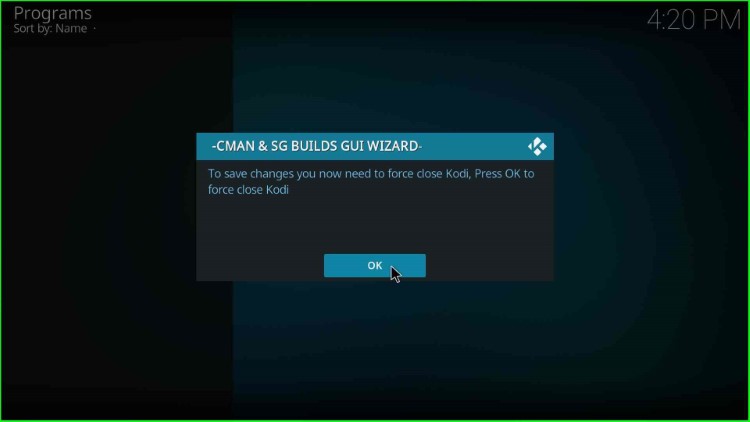
At last, click OK to save changes in Kodi.

Click OK

Final Words

With the post, we have discussed all the steps to install Onyx Kodi Build. So, use the steps to install the Onyx Build on your device, and let us know if you find any errors while installing the Build.

Related Guides:

Before you start streaming on Firestick Apps/Websites, I would like to warn you once again that we do not know from where these Apps, Websites, Kodi Repositories, Wizards, Builds, and Addons fetch the streams.

The content you stream on Firestick Apps may be copyrighted and may land you in legal trouble even if you stream them unintentionally. Most of all, ISPs, Government, and authorized companies may monitor your online activities like streaming copyrighted movies, videos, TV shows, live shows, animes, etc.

To stay protected, and to get an exceptional streaming experience, I suggest you use IPVanish which is the fastest, most secure, and military-grade encryption VPN for Firestick. In addition, IPVanish hides your original IP address, encrypts your internet connection, and bypasses bandwidth throttling and geo-restrictions.

I have been personally using IPVanish for a couple of years and what I can say is that IPVanish is the best VPN for Firestick Apps in all aspects for all devices because the VPN unlocks geo-restricted streams and enhances my streaming experience.

Disclaimer: VPNHacks.com does not support or encourage piracy and copyright infringements in any form. You should abide by the rules and regulations in your country. We just want to protect you because sometimes you may end up streaming copyrighted content unintentionally.

American Football, Percentage Savings & Limited Time Offer
Till 26th Sep 2023: Only $2.99/Month

Taking an IPVanish VPN Subscription is really simple.

1.       First, subscribe to IPVanish by clicking here.

Most of all IPVanish comes with a 30-day money-back guarantee. You can get a full refund if you are not satisfied (I do not think you will be) with IPVanish and they do not ask for any reason.

2.       Once you subscribe to IPVanish, download the IPVanish app and open it. Enter your e-mail and password and click on the “Log In” button.

Login to IPVanish App

3.       Once you are signed in, select the VPN Server location that you want to connect to and click on the connect option.

Choose the VPN Location

4.       After that, you will see that your IP address has been changed. This way, you can protect your privacy and have an exceptional streaming experience.

Connect the Server

Grab IPVanish Hot Deal: Subscribe for as low as $2.99/Month

James is the Co-founder of VPNHACKS.COM. He is a streaming geek and a privacy expert. James streams over different devices like Firestick, Kodi, Roku, Shield, Boxes, Google Chromecast, and Apple TV. IPVanish VPN is his favourite VPN for streaming. more...

Leave a Comment

American Football IPVanish VPN offer