This article will guide you on installing Netflix on Kodi. You can perform these steps to install the Netflix Kodi addon on Firestick, Firestick 4K, Firestick 4K Max, Firestick Cube, Raspberry Pi, iOS, macOS, tvOS, Google Chromecast, Android box, Nvidia Shield, PCs, etc.
Watching Netflix on Kodi is an excellent experience. We know that Netflix is a popular movie streaming website worldwide, including in the USA, UK & Canada. You can stream almost every kind of content on Netflix, including TV shows, Movies, Web series, etc.
You will be surprised to know that even you can watch HBO Max and Disney+ on Kodi by installing the HBO Max and Disney+ Kodi add-on.
Installing the Netflix addon on Kodi is a little tricky because the Netflix addon is not an official Kodi addon. Netflix Kodi addon belongs to the CastagnaIT repository. So before starting this guide, I assume you know how to install Kodi and use it on Firestick, Roku, Chromecast, etc.
Installation Steps
Follow these steps to install the Netflix addon on Kodi.
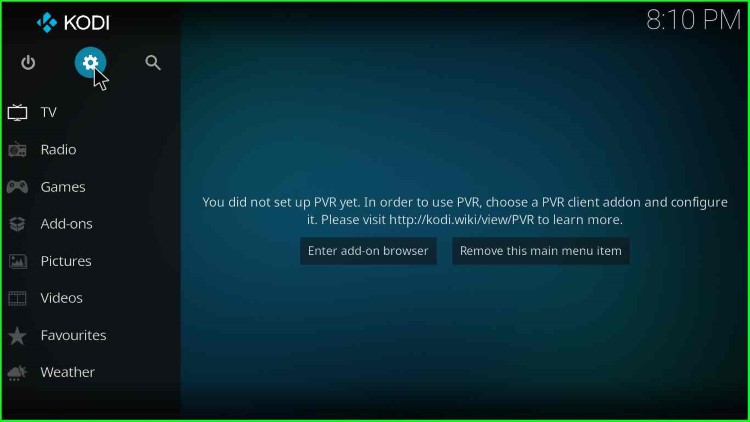
1. First, go to Settings on the Kodi home page.
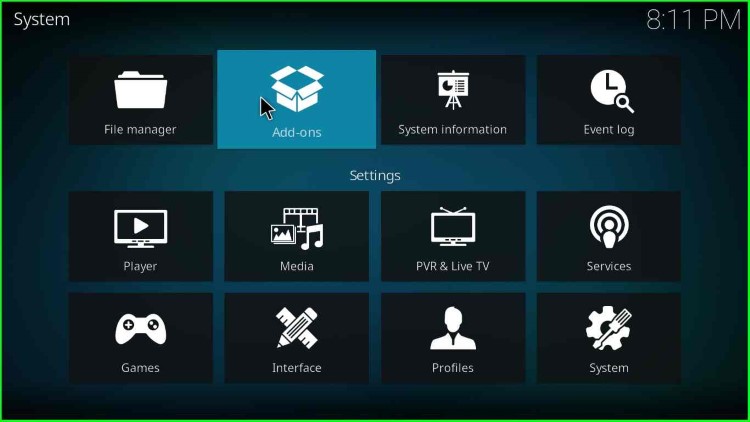
2. After that, click on System.
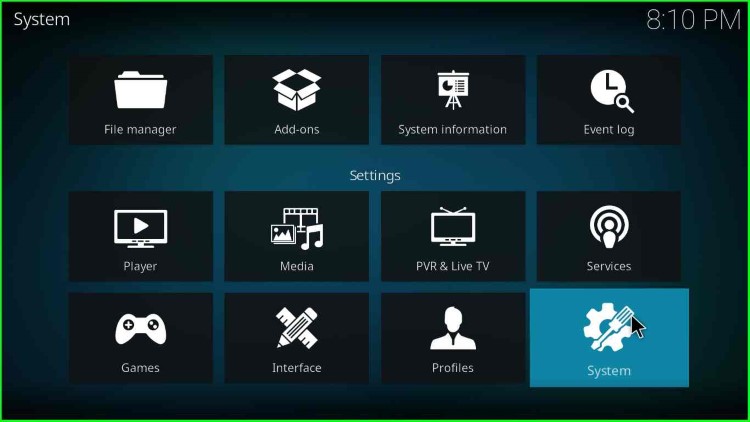
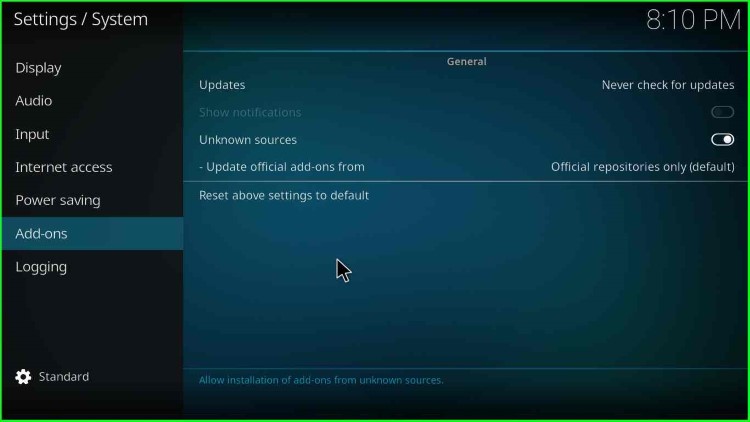
3. There will be an option named Add-ons; click on it on the left side.
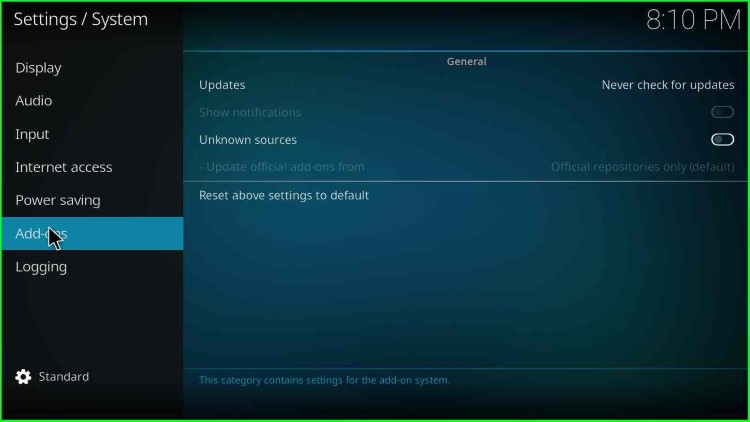
4. Enable the radio button with the caption Unknown sources.
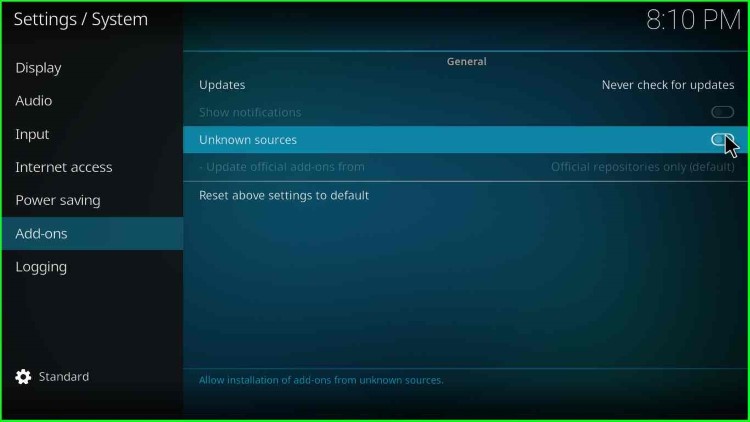
5. Then, a warning message states, “Addons will be given access to personal data stored on this device. By allowing, you agree that you are solely responsible for any data loss, unwanted behavior, or damage to your device. Proceed?“. Just ignore this message and click on “Yes“.

6. Once you click the “Yes“ button, the dialogue box will close.
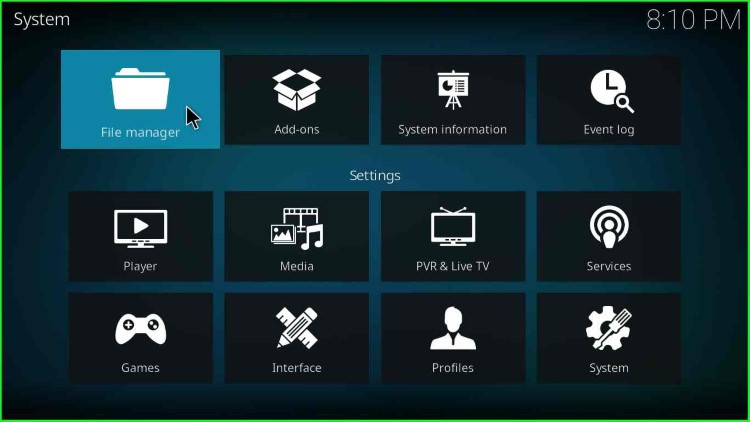
7. After that, hover over the “File Manager” option and click on it.
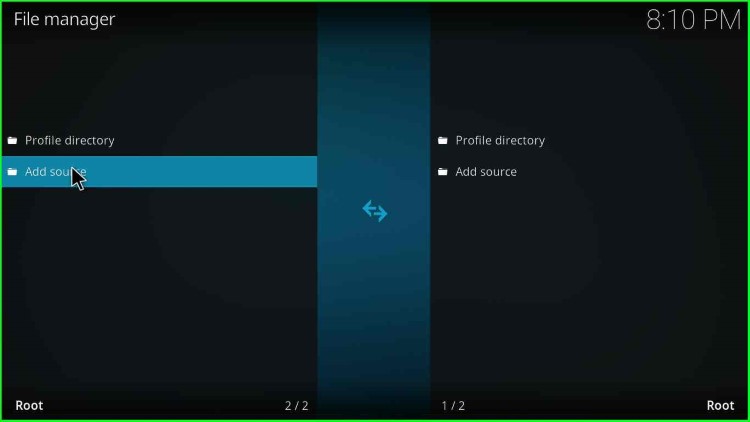
8. Click on “Add source” option.
9. Move the pointer to the “<None>” option and click on it.
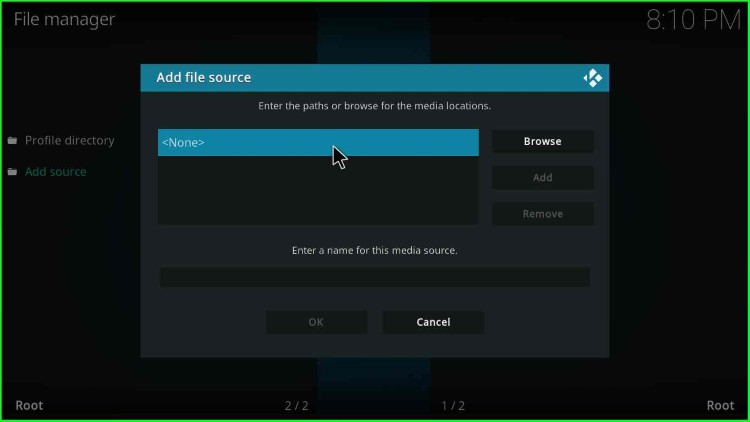
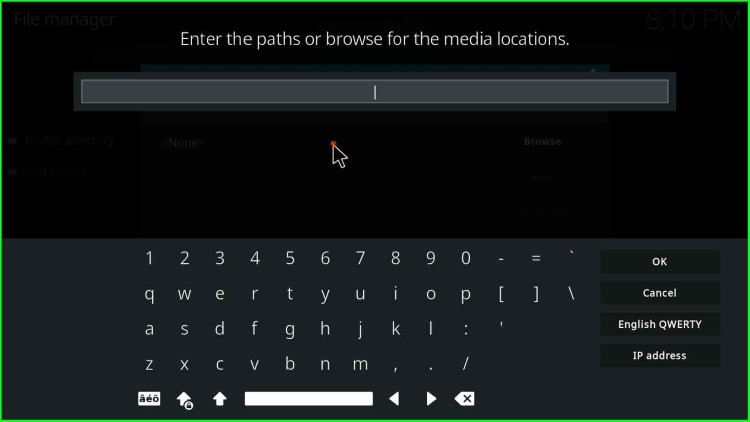
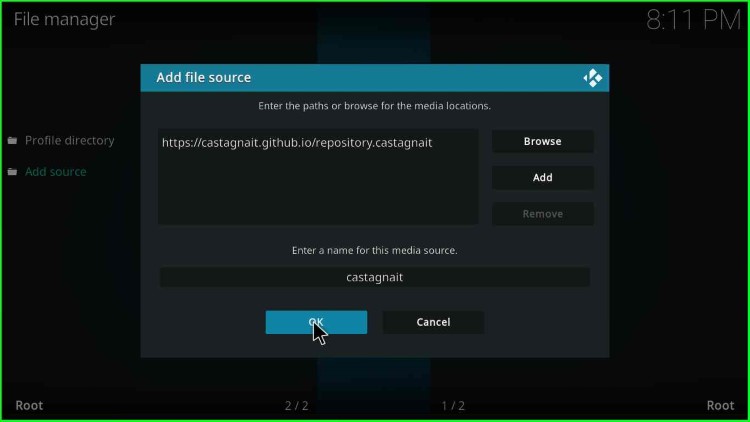
10. A text box appears asking to enter the paths or browse for the media locations to add the source for Netflix.
11. Enter the media location path as https://castagnait.github.io/repository.castagnait
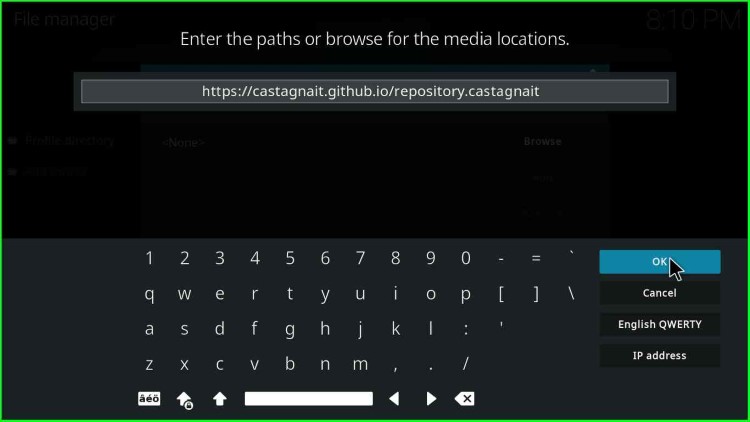
12. Click the “OK“ button.
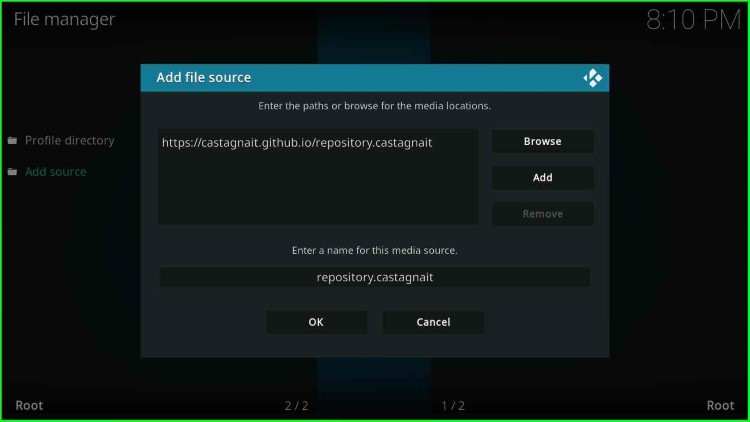
13. Go to the text box that asks to enter a name for the Netflix media source.
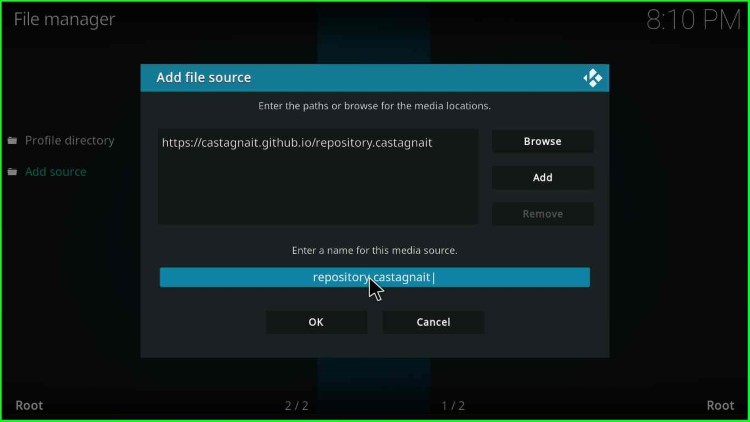
14. Click on the text box; the media source name is the “repository.castagnait“.
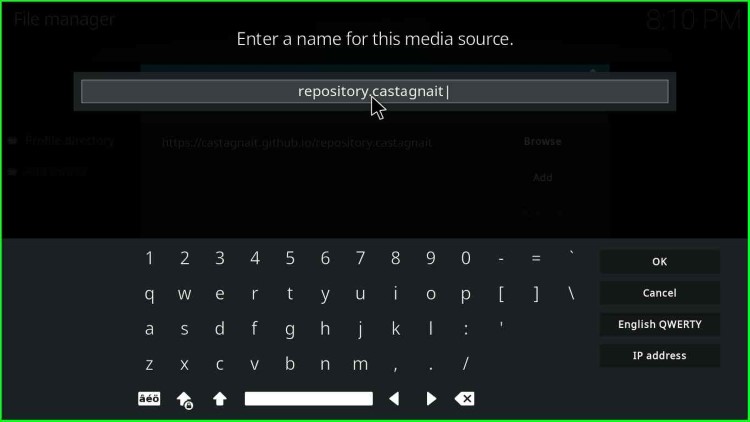
15. Edit the media source name path as “Castagnait” and click “OK“.
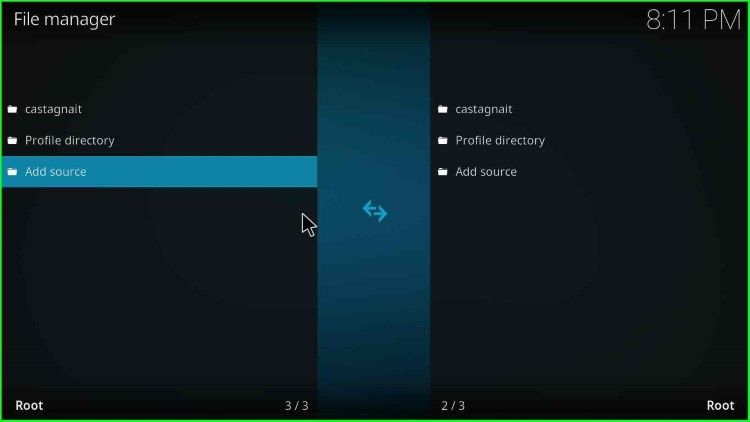
16. Go back.
17. After that, click on the “Add-ons” option.
Install Netflix Add-on From Zip File
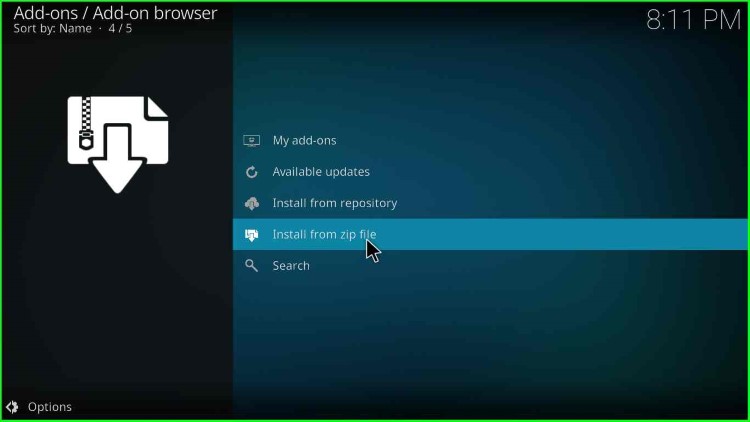
18. Click on “Install from zip file“.
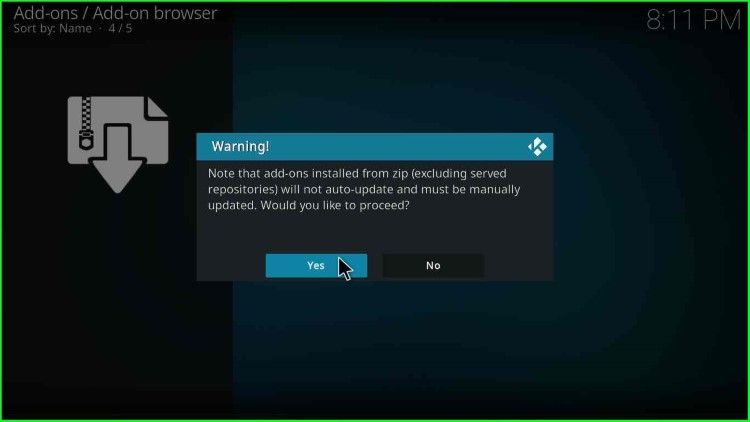
19. A warning popup states, “Note that addons installed from zip (excluding served repositories) will not auto-update and must be manually updated. Would you like to proceed?”. Put another way; you have to update the repository or addon manually. So, click on the “Yes” button.
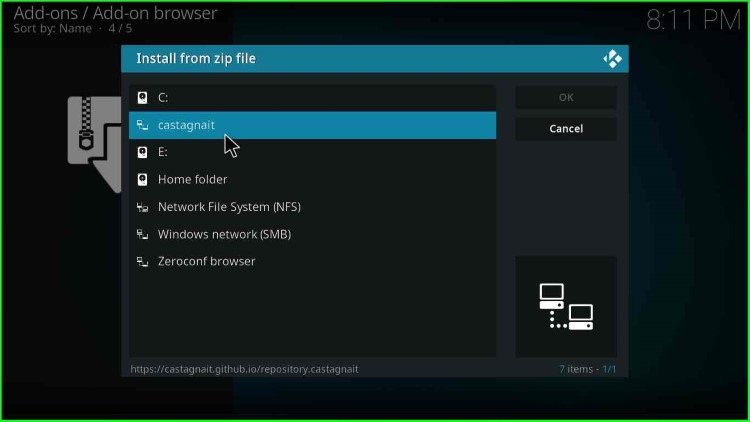
20. From the list, select the option “castagnait“.
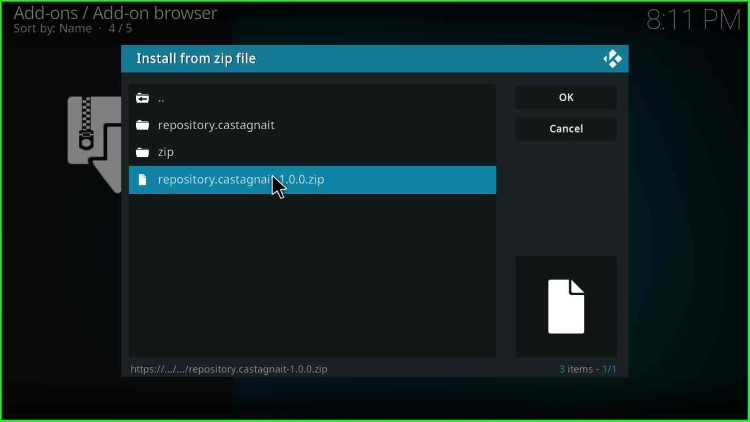
21. Then, there will be three options. Click on the “repository.castagnait-x.x.x.zip” file.
22. Wait for some time, and you will get a message in the top-right corner “CastagnaIT Repository for Kodi 20 Nexus Add-on installed“.
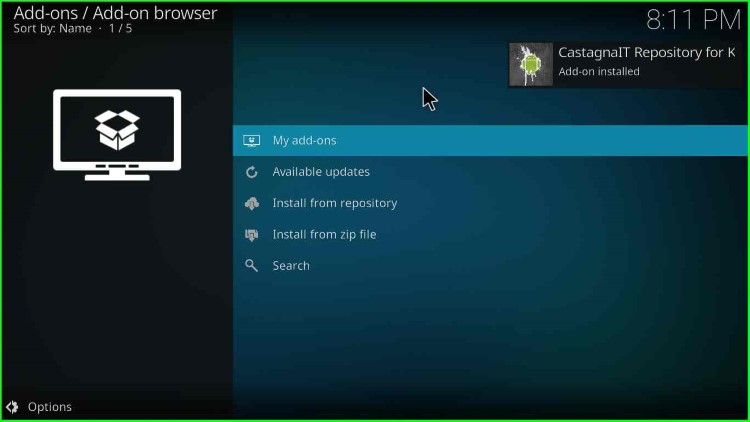
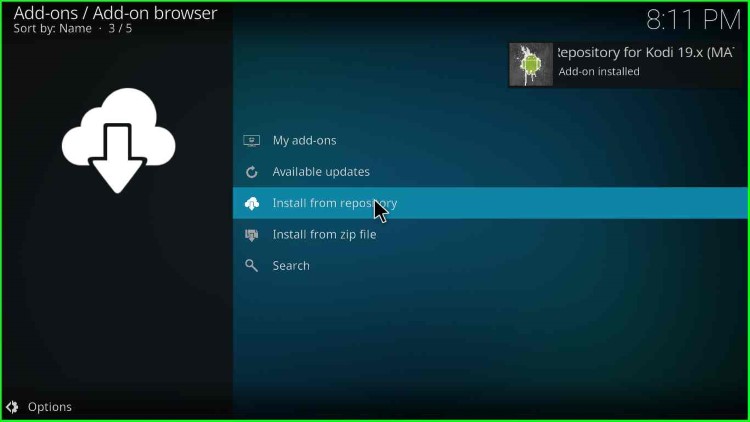
23. Click on the “Install from repository” option.
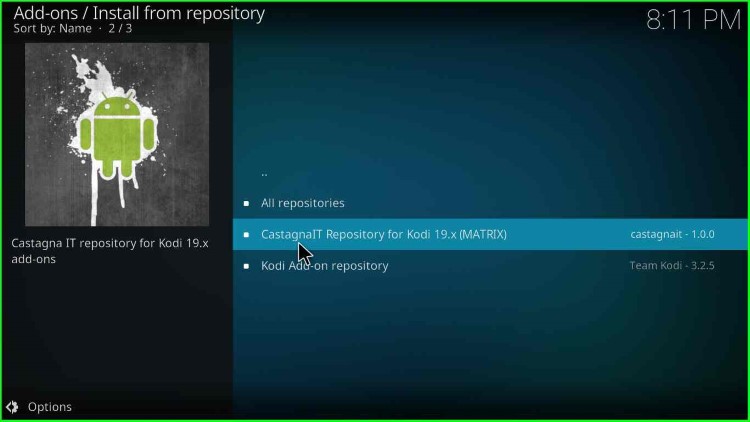
24. You will have three options: all repositories and CastagnaIT Repository for Kodi 20.x (NEXUS), and Kodi Add-on repository. Click on “CastagnaIT Repository for Kodi 20.x (NEXUS)“.
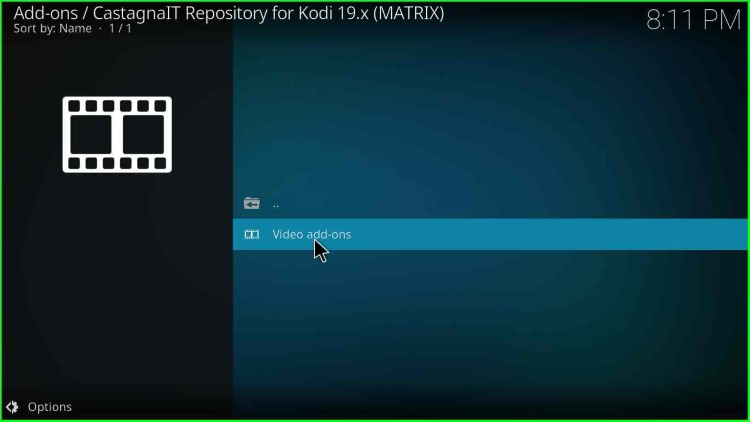
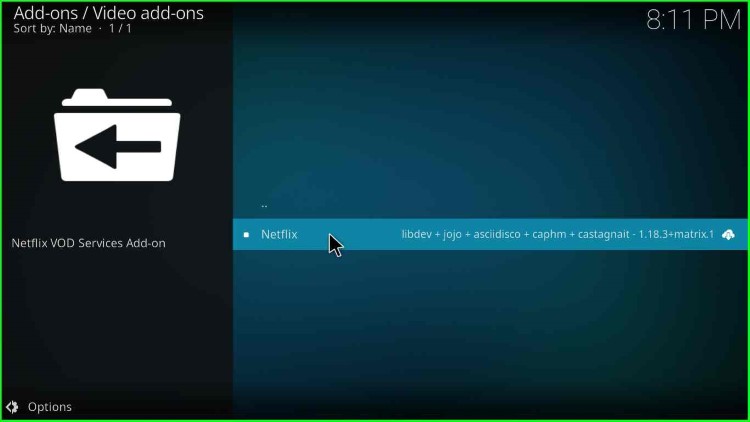
25. Then, choose “Video add-ons“.
26. You have your favorite addon here; click on “Netflix“.
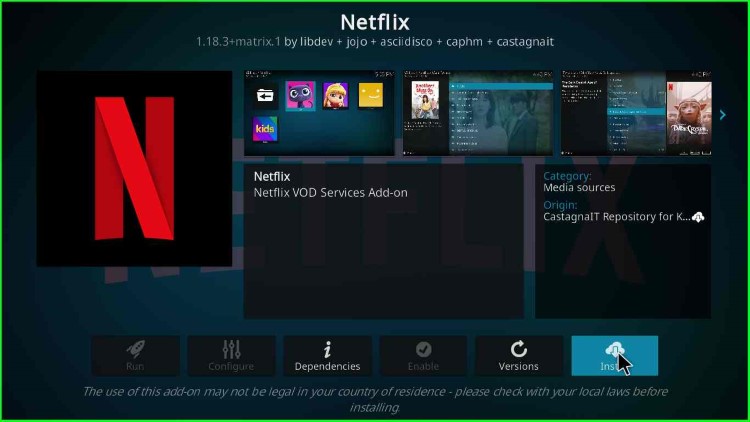
27. Another window will appear with many options like Run, Configure, Dependencies, Enable, Versions, and Install.
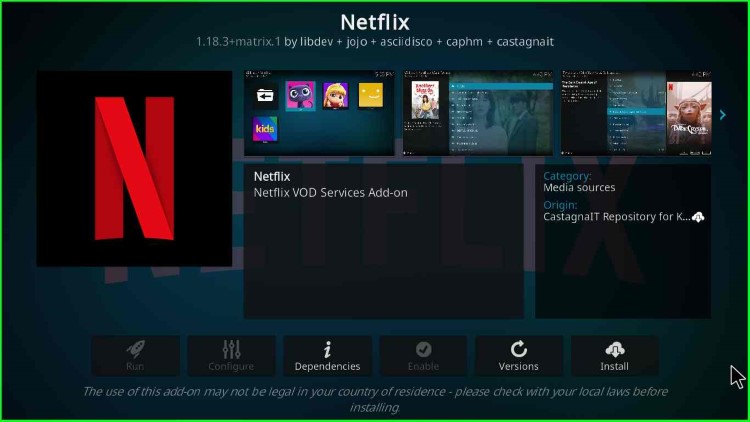
28. On the bottom-right corner, click on the “Install” button.
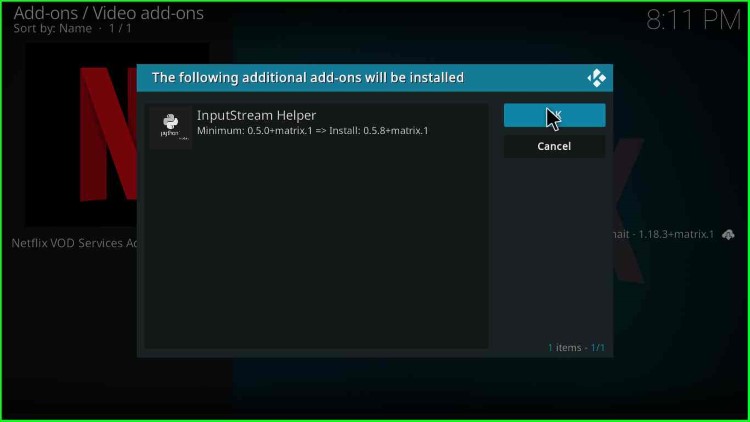
29. A message appears to install the additional add-on, InputStream Helper. Agree and click the “OK” button.
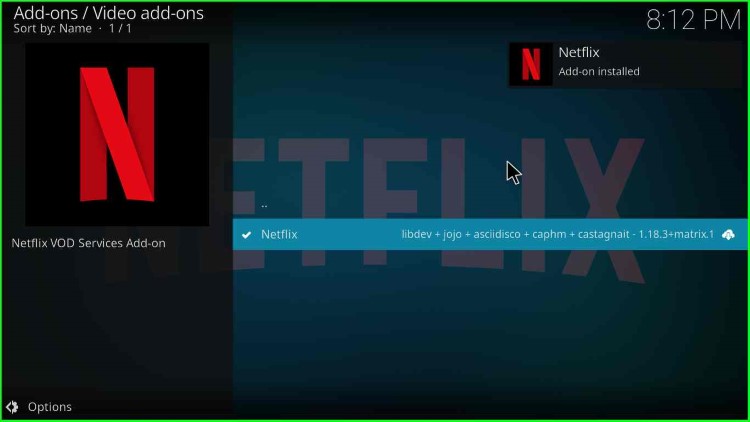
30. After some time, you will have the message “Netflix Add-on installed” in the top-right corner. The Netflix addon is installed on Kodi and is ready to use.
Use Netflix on Kodi
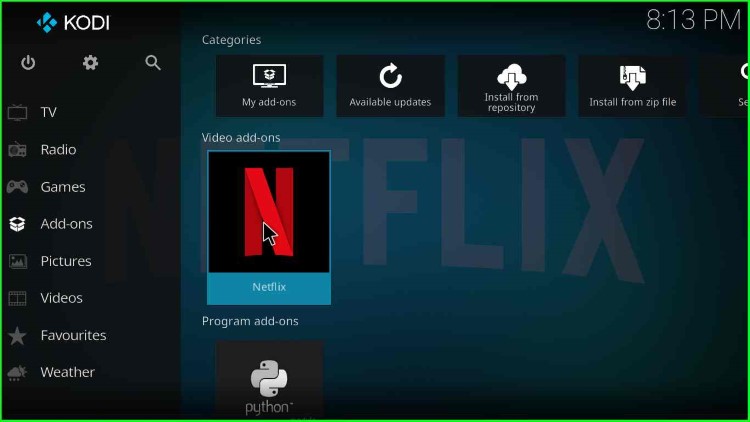
31. To start using the Netflix addon, go to the “Video addons” and click on the “Netflix addon” option.
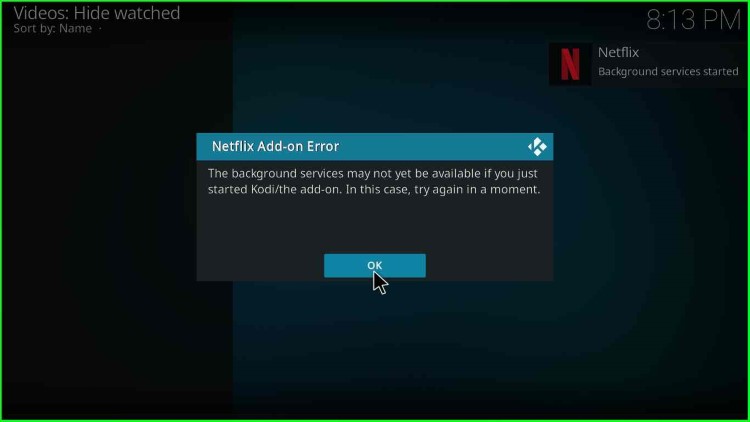
32. When you option the Netflix addon, you may get a “Netflix Add-on Error” message stating, “The background services may not yet be available if you just started Kodi/the addon. In this case, try again in a moment“. Click the “OK” button.
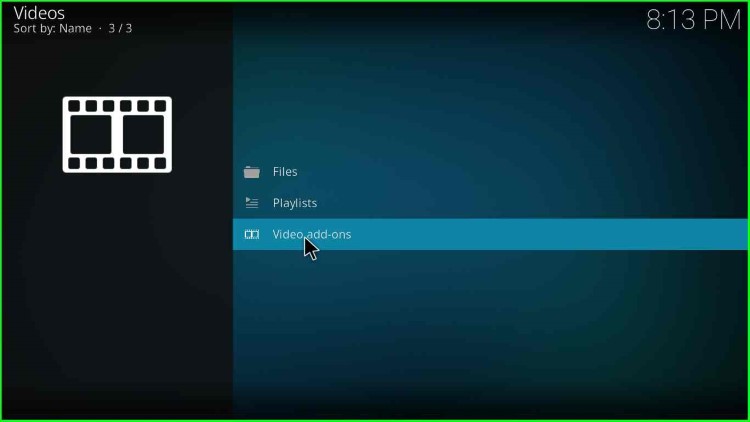
33. Next, click on the “Video addons” button.
34. Then, click on the “Netflix“ option.

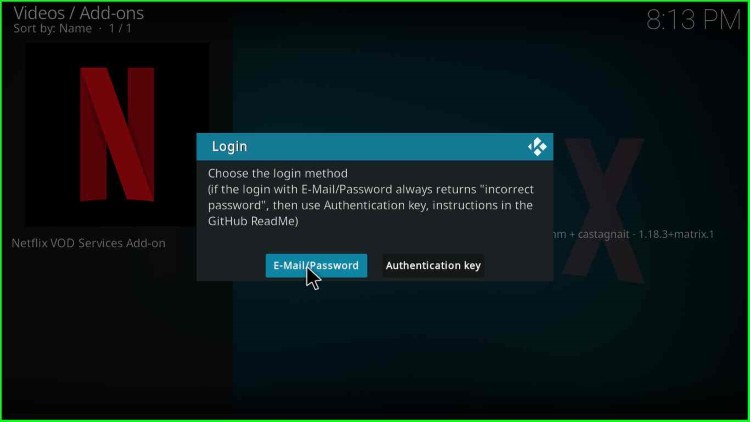
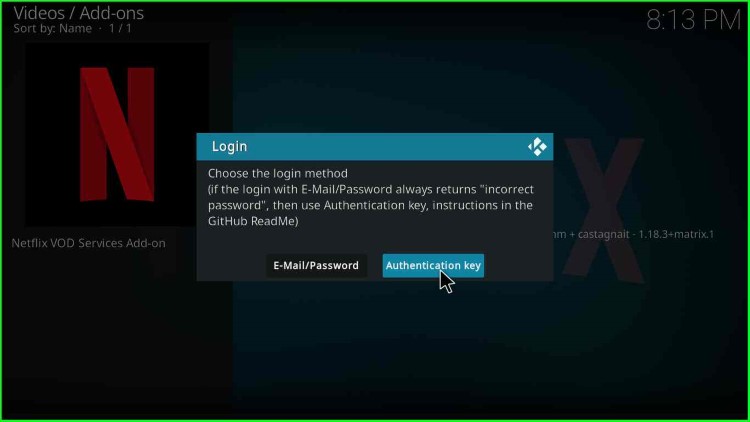
35. To start using Netflix on Kodi, you must use an E-Mail/Password or an Authentication key.
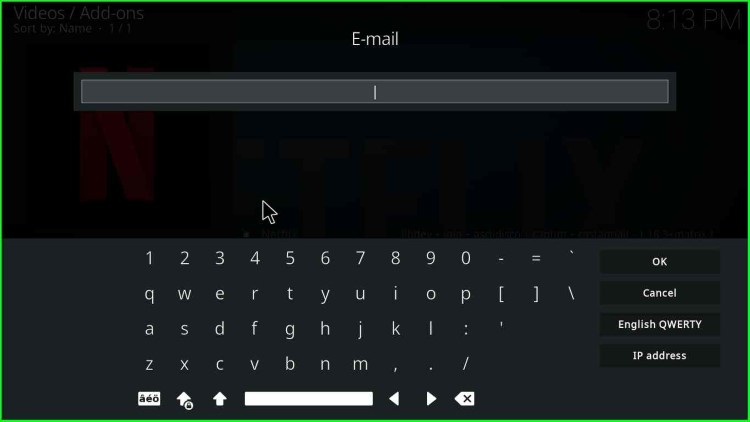
36. If you have a Netflix subscription, enter your subscription “E-mail“.
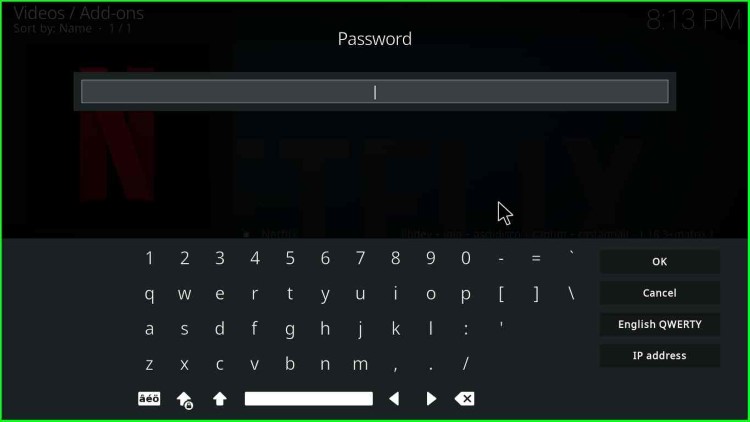
37. Then, enter the “Password“.
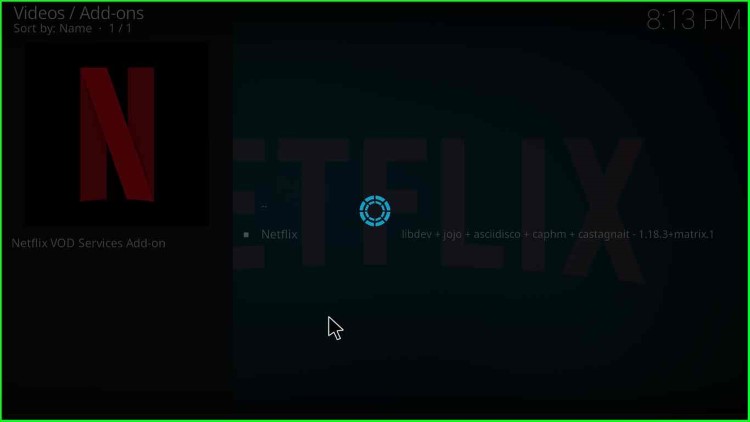
38. After authentication, you can start streaming Netflix videos on Kodi.
39. Another way to use Netflix on Kodi is the “Authentication key“.
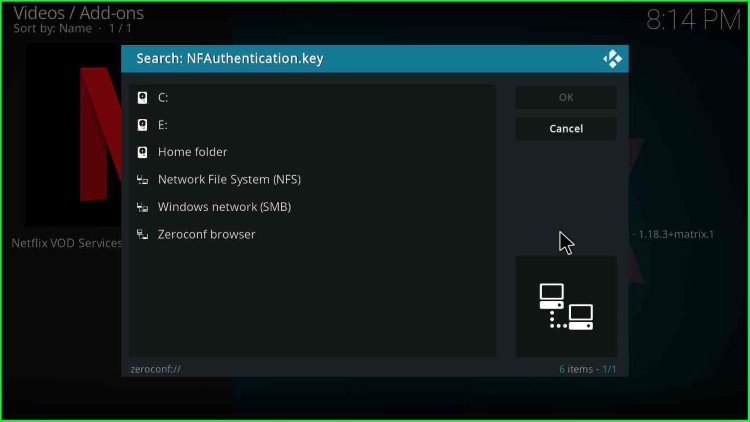
40. locate the “Netflix key” on your device.
41. Then, click “OK“. After authentication, start streaming on Netflix.

Final Netflix Installation Words
So, in this guide, we learned how to install Netflix on Kodi and how to use Netflix to stream videos, TV shows, and web series. Do let us know if you need any additional information.
How to Watch Netflix on Kodi For Free?
You cannot watch Netflix on Kodi for free; however, you can access Netflix in a geo-restricted region using a trusted VPN service.
How to Fix the “Incorrect Password” Error Message on Netflix Kodi Addon?
Generally, the “Incorrect Password” error message appears when either the email or password or both are incorrect. The first solution is that you might be entering the wrong email or password; correct them.
Second, you may log in using the “Authentication Key.” In this method, you must download and install the NFAuthentication.key zip file on your Firestick or device. After that, re-enter the email and password; then, you should be able to log in to Netflix.
Is the Netflix Kodi Addon Legal and safe?
Yes, the Netflix Kodi Add-on is legal and safe when using a trustworthy VPN that safeguards your data. Another key point is to enter the login details to stream on Netflix Add-on.
Reason for Netflix Not Working on Kodi
There may be different reasons why the Netflix add-on does not work, like Incorrect passwords, Title not being available to watch instantly, Request blocked by the exchange service, etc.
How Can I Get a Free Netflix Account?
You can take a one-month Netflix trial Plan and enjoy the streaming movies, TV shows, and web series. After one month, if you are unsatisfied with the services, you can cancel the plan without paying.
What Are The Netflix Kodi Add-on Alternatives?
There are many good alternatives to the Netflix Kodi addon, which are the following:
- Disney+
- Magic Dragon
- HBO Max
- Tubi
- USTVNow
- The Crew
Menus Available on Netflix Addon
There are various sections on Netflix to explore like
- Netflix Originals
- Recently Added
- New Releases
- Trending Now
- Popular on Netflix
- Audio Description
- TV Show Genres
- Top Picks for Time
- Top 10 in the U.S Today
Features of Netflix Add-on
Some of the available features of Netflix addon are the following:
- 1080px and 4K video quality
- Supports Dolby Vision on Android devices
- Movies and TV Shows rating option
- Add and Remove Content from the My List tab
- Explore Movies and TV Shows with Subgenres
- Browse Trailers of Movies
- Find the Latest Movies on Kodi’s Local Library
- HDR/HDR10 Support for the Android platform
Can I Share a Netflix Account With Someone in another Country?
Yes, you can share your Netflix account with someone from another country. You only need to provide your Netflix login credentials like email and password. After that, they can easily access this service in their country.
FAQs
Yes, you can use a VPN to access Netflix content that is not available in your region. However, it is important to note that Netflix actively blocks VPNs and some may not work.
The quality of Netflix content accessed through Kodi add-ons may vary, and it may not be possible to watch Netflix in HD through these add-ons. Additionally, the use of these add-ons may violate Netflix’s terms of service.
Netflix officially does not support Kodi, but there are some third-party add-ons and builds that claim to provide access to Netflix. However, these add-ons and builds may not be legal or reliable and may expose your device to security risks.
Using a VPN with Kodi may not work for accessing Netflix, as Netflix actively blocks VPNs to prevent users from accessing content outside of their region. Additionally, using a VPN to access Netflix may violate the terms of service and result in your account being blocked.
No, Kodi does not support downloading Netflix content. The only legal way to download content for offline viewing is through the official Netflix app.
Yes, there are many third-party add-ons and builds that provide access to a variety of streaming services, including Hulu, Amazon Prime Video, and more.
However, it is important to only use reputable addons and builds to ensure your device is protected and legal.
Yes, there are many add-ons and builds that provide access to live TV channels, including sports, news, and more. However, some of these add-ons and builds may not be legal or reliable, so it is important to use caution and only download from reputable sources.
