Home » Kodi » Install Fights on Demand Kodi Addon on Kodi Nexus

Install Fights on Demand Kodi Addon on Kodi Nexus

In this post, we will go through all the steps to install the Fights on Demand addon on Kodi. This installation step works on every device like Firestick (4K, Max, Lite), iOS, Mac, Fire TV Cube, Windows PC, MacOSX, etc.

Fights on Demand is the best Kodi sports addon that belongs to the Narcacist Wizard Repository. Within the addon, you can explore all fighting sports, including UFC, MMA, boxing, wrestling, etc.

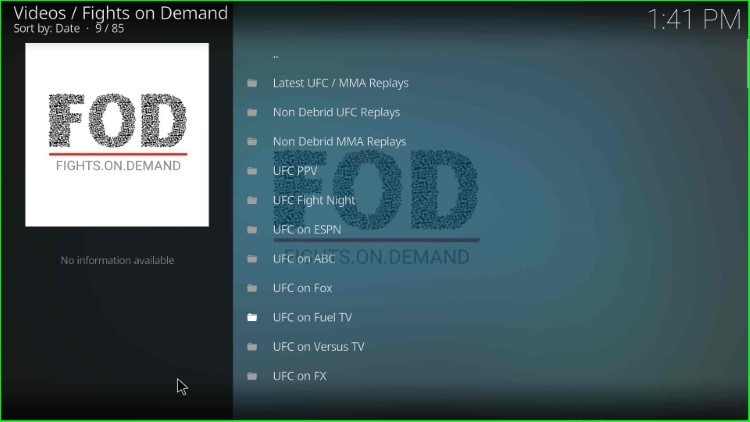
On its home page, you can find different sections like Non-Debrid UFC Replays, UFC On ESPN, UFC/MMA Replays, MMA Replays, UFC PPV, Eternal MMA, LFA, One Championship, and UFC Fight Nights. Also, the add-ons include tons of streaming links to watch your favorite content.

Attention! Before You Move Ahead.

I want to warn you that whatever you stream online is visible to the Government, ISPs, and Third Parties. Personally, I dislike someone snooping on my online activities.

Currently, your IP address 34.228.52.21 is visible to everyone.

Hence, I suggest using the most secure VPN, i.e. IPVanish VPN which has military-grade encryption. Also, IPVanish enables buffering-free streaming, hides your IP address and location, and bypasses geo-restrictions and bandwidth throttling.

Black Friday Offer: Save 81%: Only $2.49/Month

Note:- Streaming copyrighted content without a license is illegal and may land you in legal trouble. VPNHacks.com does not encourage piracy in any way.

Installation Steps

Enable Unknown Sources

Open Kodi on your device and go to Kodi Settings.

Tap on Settings

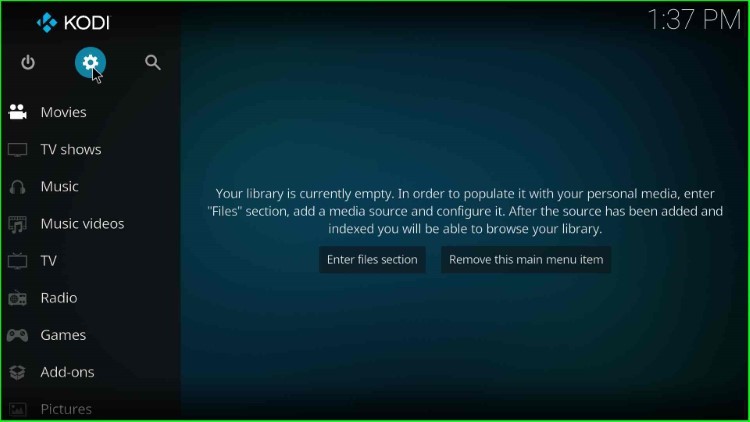
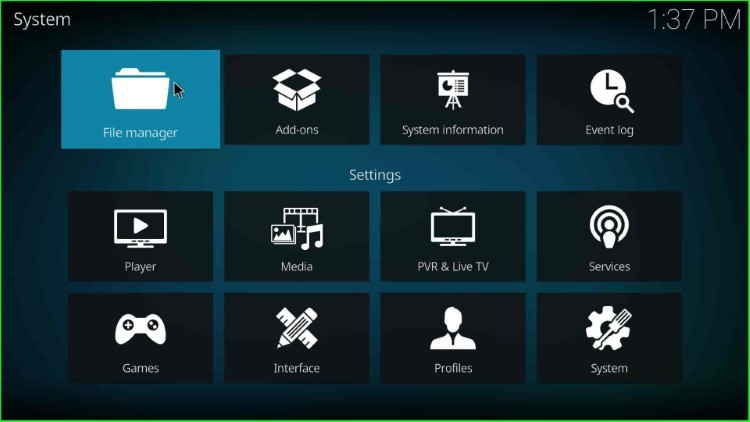
Here, choose the System icon.

Click on the System tab

Select Addons from the left panel and enable the Unknown Sources option.

Enable Unknown sources tab

Click Yes on the prompt screen.

Tap on Yes

Add Media Source and Repository

Press the ESC key to navigate to the Kodi Settings screen and tap on the File Manager.

Open File manager

Select the Add Source tab from the left side of the screen.

Add source for Narcacist Wizard repo

Choose the <None> tab.

Hit None

Here, enter the path of the repository URL as https://mylostsoulspace.co.uk/repo and hit OK.

Add Narcacist Wizard repo url

Now, enter the source name as narcacist and press OK.

Type source name narcacist

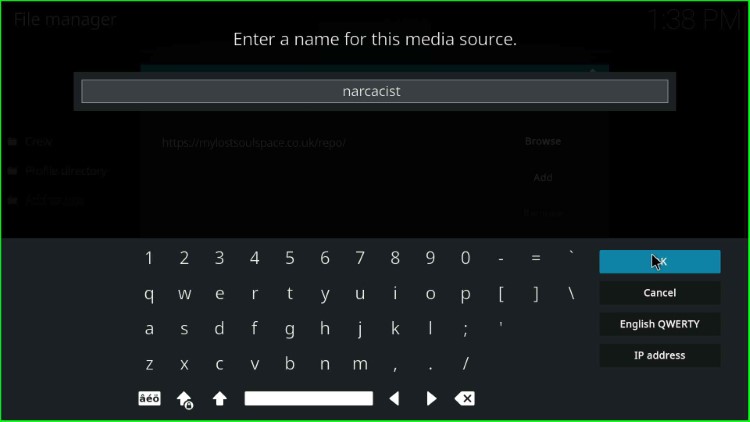
Recheck the details you entered and click on the OK key.

Check all details and Click OK

The media source narcacist was successfully added to the File Manager page.

narcacist source added successfully

Install from Zip File

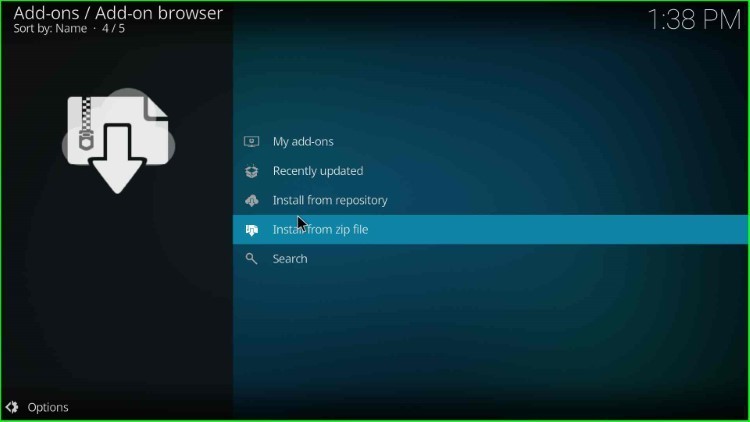
Again, go back to the Kodi Settings page, and this time hit the Add-ons key.

Click on Addons

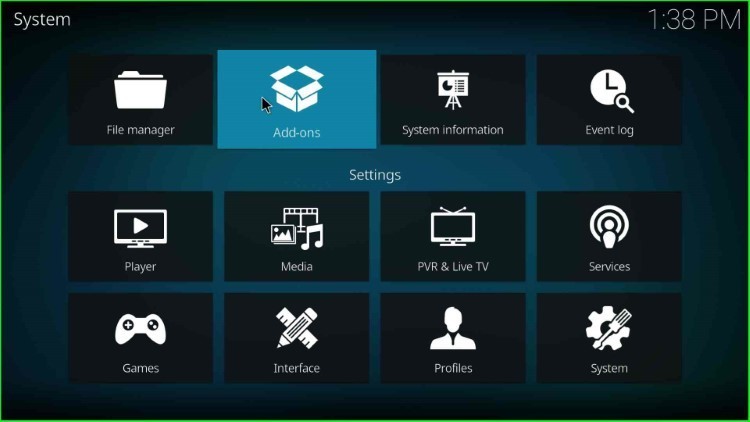
Here, select Install from the zip file.

Choose Install from zip file

Choose the earlier-added source narcacist.

Tap the source narcacist

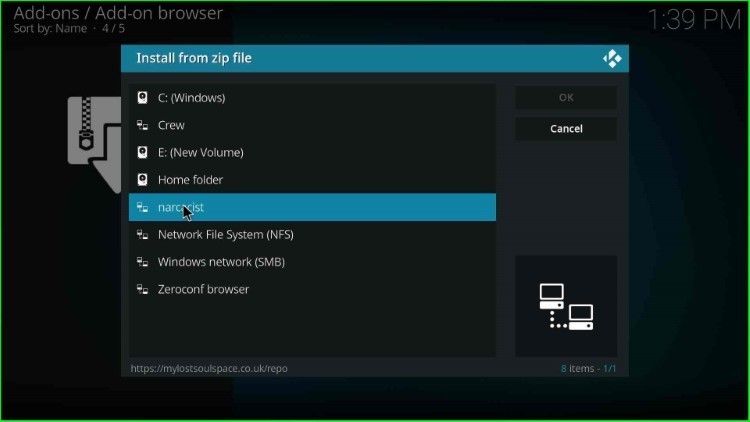
Click on the repository.NarcacistWizard-1.1.6.zip file.

Choose Narcacist Wizard zip file

As you click on it, the narcacist wizard repository addon starts installing; wait for its completion.

Narcacist Wizard repository addon installed

Install from Repository

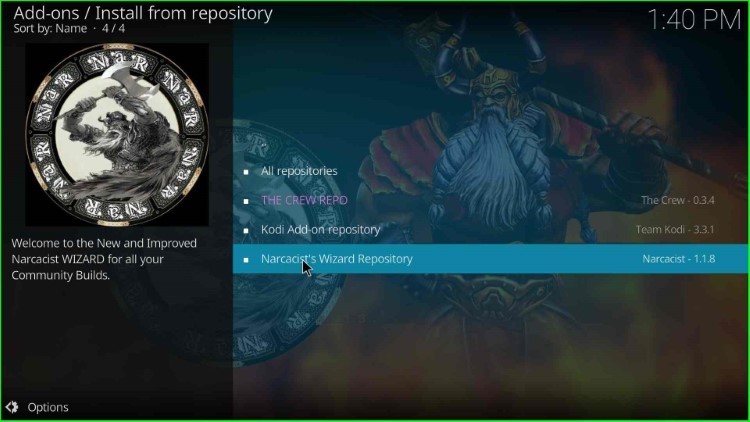
After installing the repository, navigate to the add-on browser and select the Install from repository tab.

Select Install from repository

Tap on the Narcacist’s Wizard Repository.

Choose Narcacist Wizard repository

Install Fights on Demand Addon

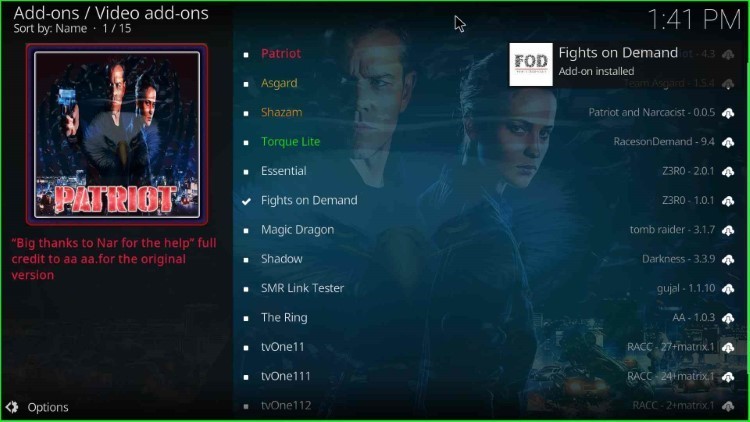
Select Video add-ons.

Click on Video add-ons

Now, search for the Fights on Demand addon and click on it.

Tap on Fights on Demand addon

Choose the Install key.

Click on Install button

After that, a popup will appear; tap OK and go ahead.

Tap OK key

Wait for the notification Fights on Demand Add-on installed on the screen.

Fights on Demand add-on installed successfully

Launch Fights on Demand Addon

Now, click on the Fights On Demand addon.

Again, select Fights on Demand addon

Select the Open icon.

Hit the Open key

The Fights on Demand page appears, with different kinds of streaming options.

Fights on Demand addon appears with different categories

Final Words

Finally, we have installed the Fights on Demand Kodi addon on Firestick. You can try installing the same on your device and let us know if any error occurs during the installation phase.

Before you start streaming on Firestick Apps/Websites, I would like to warn you once again that we do not know from where these Apps, Websites, Kodi Repositories, Wizards, Builds, and Addons fetch the streams.

The content you stream on Firestick Apps may be copyrighted and may land you in legal trouble even if you stream them unintentionally. Most of all, ISPs, Government, and authorized companies may monitor your online activities like streaming copyrighted movies, videos, TV shows, live shows, animes, etc.

To stay protected, and to get an exceptional streaming experience, I suggest you use IPVanish which is the fastest, most secure, and military-grade encryption VPN for Firestick. In addition, IPVanish hides your original IP address, encrypts your internet connection, and bypasses bandwidth throttling and geo-restrictions.

I have been personally using IPVanish for a couple of years and what I can say is that IPVanish is the best VPN for Firestick Apps in all aspects for all devices because the VPN unlocks geo-restricted streams and enhances my streaming experience.

Disclaimer: VPNHacks.com does not support or encourage piracy and copyright infringements in any form. You should abide by the rules and regulations in your country. We just want to protect you because sometimes you may end up streaming copyrighted content unintentionally.

Save 81%: Only $2.49/Month

Taking an IPVanish VPN Subscription is really simple.

1.       First, subscribe to IPVanish by clicking here.

Most of all, IPVanish comes with a 30-day money-back guarantee. You can get a full refund if you are unsatisfied (I do not think you will be) with IPVanish, and they do not ask for any reason.

2.       Once you subscribe to IPVanish, download the IPVanish app and open it. Enter your e-mail and password and click the “Log In” button.

Login to IPVanish App

3.       Once you are signed in, select the VPN Server location that you want to connect to and click on the connect option.

Choose the VPN Location

4.       After that, you will see that your IP address has been changed. This way, you can protect your privacy and have an exceptional streaming experience.

Connect the Server

Save 81%: Only $2.49/Month

Related Guides:

Emma is a pro streamer with vast knowledge of Firestick, Roku, Google Chromecast, Nvidia Shield, Kodi, Plex, and Stremio. She is very much concerned about her privacy and has in-depth knowledge of VPNs like IPVanish, ExpressVPN, and PrivateInternetAccess. more...

Leave a Comment

IPVanish Black Friday Offer