Home » Kodi » How to install The Blaze Build on Kodi 20 Nexus

How to install The Blaze Build on Kodi 20 Nexus

In this guide, we will install the Blaze Kodi Build on Kodi 20. All of us use different streaming devices like Android TV Box, Firestick, FireTV, Windows, Raspberry Pi, and Nvidia Shield. So, in all of these devices we can install Kodi and the procedure is almost the same for all devices.

We all know that The Blaze is a well-known Kodi Build that we can install from the Blazin Streams repository. You can stream different content from the categories like Live TV, TV Shows, Music, Cartoons, Movies, Kids, Documentaries, and Sports.

Also, you can stream different premium services like Real Debrid, AllDebrid, and Premiumize for streaming using HD links.

Moreover, the Build contains various preloaded addons to install, including Alvin, Asgard, Mad Titan, Deathstar, The Magic Dragon, Odin, etc. Most of these Builds support Kodi Nexus and Matrix.

Installation Steps

Enables Unknown Sources

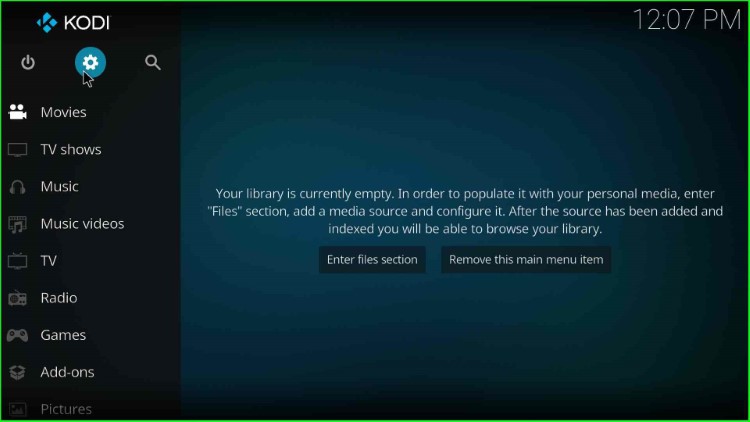
Open Kodi and choose the Settings option.

Choose Settings

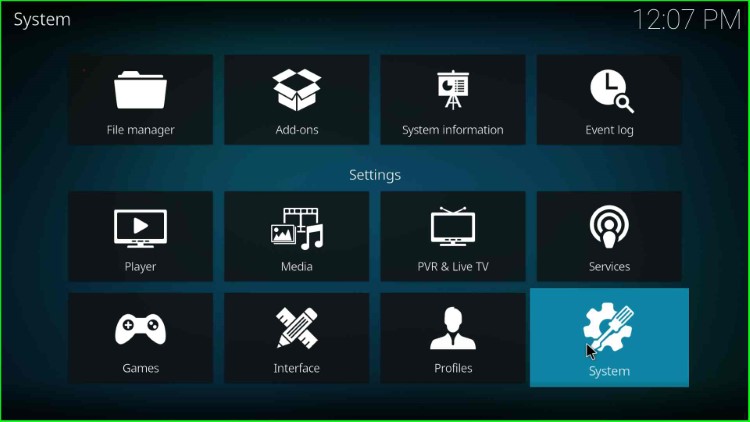
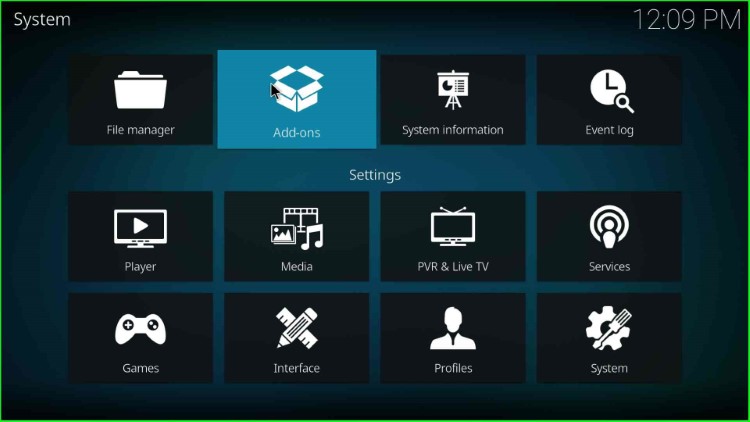
From the available list of tabs, go to the System tab.

Tap on System

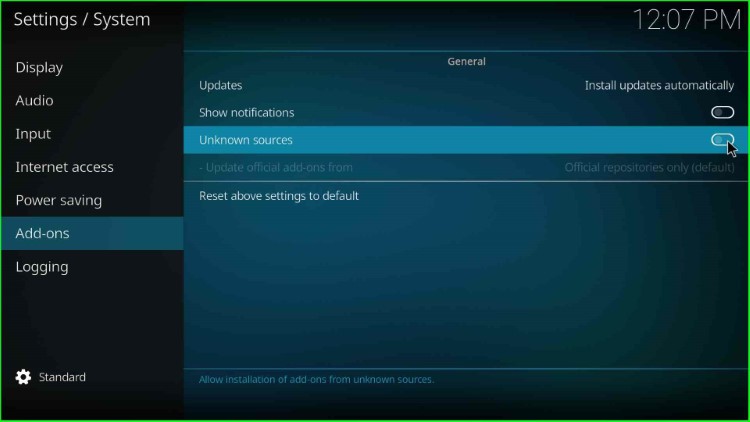
Here, single-click on the Add-ons and then enable the Unknown sources button.

On Unknown sources button

Here, you see a warning box; tap Yes to allow installation from unknown sources on your device.

Press Yes

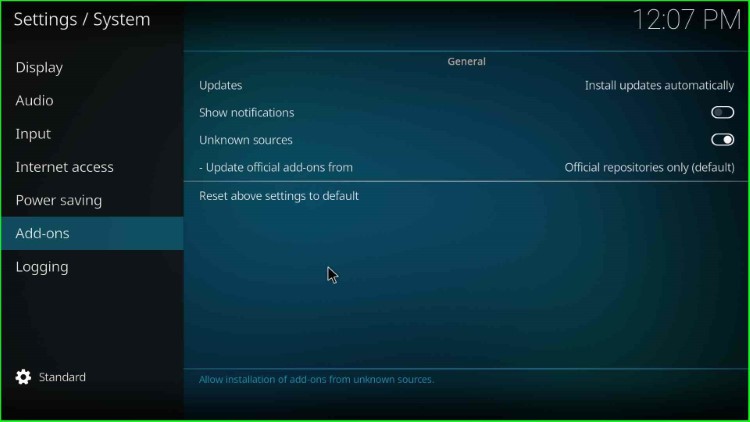
Once you confirm by clicking on the Yes button, the Unknown sources will be on.

Unknown sources button on successfully

Go to the System page and then choose the File manager option.
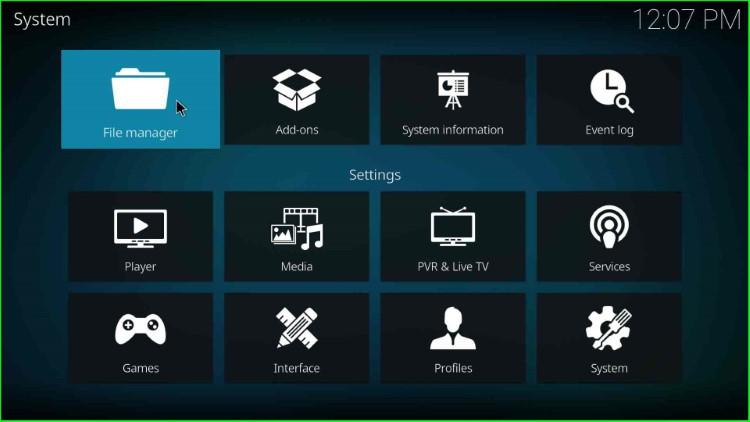
Open File manager

Add Media Source

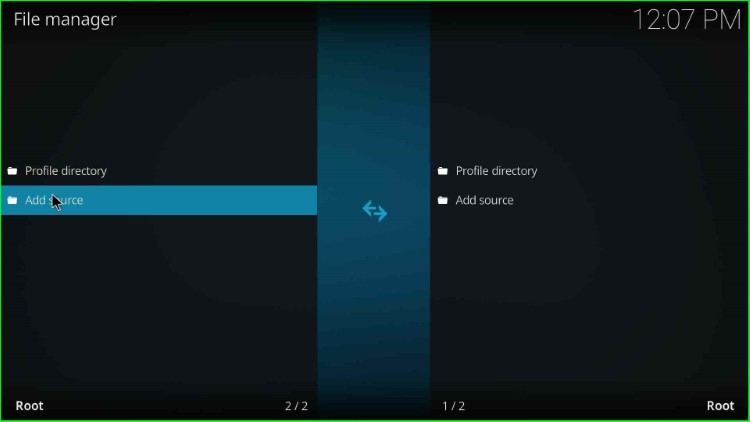
Double-click on the available Add source option.

Add source for Blazin Streams repository

Select the blue highlighted option, <None>.

Click on None

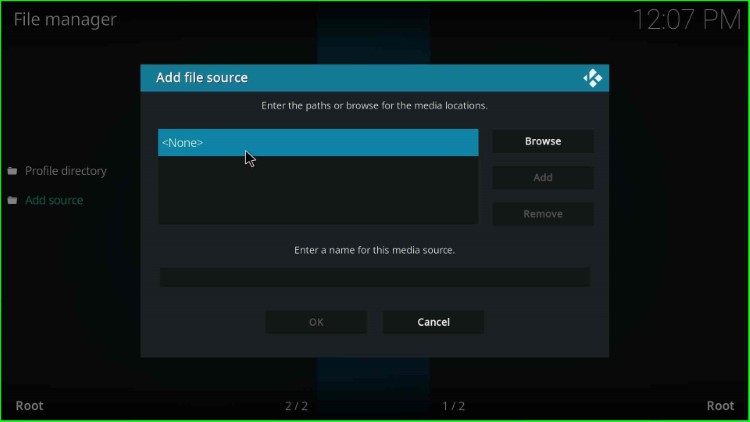
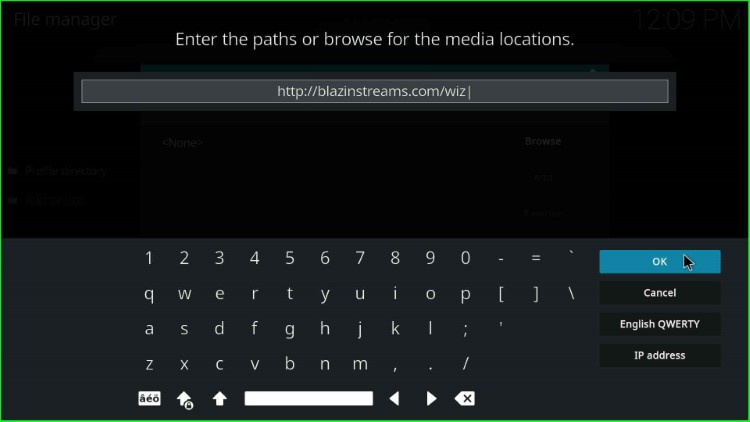
Once you click, it asks you to enter the path for the media location.

Redirect to enter the path text box

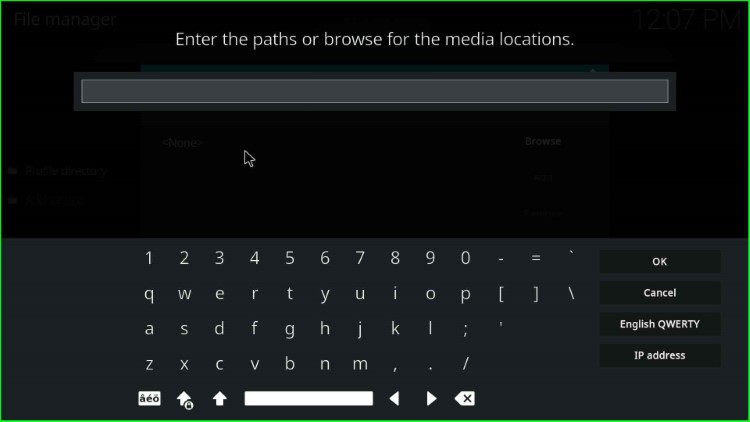
Here, enter the path of the media source as http://blazinstreams.com/wiz and press OK.

Write Blazin Streams repository url and choose OK

After scrolling down the cursor, you see an existing source name wiz.

Change the source name wiz

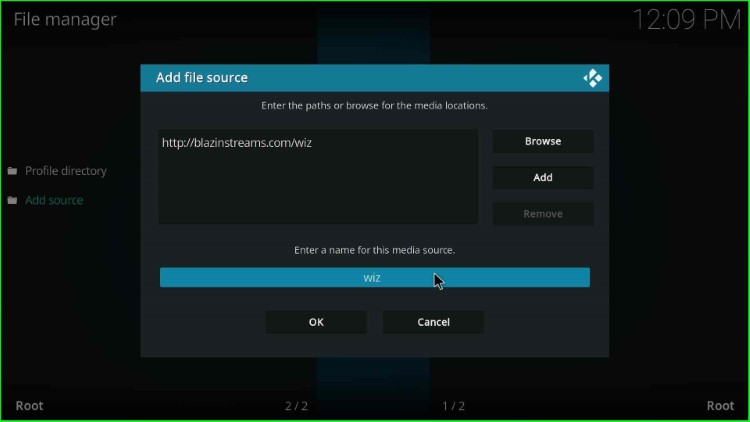
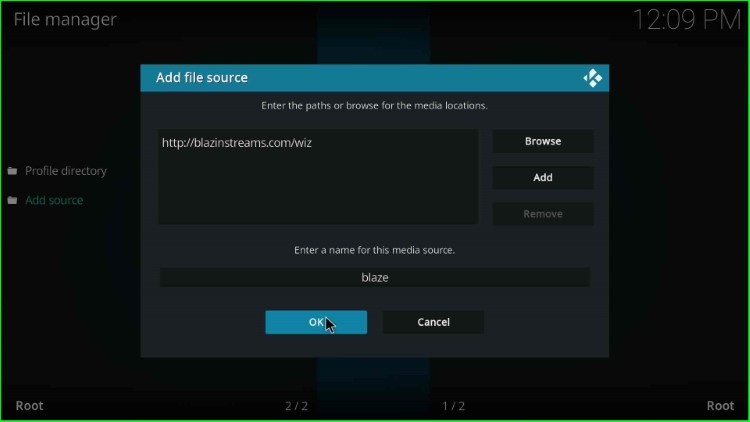
Erase it, type the new source name, blaze, and hit the OK key.

Enter new name blaze and tap OK

Check the media source name and URL carefully and click the OK button.

Check all the details and hit OK

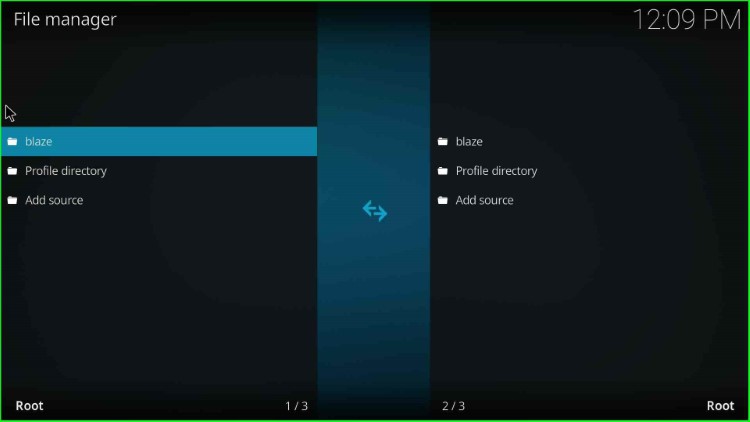
Your media source blaze is successfully saved on the File manager screen.

blaze source is added successfully

Install from Zip File

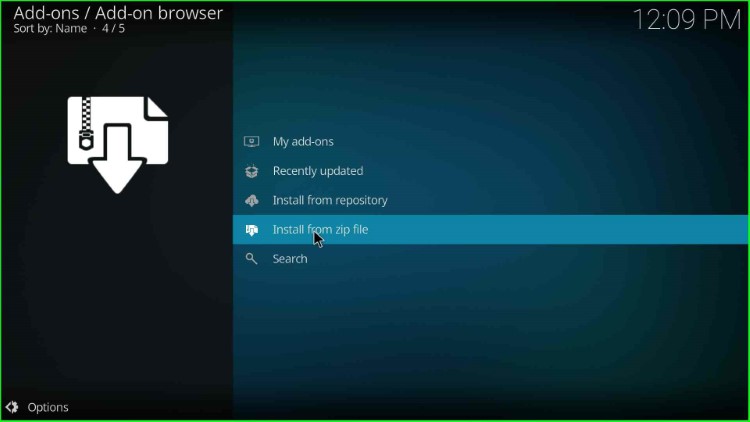
Return to the System screen again and select the Add-ons tab.

Select Addons

Choose the Install from zip file option.

Tap on Install from zip file

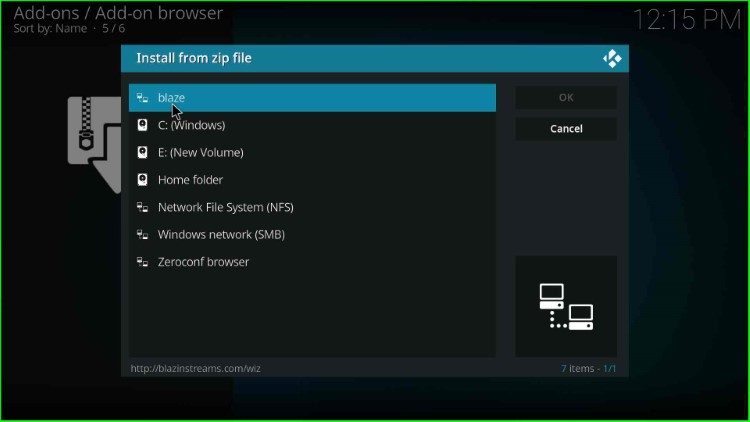
Select the blaze source file.

Choose the blaze file

Install Blazin Streams Wizard 

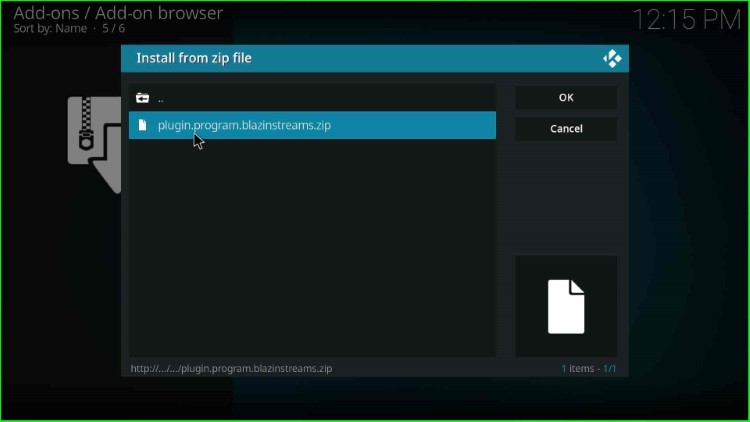
Tap on the plugin.program.blazinstreams.zip file.

Click on BlazinWizard zip file

Wait till the message “BlazinWizard Add-on installed” appear on the screen.

Wait for the BlazinWizard Addon installed message

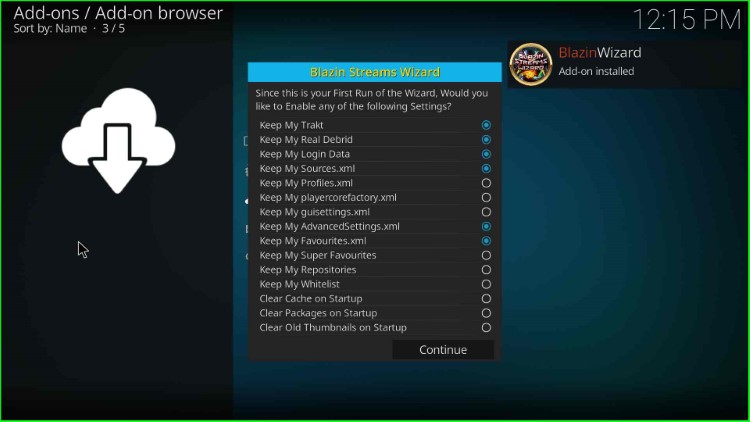
Then, click on the Continue key.

Select Continue

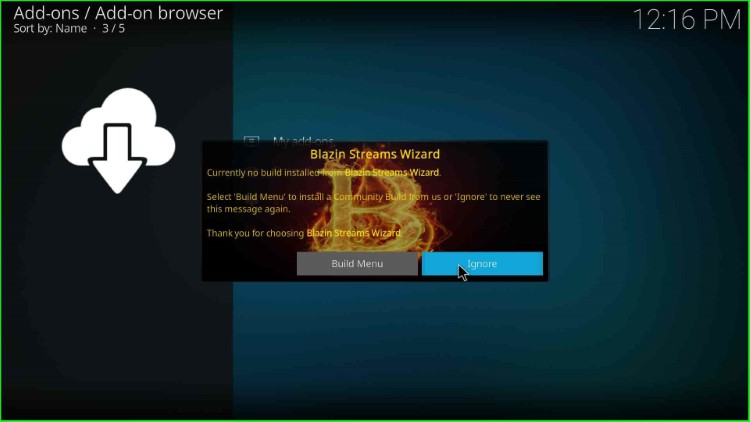
This page displays a Blazin Streams Wizard popup; hit the Ignore button to close it.

Press the Ignore button

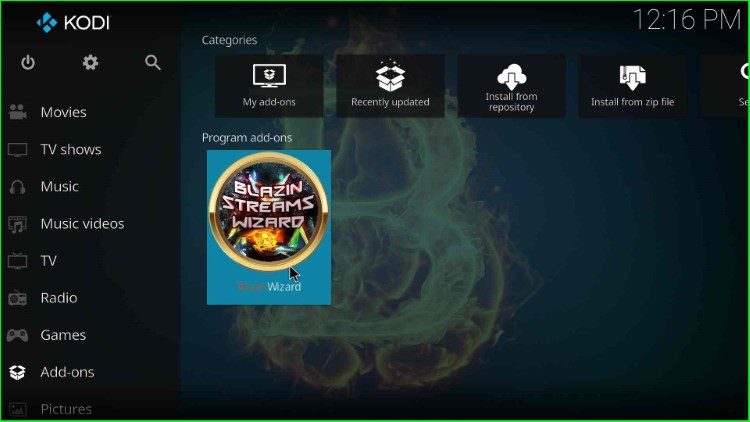
Install The Blaze Build

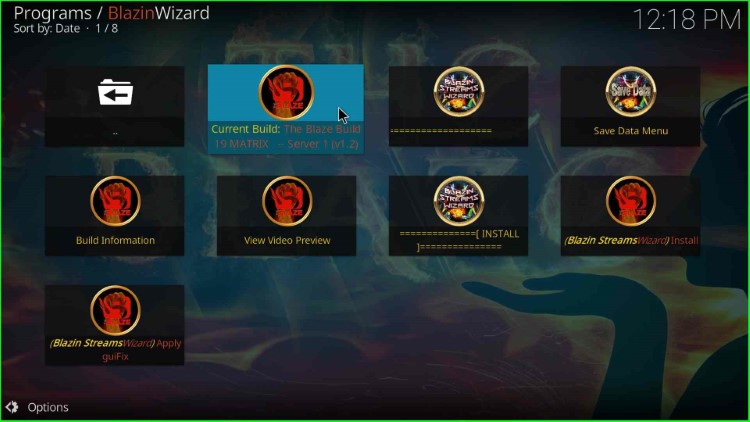
Go to the Kodi homepage, tap on Add-ons, and select the recently installed Blazin Streams Wizard.

Open the Blazin Streams Wizard

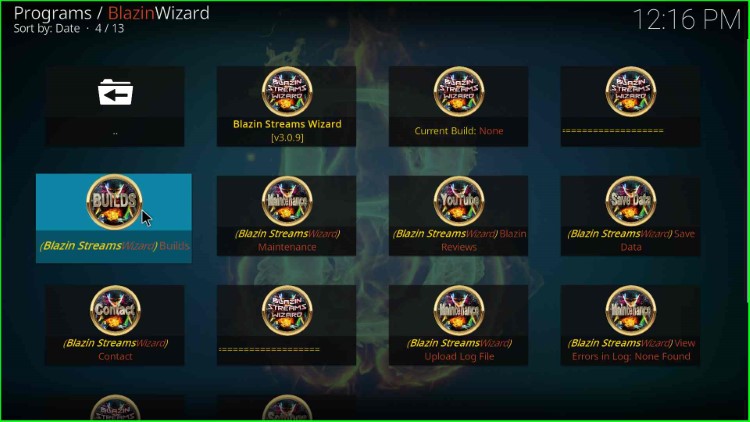
Select the (Blazin StreamsWizard) Builds icon.

Select Build option

Here, select the second option, The Blaze Build 19 Matrix – Server 1.

Choose The Blaze Build

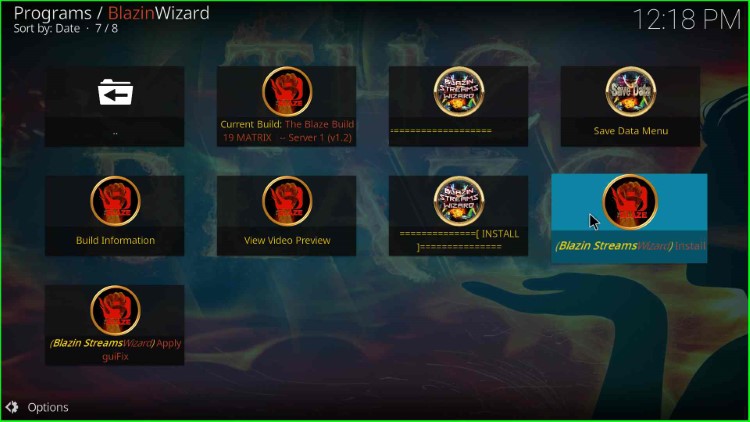
Click on the (Blazin StreamsWizard) Install option.

Hit Install

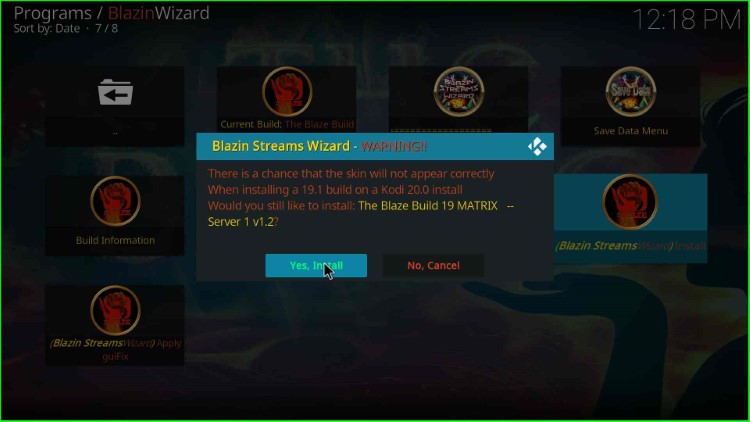
Press the Yes, Install key.

Click on the Yes, Install key

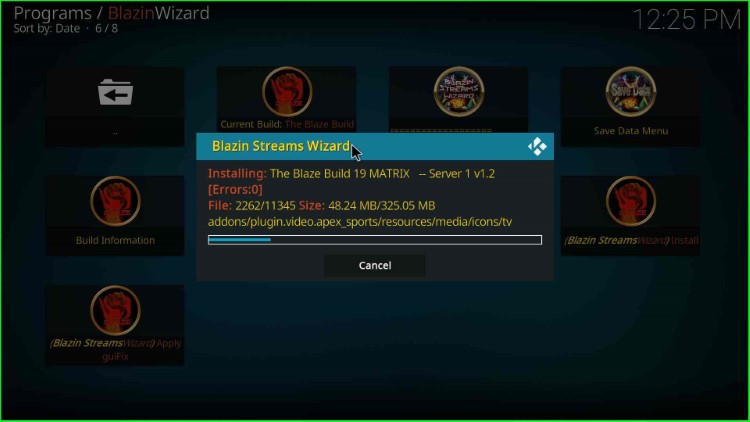
A Blazin Streams Wizard popup box appears and starts calculating the Build size.

The Blaze Build starts calculating size

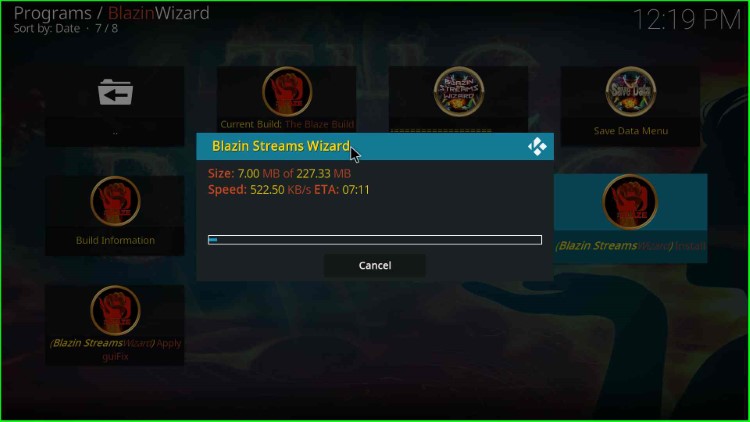
Wait till the Blazin Streams Wizard Installation process is complete.

Wait for The Blaze Build installation

Click the OK button to force close Kodi.
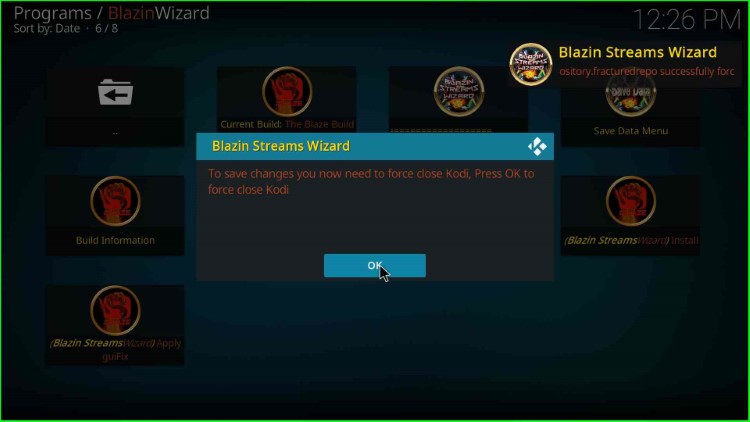
Tap OK

Restart the Kodi application start streaming.

Enjoy the streaming on The Blaze Build

Final Words

Finally, we have installed the Blaze Build on the Kodi 20 Nexus. So, try the steps on your device and share the experience through the comment section.

Before you start streaming on Kodi, I would like to warn you once again that we do not know the source of Kodi Repositories, Wizards, Builds, and Addons and from where they fetch the streams.

The content you stream on Kodi may be copyrighted and may land you in legal trouble because ISPs, Government, and authorized companies may monitor your online activities like streaming copyrighted movies, videos, TV shows, live shows, animes, etc.

To stay protected, and to get an exceptional streaming experience, I suggest you use ExpressVPN which is the fastest, most secure, and military-grade encryption VPN on the planet. In addition, ExpressVPN hides your original IP address, and encrypts your internet connection, bypasses bandwidth throttling and geo-restrictions.

I have been personally using ExpressVPN for a couple of years and what I can say is ExpressVPN is the best VPN in all aspects for all devices. I did not face any problems with any app or device.

Note: VPNHacks.com does not support or encourage piracy and copyright infringements in any form. You should abide by the rules and regulations in your country. We just want to protect you because sometimes you may land up streaming copyrighted content unintentionally.

ExpressVPN Hot Deal: Get 12 Months Subscription + 3 Months Extra Free

Taking an ExpressVPN is really simple.

1.       First, subscribe to ExpressVPN by clicking here.

Subscribe ExpressVPN

Most of all ExpressVPN comes with a 30-day money-back guarantee. You can get a full refund if you are not satisfied (I do not think you will be) with ExpressVPN and they do not ask for any reason.

2.       Once you subscribe the ExpressVPN, download the ExpressVPN app and open it. Enter your activation code or you may use the Email Sign-in link.

Sign in

3.       Once you are signed in, select the VPN Server location that you want to connect to and click on the Power icon button.

4.       After that, you will see that your IP address has been changed. That’s all. Have a safe streaming. 

James is the Co-founder of VPNHACKS.COM. He is a Network security expert with hands-on experience on Server Administration, UTM Management, Datacentre Consolidation, Migration, etc. Also, He has Configured Proxy Servers and Implemented VPN tunnels. more...

1 thought on “How to install The Blaze Build on Kodi 20 Nexus”

Leave a Comment

ExpressVPN