This article provides information about how to install the Fight Club addon on Kodi Nexus. These installation steps are the same for every streaming device like Android, PC, Mac, Firestick, Linux, Roku, Chromecast, etc.
Fight Club is one of the best add-ons to stream combat sports like wrestling, boxing, MMA, AEW, UFC, RAW, NXT, PPV, and SmackDown. Additionally, a noted point about the addon is that it is essential to enter a PIN code before streaming content on the Fight Club addon.
This PIN code is accessible only for 24 hours; after that, you have to generate it again. Moreover, you can download and install the addon quickly through the Stream Army repository.
Attention! Before You Move Ahead.
I want to warn you that whatever you stream online is visible to the Government, ISPs, and Third Parties. Personally, I dislike someone snooping on my online activities.
Hence, I suggest using the most secure VPN, i.e. IPVanish VPN which has military-grade encryption. Also, IPVanish enables buffering-free streaming, hides your IP address and location, and bypasses geo-restrictions and bandwidth throttling.
Black Friday Offer: Save 81%: Only $2.49/Month
Note:- Streaming copyrighted content without a license is illegal and may land you in legal trouble. VPNHacks.com does not encourage piracy in any way.
Contents
Installation Steps
Enable Unknown Sources
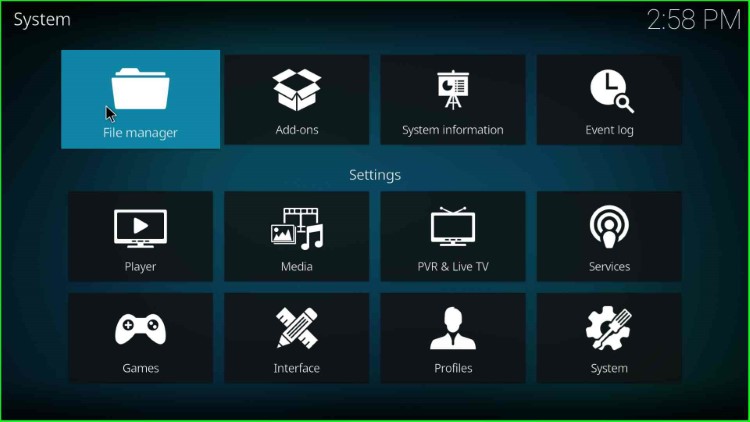
First, open the Settings icon available on the Kodi Home page.

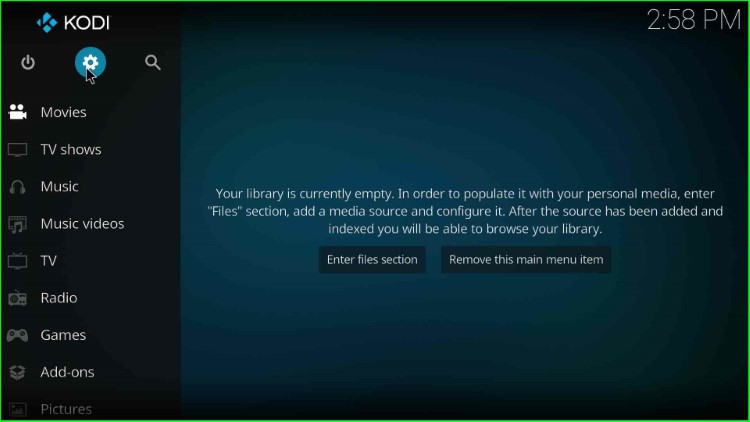
Inside it, tap on the last option, System.

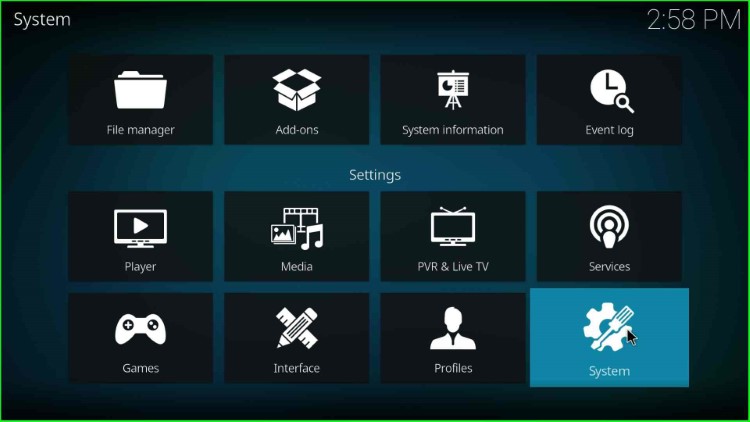
Put the cursor on the left-side Addons tab and turn on the Unknown Sources mode.

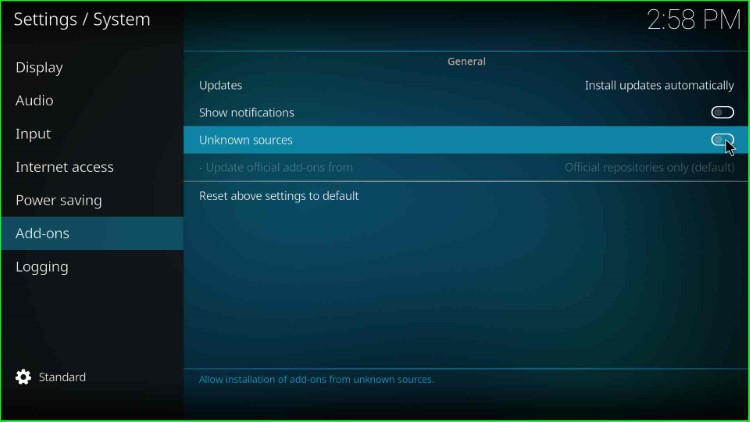
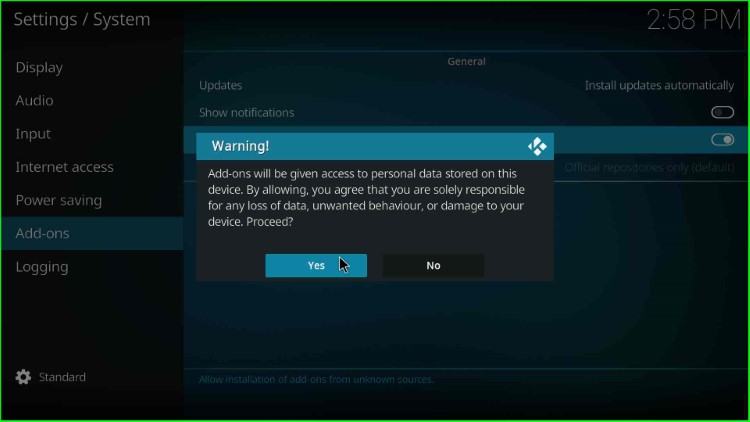
The page shows a popup window, click Yes and move ahead.

Add Media Source and Repository
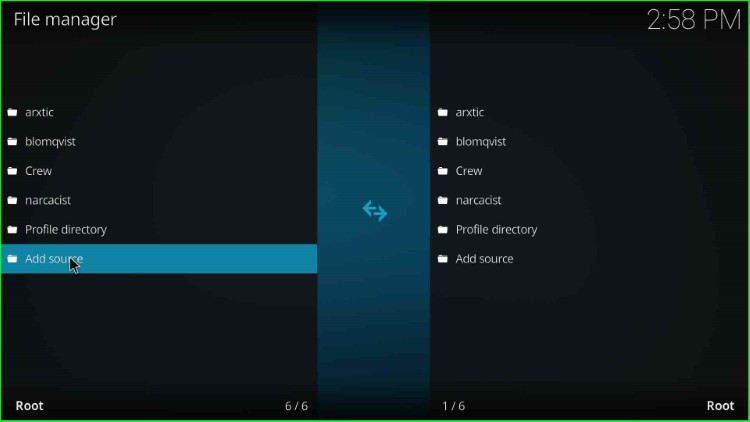
Go to the previous Settings screen and select the File Manager option.

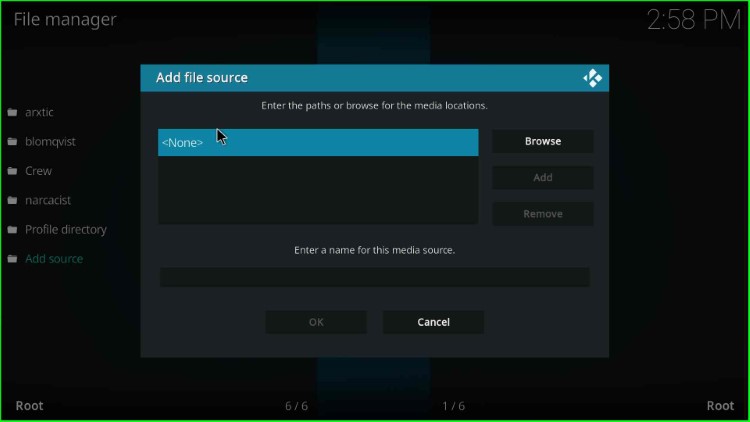
It shows Add source option; tap on it.

Choose the blue highlighted tab <None>.

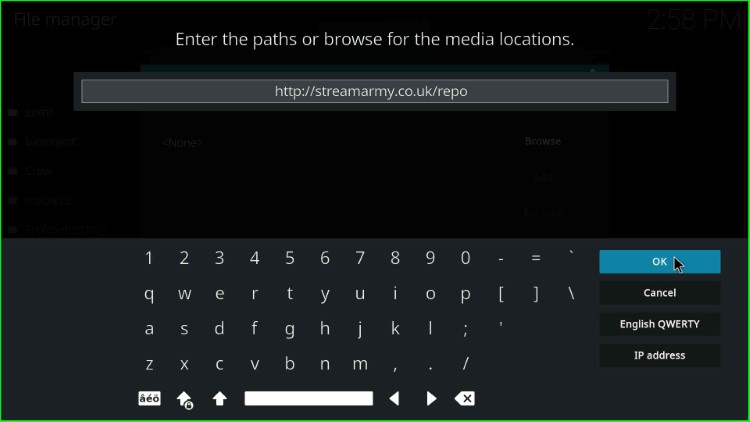
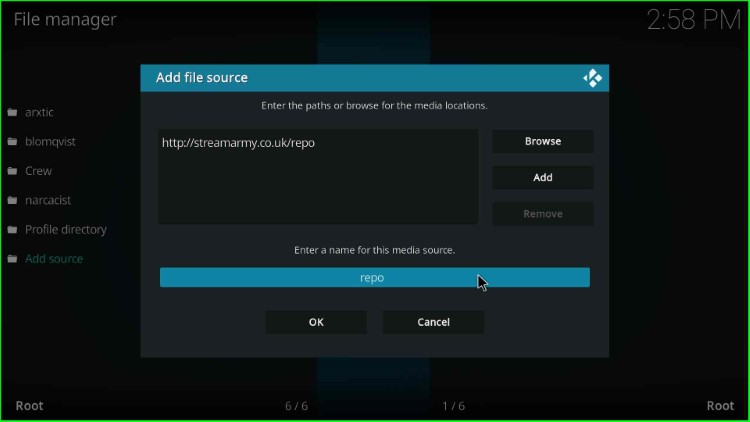
Type the following URL here http://streamarmy.co.uk/repo and hit the OK button.

Click on the enter the media source label.

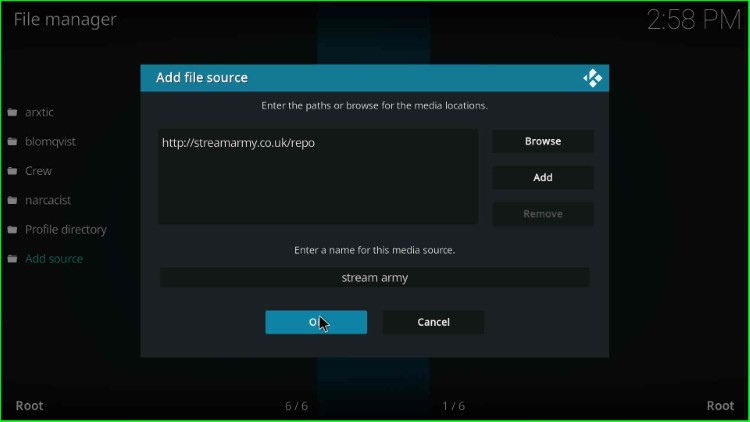
Here, change the source name to stream army. Thereafter, check all the entries again and press the OK key.

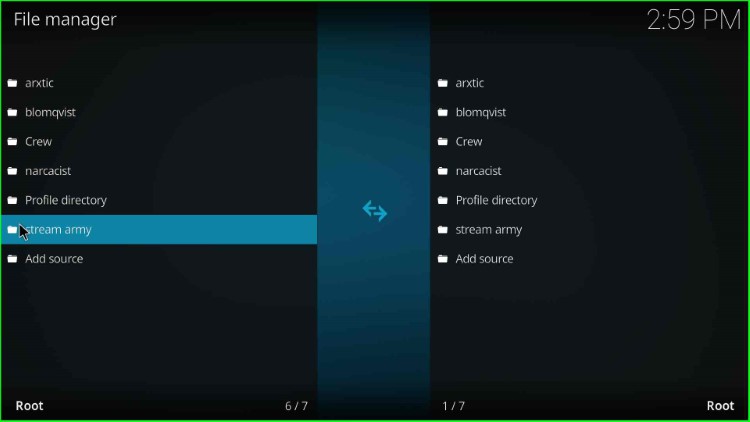
Your media source folder, stream army successfully saved on the File Manager screen.

Install from Zip File
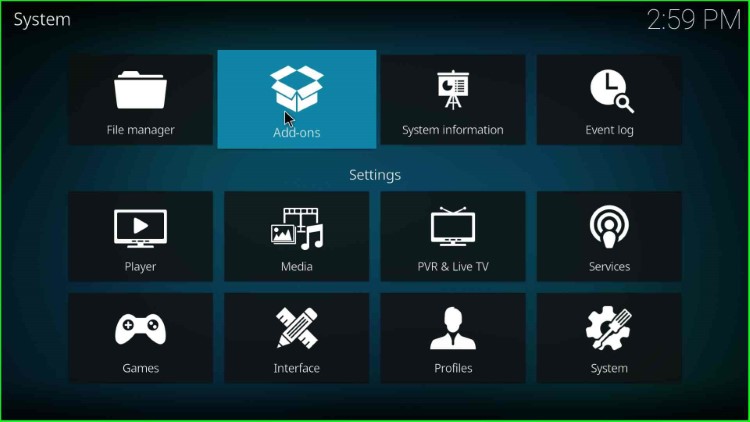
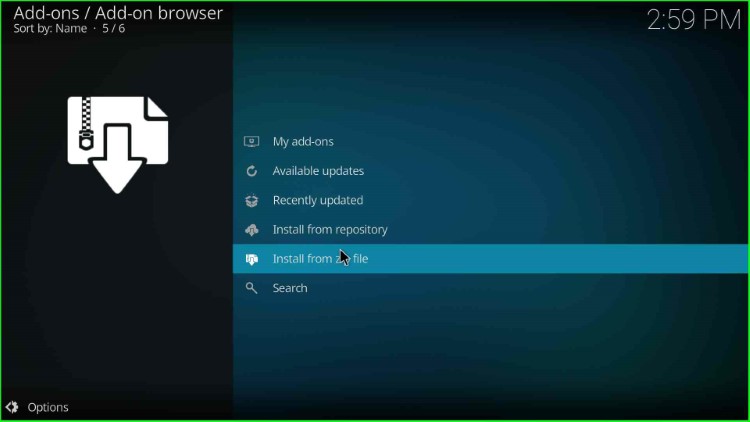
Go back to the Kodi Settings page, and this time select the Add-ons option.

Click on Install from zip file.

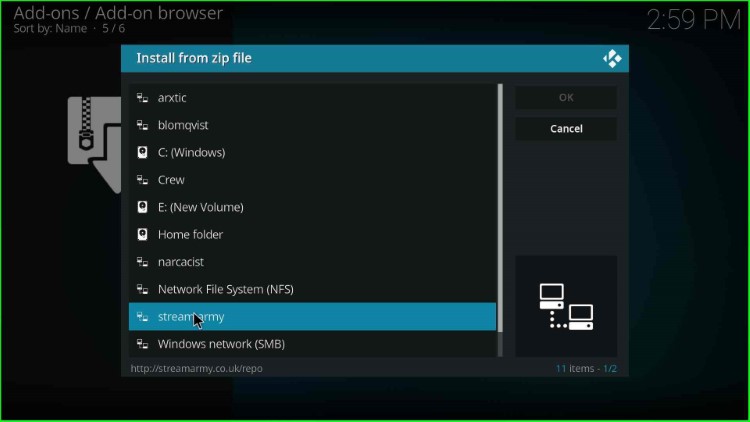
Choose the stream army media folder.

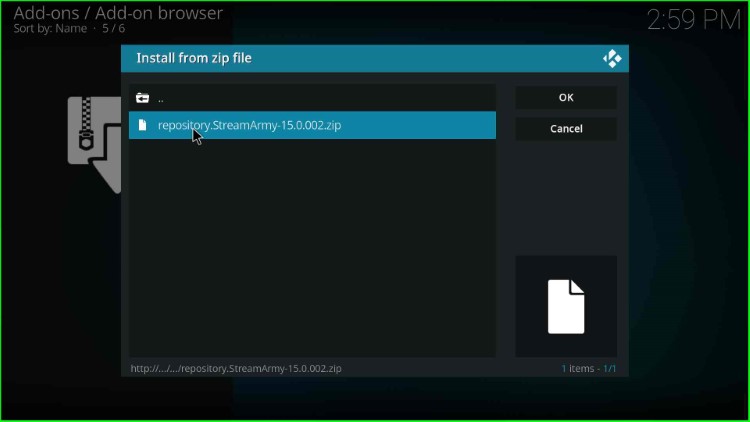
Select the repository.StreamArmy zip file.

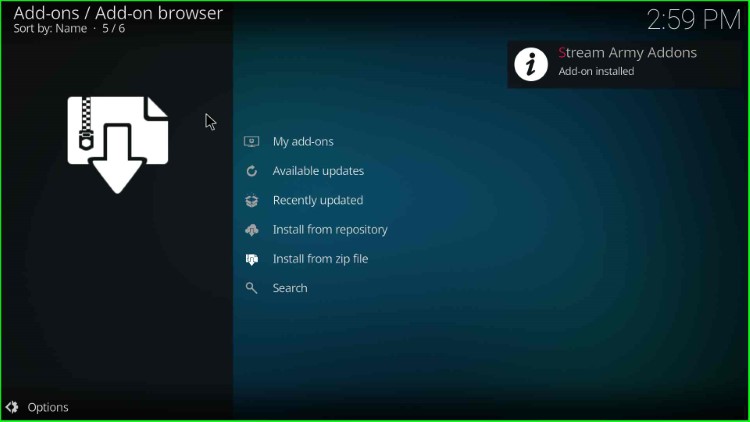
Wait for the installation message Stream Army Addons Add-on installed on the screen.

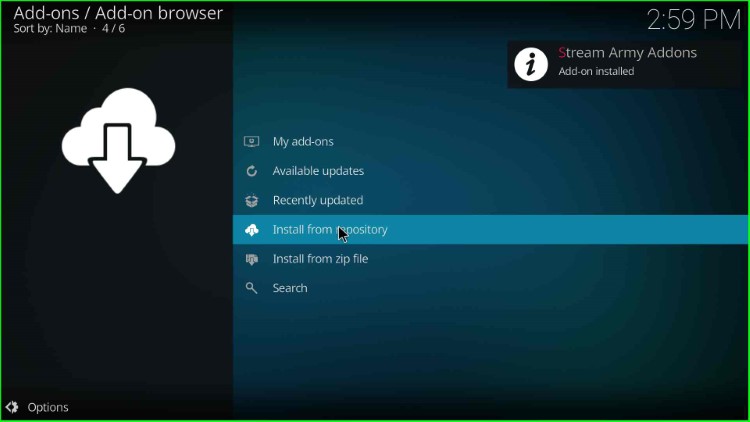
Install from Repository
Now, go with next option, Install from repository.

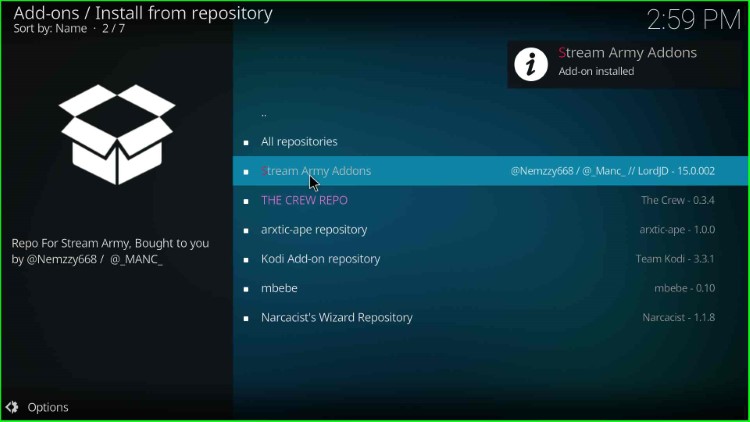
Select the Stream Army Addons from here.

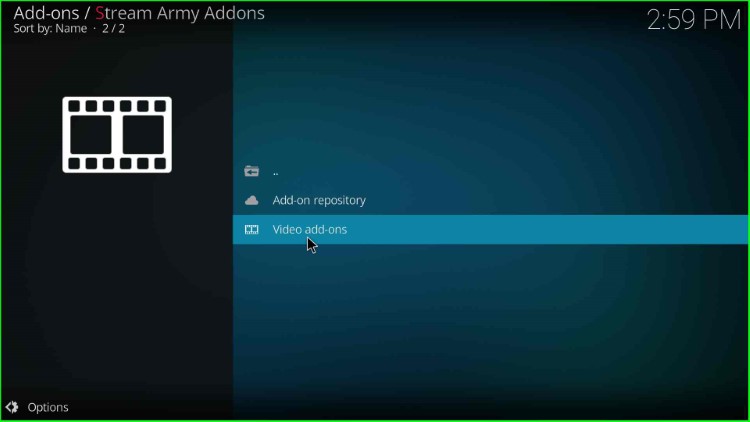
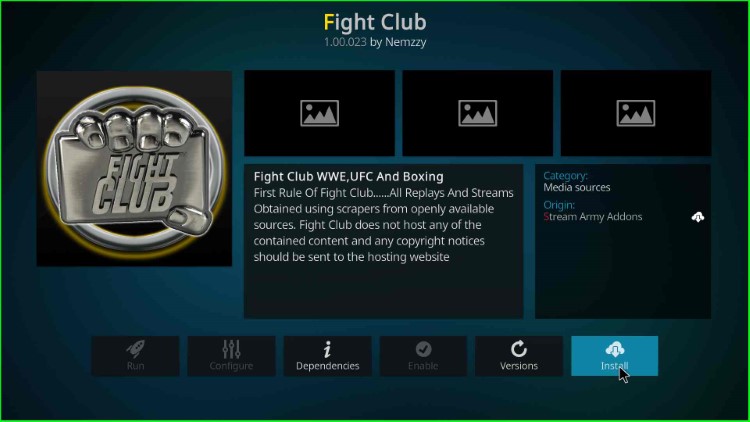
Install Fight Club Addon
Tap on Video add-ons.

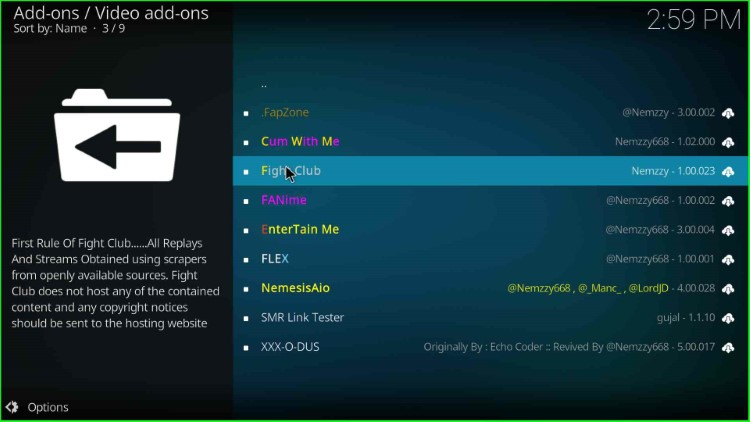
Scroll down and select the Fight Club addon.

Hit the Install key.

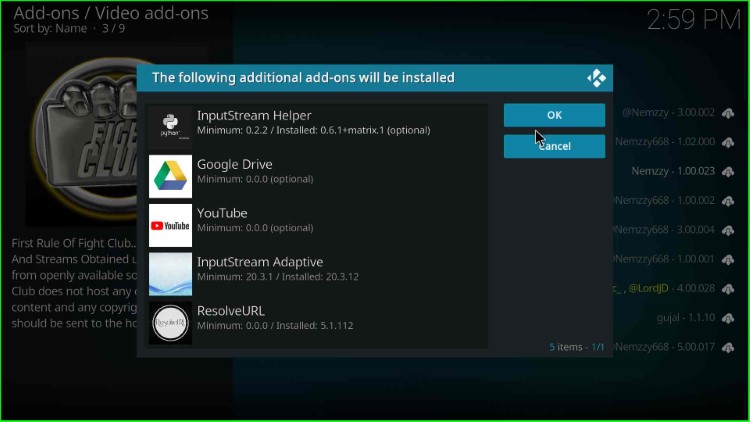
Tap on the OK button that appears on the prompt screen.

Wait until the Fight Club Add-on installed message is displayed on the screen.

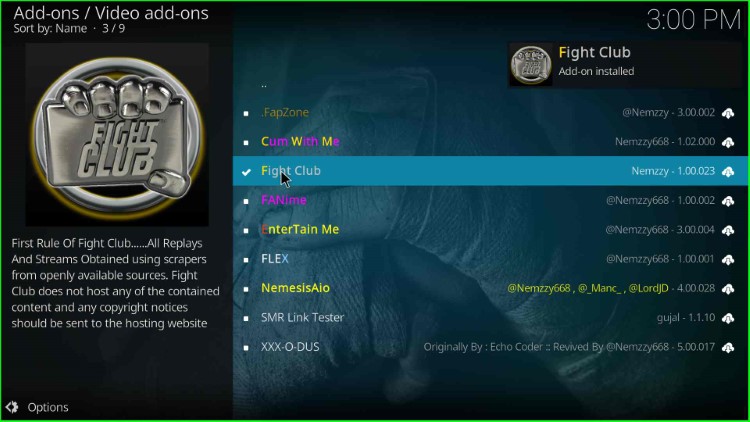
These are the proper steps to install the Fight Club add-on on Kodi.
Final Words
Finally, we have installed the Fight Club addon on Kodi Nexus step by step. Install the addon on your Firestick 4K, Max, or Lite, and let us know if you face any errors during installation.
Before you start streaming on Firestick Apps/Websites, I would like to warn you once again that we do not know from where these Apps, Websites, Kodi Repositories, Wizards, Builds, and Addons fetch the streams.
The content you stream on Firestick Apps may be copyrighted and may land you in legal trouble even if you stream them unintentionally. Most of all, ISPs, Government, and authorized companies may monitor your online activities like streaming copyrighted movies, videos, TV shows, live shows, animes, etc.
To stay protected, and to get an exceptional streaming experience, I suggest you use IPVanish which is the fastest, most secure, and military-grade encryption VPN for Firestick. In addition, IPVanish hides your original IP address, encrypts your internet connection, and bypasses bandwidth throttling and geo-restrictions.
I have been personally using IPVanish for a couple of years and what I can say is that IPVanish is the best VPN for Firestick Apps in all aspects for all devices because the VPN unlocks geo-restricted streams and enhances my streaming experience.
Disclaimer: VPNHacks.com does not support or encourage piracy and copyright infringements in any form. You should abide by the rules and regulations in your country. We just want to protect you because sometimes you may end up streaming copyrighted content unintentionally.
Taking an IPVanish VPN Subscription is really simple.
1. First, subscribe to IPVanish by clicking here.
Most of all, IPVanish comes with a 30-day money-back guarantee. You can get a full refund if you are unsatisfied (I do not think you will be) with IPVanish, and they do not ask for any reason.
2. Once you subscribe to IPVanish, download the IPVanish app and open it. Enter your e-mail and password and click the “Log In” button.

3. Once you are signed in, select the VPN Server location that you want to connect to and click on the connect option.

4. After that, you will see that your IP address has been changed. This way, you can protect your privacy and have an exceptional streaming experience.

Related Guides: