This post will discuss installing the Homelander Kodi addon on Windows, and Android devices, Nvidia Shield, Linux, Amazon Fire TVs, FireStick, and Mac platforms.
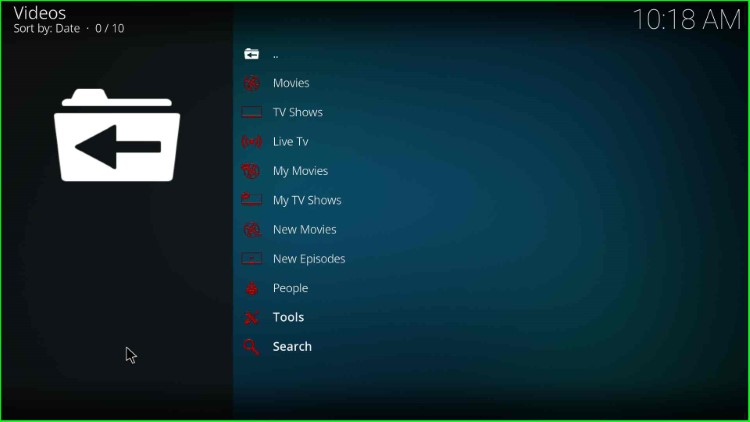
Homelander is the best video addon that you can install from The Crew Repository. It is a great Kodi addon that enables you to navigate across different sections like Live TV, TV Shows, Movies, Tools, My TV Shows, My Movies, People, New Episodes, and New Movies.
Following are the steps to install the Homelander Kodi addon.
Installation Steps
Enable Unknown Sources
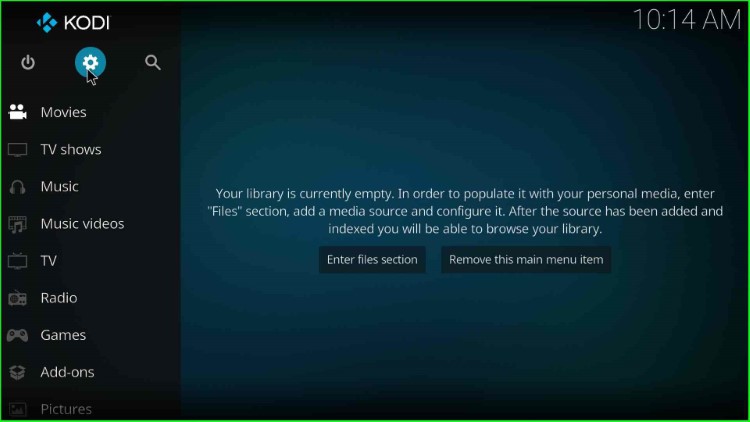
Launch Kodi on your device and go to the Settings icon.
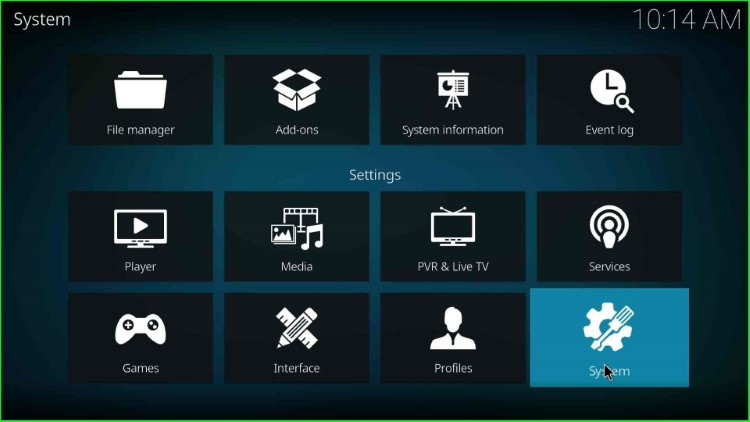
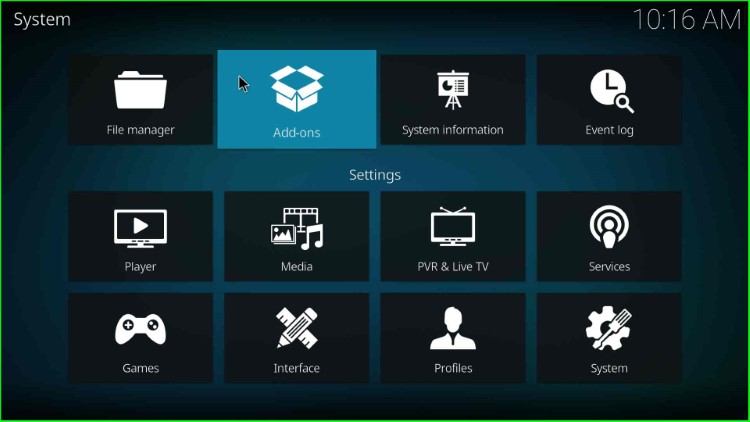
Navigate to the System option.
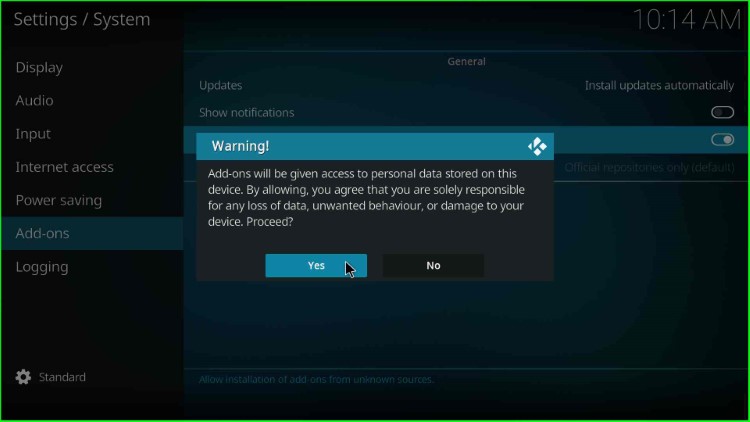
Click on the Add-ons tab on the screen’s left side and enable Unknown Sources mode.

As you enable the mode, you will get a warning message; click Yes to confirm.
Add Media Source and Repository
Go back to the Kodi Home screen and select the File manager tab.

Choose the Add Source option.

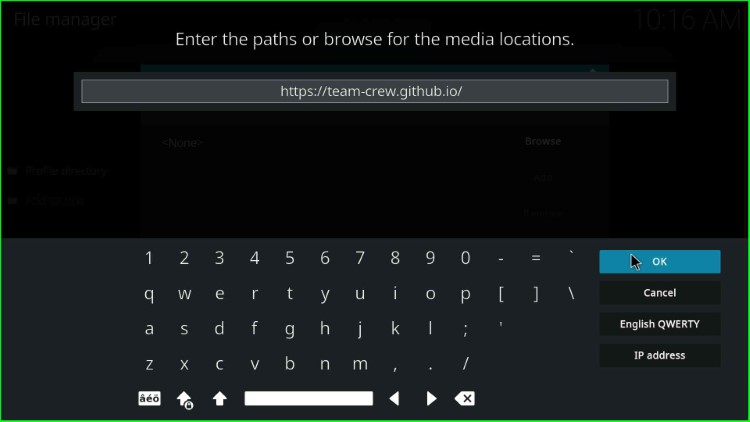
Click on <None>.
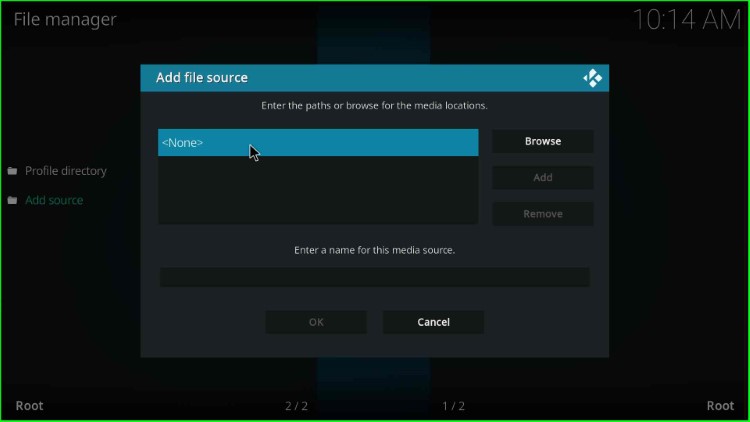
Now, enter the source URL, https://team-crew.github.io, and press OK.
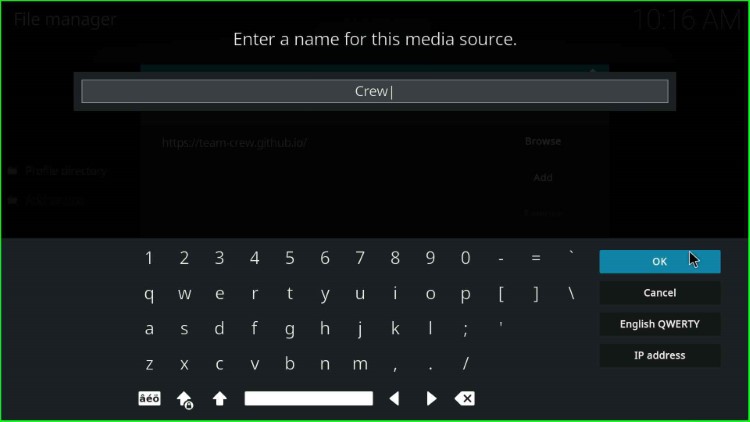
Next, enter the source name as Crew and hit the OK key.
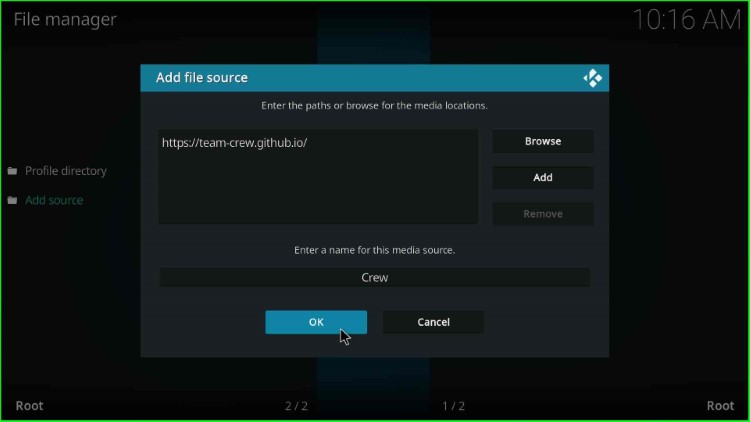
Check all the details you entered again and click OK to submit.
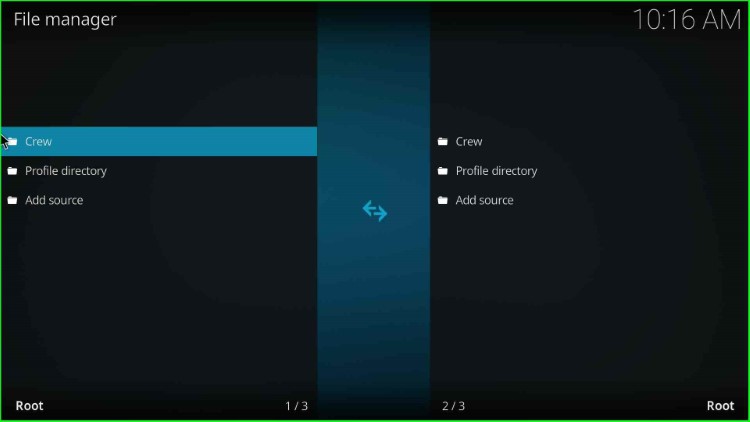
You will see your newly added source Crew on the File Manager page.
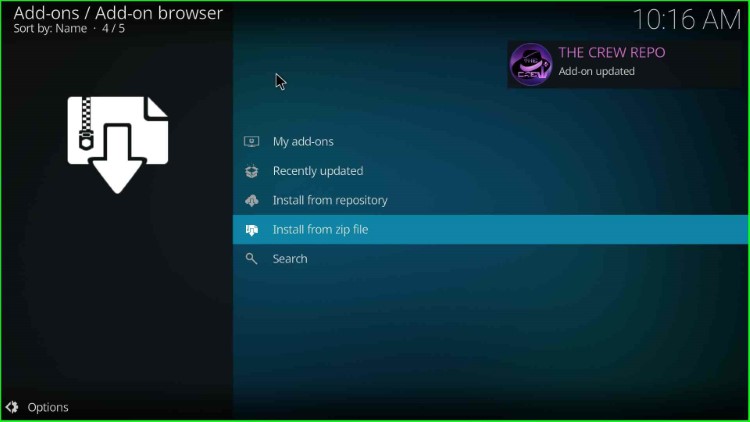
Install from Zip File
Go to Kodi Settings and tap on the Addons icon.
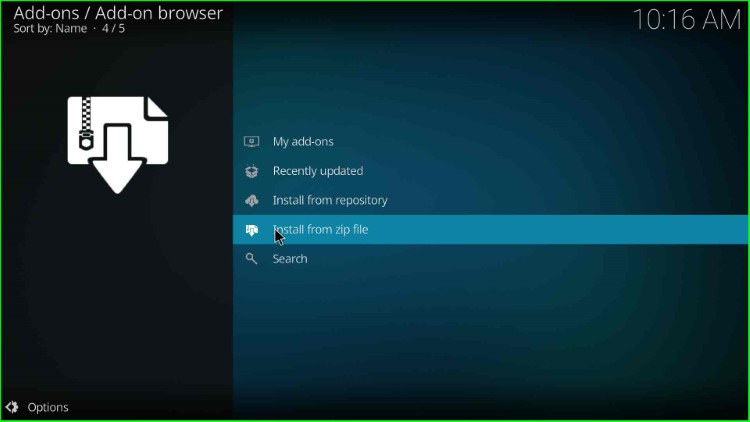
Select Install from zip file.
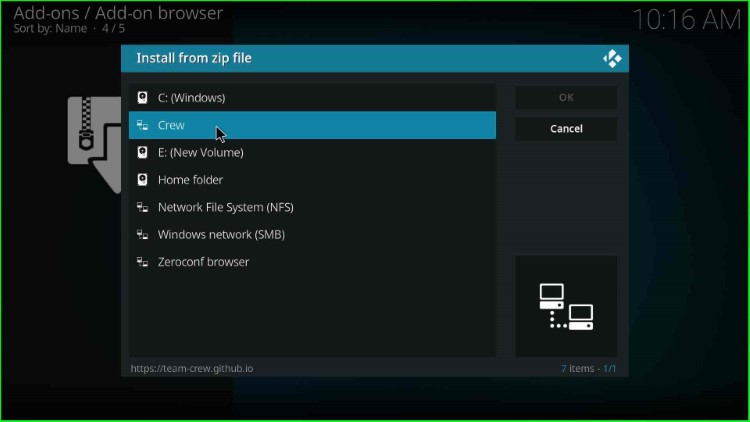
Choose the added source, Crew.
Select repository.thecrew-x.x.x.zip file.
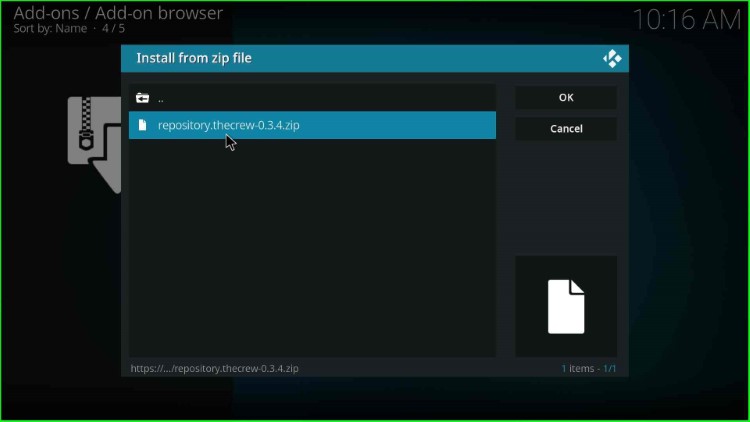
Wait for the installation of The Crew Repository.
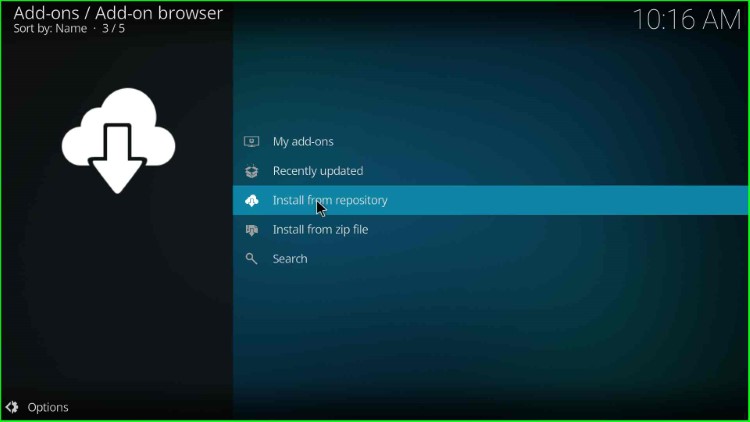
Install from Repository
After that click on the Install from repository.
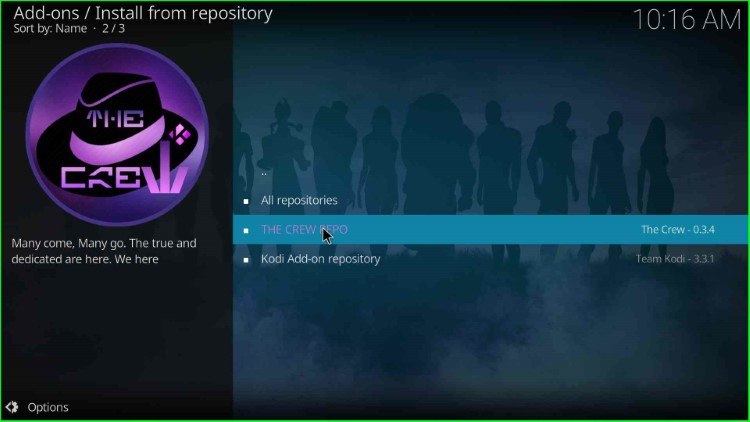
Click on The Crew Repo from the list of Repositories.
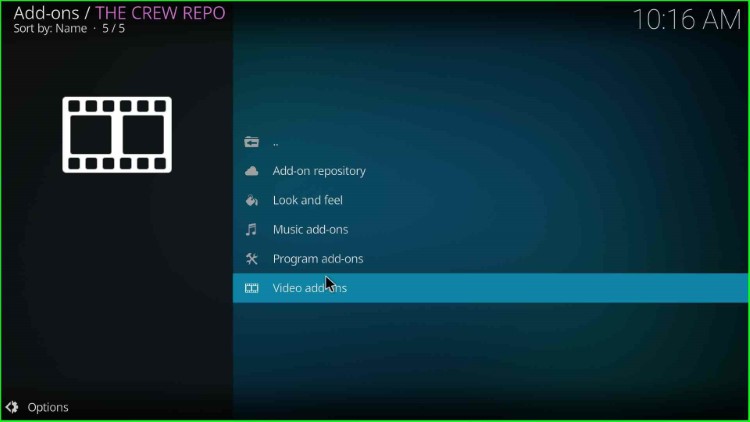
Install Homelander Addon
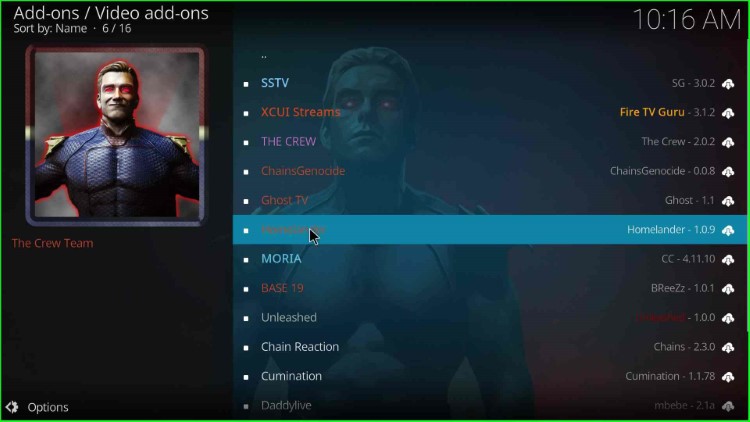
Go to the Video Addons option.
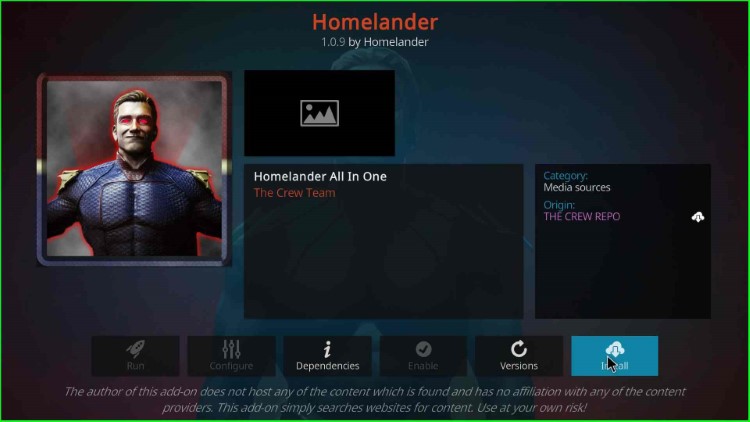
Look for the Homelander addon and open it.
Hit the Install button.
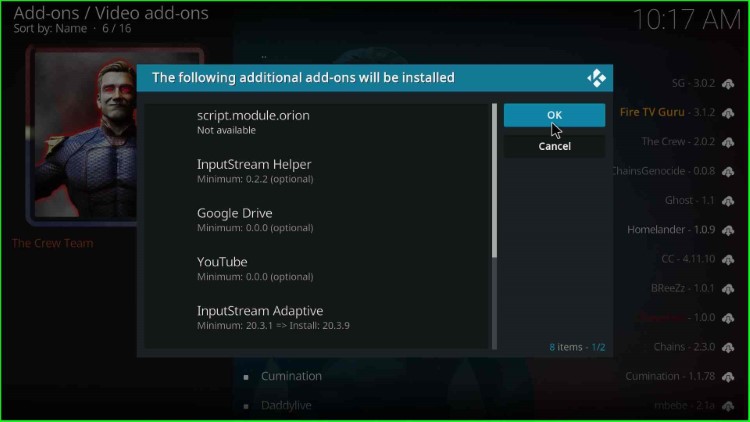
Now, tap OK to install additional addons with the Homelander addon.
Wait for the installation to complete. You could see a notification (“Homelander Add-on installed“) confirming the successful installation.
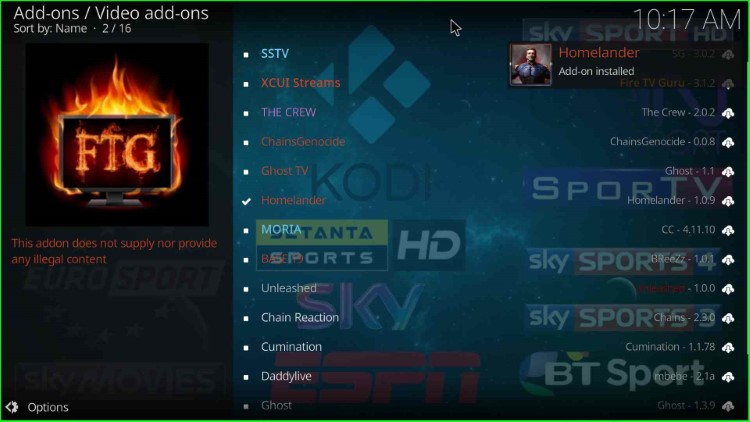
Once installed, you can access the “Homelander” addon from the main menu or within the Add-ons section of Kodi.
Final Words
Finally, we have installed the Homelander Kodi addon step by step. If you find any error during the installation of the Homelander addon, ask us through the comment section below.
