This guide explains how to install the Venom addon in Kodi 20 Nexus. This article is an easy step-by-step guide to installing the Venom addon. Venom addon works with Firestick (Lite & 4K) and Fire TV Cube. Also, it works perfectly with Amazon Firestick 4K to watch TV shows and movies.
Note: Venom Kodi Addon is currently unavailable. Please go through the other best Kodi Addons.
It is needless to mention that you can install Venom Kodi addon on any Kodi-supported operating system viz. Windows, Android, Linux, iOS, Android TV Boxes, Raspberry Pi, etc.
Venom, one of the top Kodi add-ons in 2023, does not have duplicate links and is a good source of high-quality videos.
Moreover, Kodi users can integrate the Venom add-on with Trakt and Real-debrid. Also, the Venom add-on offers torrent links when connected with Real-Debrid.
Most of all, it is an add-on that is regularly updated.
Let’s install a Venom add-on on Kodi.
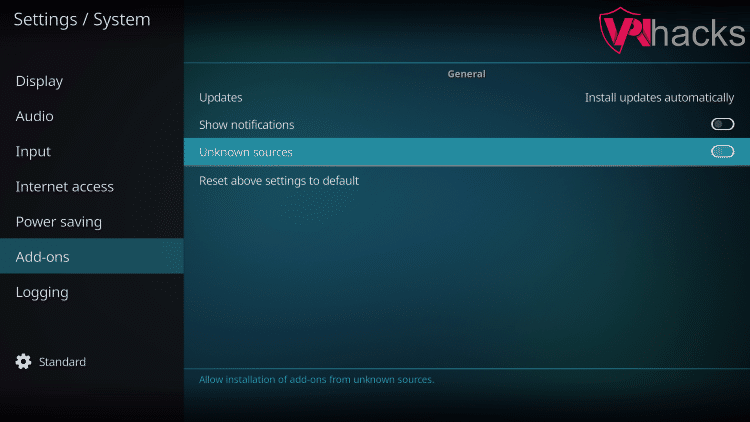
Enable the Unknown Sources
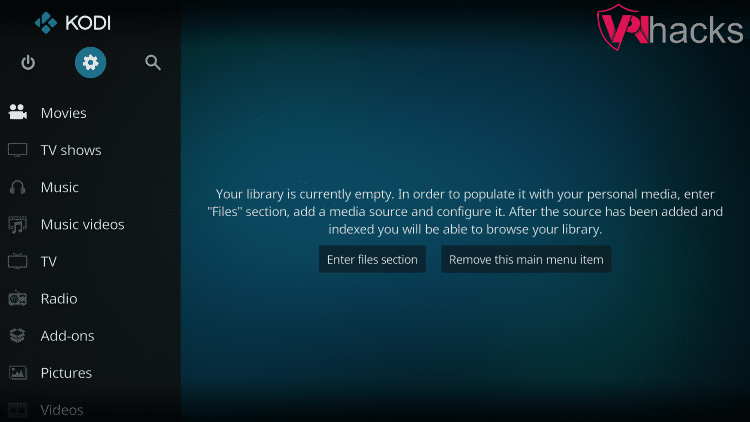
Open the Kodi software, and go to settings.
Click on the System, located at the bottom right corner.

You will find an option “Unknown sources” on the right side; enable that.
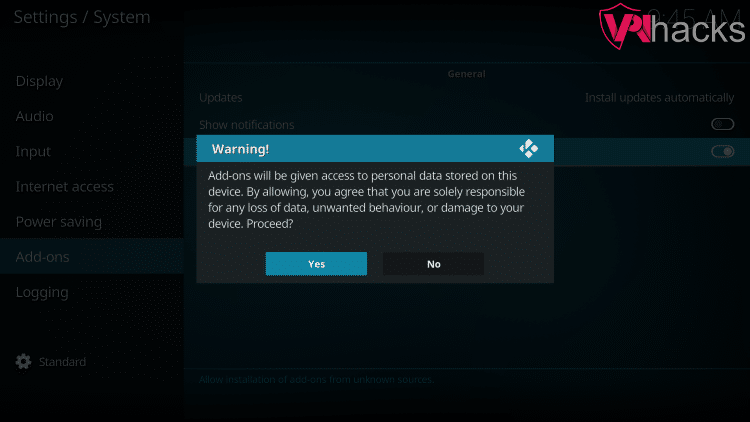
Once you click, a warning popup appears. Click on Yes.
Add Media Source
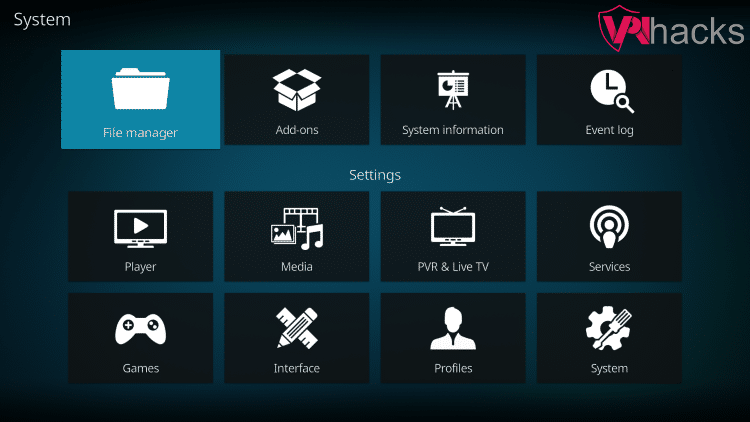
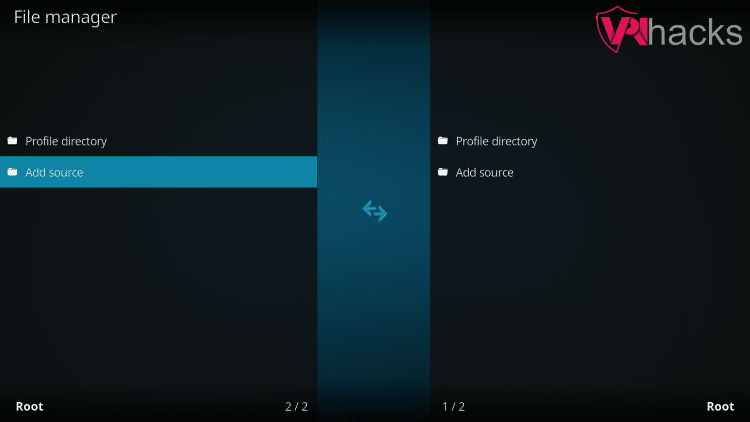
Go to the file manager.
Select Add source on the left side, and click Add source on the right pane.
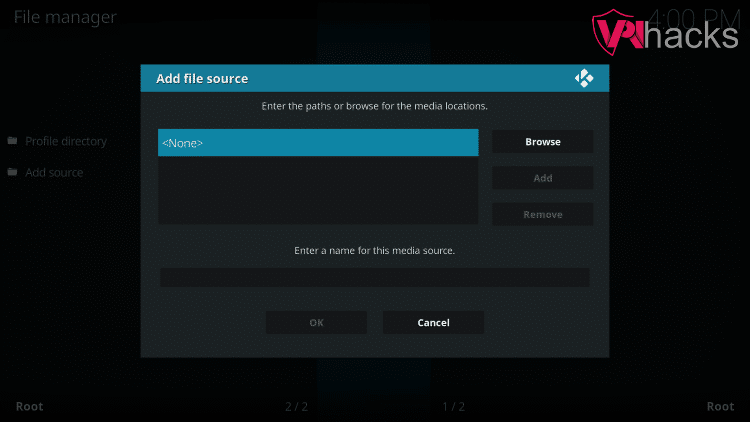
Click on <None> in the Add file source popup.
Enter the path for the Venom Kodi addon repository as https://123venom.github.io. Make sure you correctly type it. If you make a small mistake, it does not work.
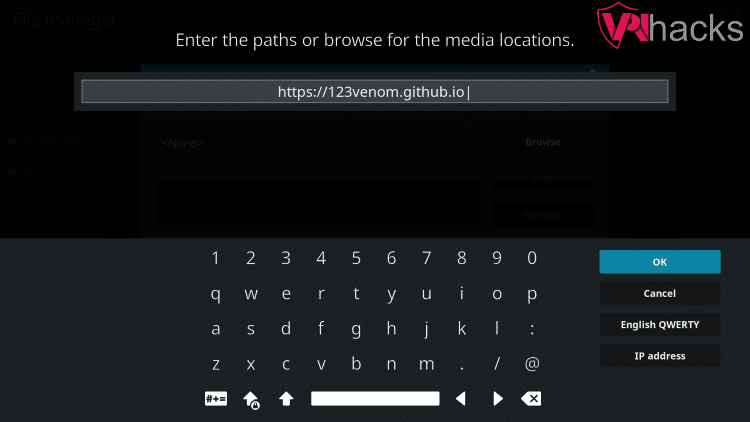
Click OK. After that, enter “venom” as the media source name. Click OK.

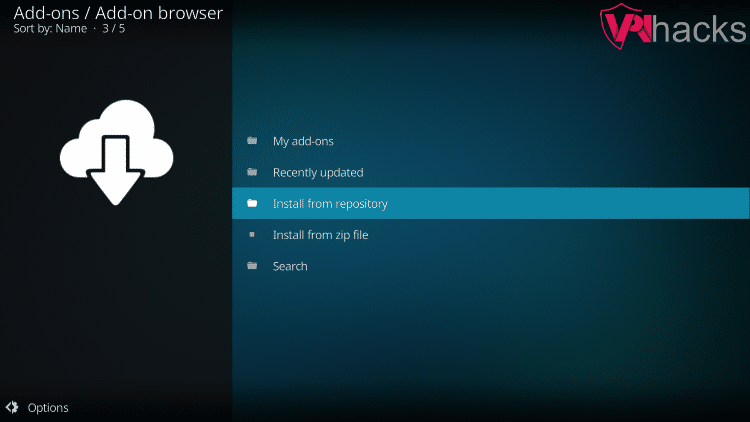
Go back and click on Add-ons

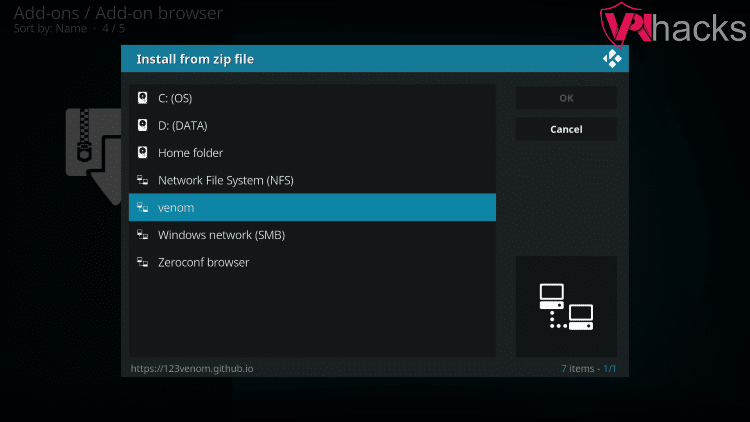
Select Install from zip file.

Choose venom (The same name as specified in the media source).
Click on repository.venom-1.6.zip. After that, click OK.
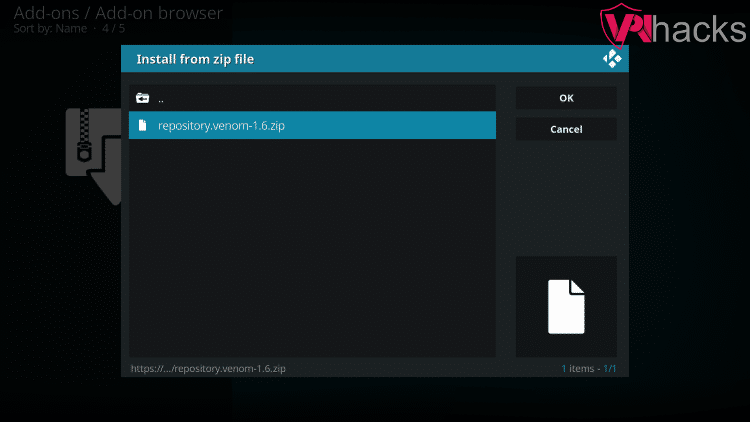
Wait for some time until Venom Repo Add-on installed message appears.

Install Venom Addon from the Repository
Click on Install from repository.
Select Venom Repo. I have the Venom – 1.6 version; yours might be different.

Then go to Video add-ons.
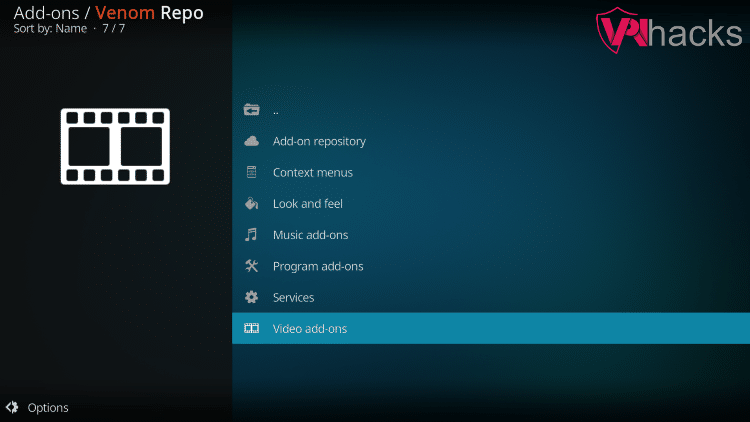
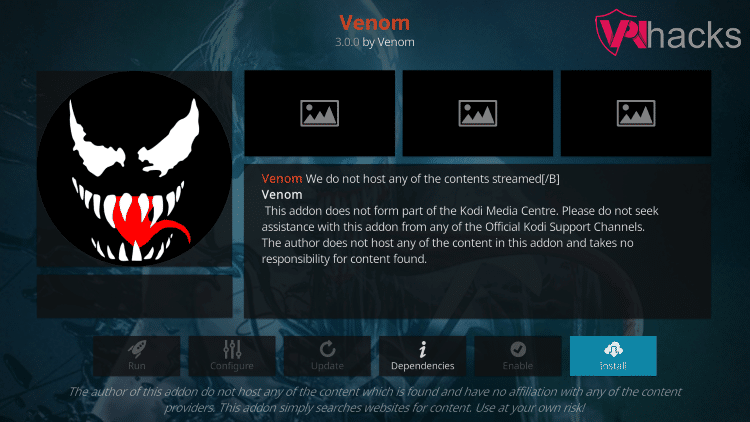
Click on Venom.
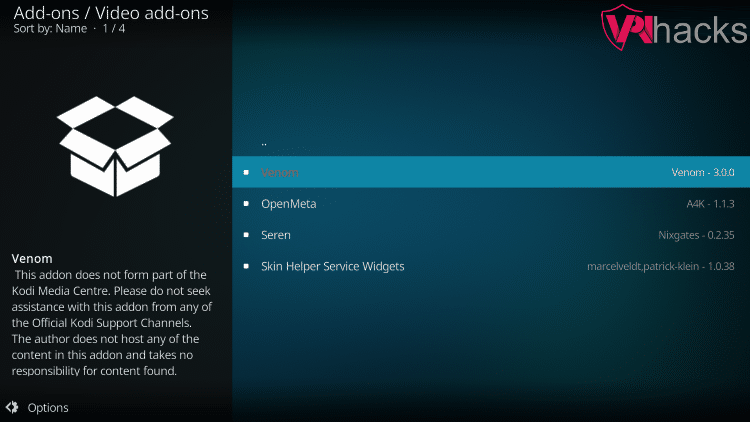
Click on the Install icon located at the bottom-right corner. If you want to view Dependencies, you can select the Dependencies icon.
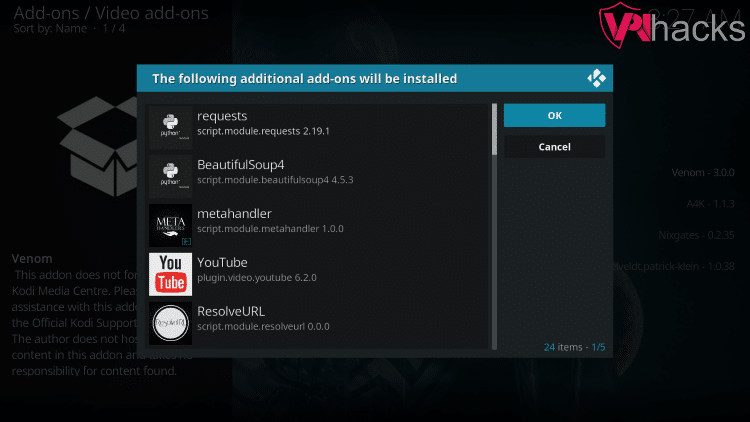
A popup prompts for installing additional add-ons. Simply click on OK.
Now, wait for some time. Finally, a message appears as Venom Add-on installed.
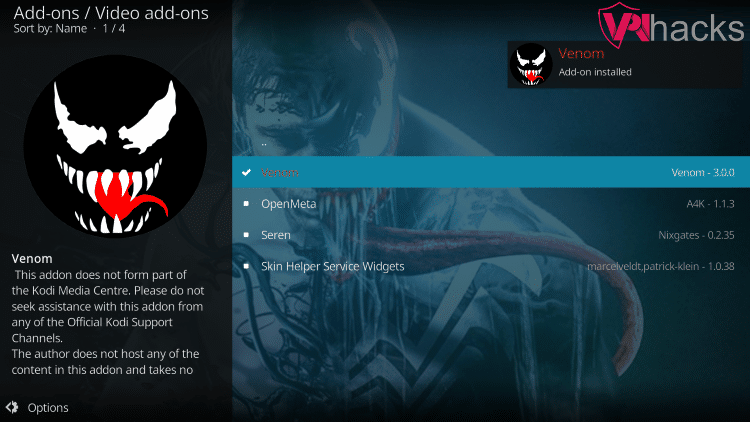
That’s all; you have successfully installed the Venom Kodi Addon.
Related Guides:

This repo isn’t working since a long time ago, maybe more than a year or so….