URMC VPN stands for the University of Rochester Medical Center Virtual Private Network. Before knowing the setup and access procedure, you should know what a virtual private network is and how it works. To access the URMC VPN remotely, you must establish Duo Two-FA(Factor Authentication). To connect to the URMC virtual private network, follow these steps.
- Firstly, Connect to the URMC network.
- Thereafter, Go to https://rochester.edu/.
- Login into the portal using your Active Directory username and password.
- Choose URMC-SH from the Domain list then click on the Submit button.
- Further, click on the ‘Start Setup’ button, after reading information from the window.
- Then, follow the given instructions to enroll phones like mobile or landline.
- In addition, for any assistance click on the ‘Need help’ hyperlink.
- Add contact points which will be used to connect remotely.
- People who use Apple iPads to search Duo Mobile iPhone app.
After that, authenticate the device using the Prompt window. To sum up, the step, select the device and method.
Install Cisco AnyConnect Client on Windows PC
You must follow several instructions to install the Cisco AnyConnect VPN client on a PC or MAC. Here are the instructions for PC users.
- First of all, access the URMC website using the link http://www.urmc.rochester.edu/remote-access/.
- After that, click the “URMC Remote Access” button.
- Further, navigate to the ‘URMC Network Access’ page. Then, click on the “For PC Installations” section and download the installer.
- Though, the installer should launch automatically. If it does not, go to the ‘Downloads’ folder on your PC. Consequently, begin installation by Double-clicking the “URMCAnyConnect.exe” file
- Click “Yes” at the following prompt.
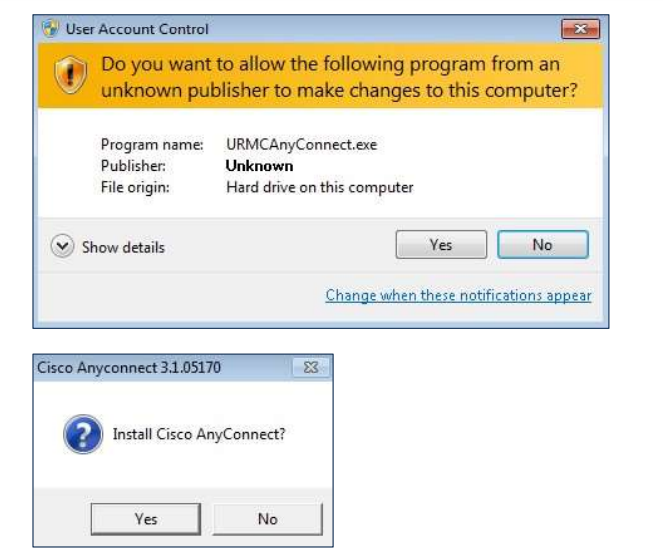
Again click on ‘Yes.’ The above steps will completely install Cisco AnyConnect software. Before these steps, make sure you have admin privileges. However, for admin rights, you may call the helpdesk of URMC at (585) 275-3200.
Click OK after completion of installation.
Read: Best Kodi Add-ons
Install Cisco AnyConnect VPN Client on MAC
Follow the below-mentioned steps to install the AnyConnect VPN client on MAC.
- First, browse the URMC Remote Access website using the URL http://www.urmc.rochester.edu/remote-access/.
- Further, click the “URMC Remote Access” button.
- After that, navigate to the “URMC Network Access” page. Then, click on the “For MAC Installations” section and download the installer.
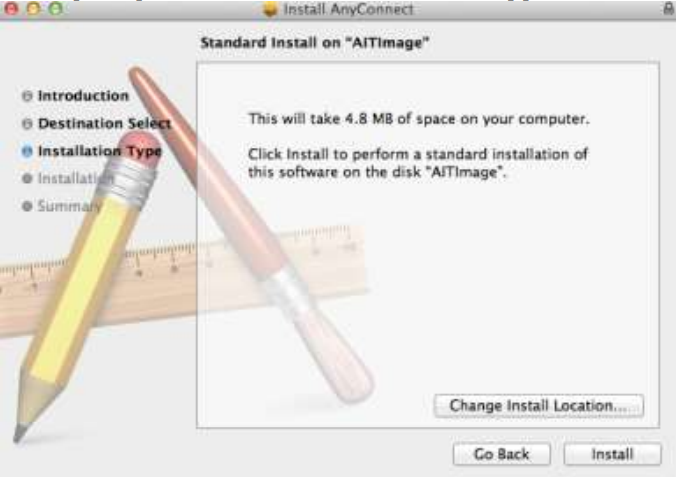
- Double-click on the “AnyConnect_with_Profile” exe file and begin the installation
- Click on the “Continue” button.

Then, select the location where you want to install the application.
After that, enter your username and password.
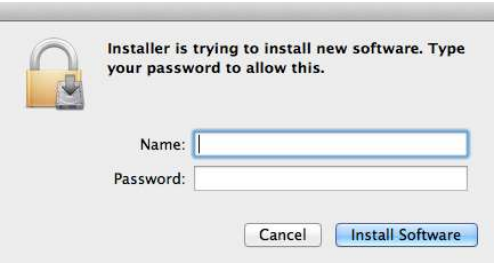
Finally, after entering the username and password, the installation will complete.
Connect to URMC VPN
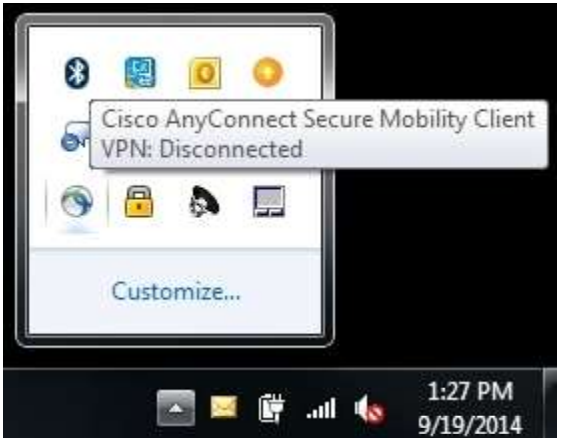
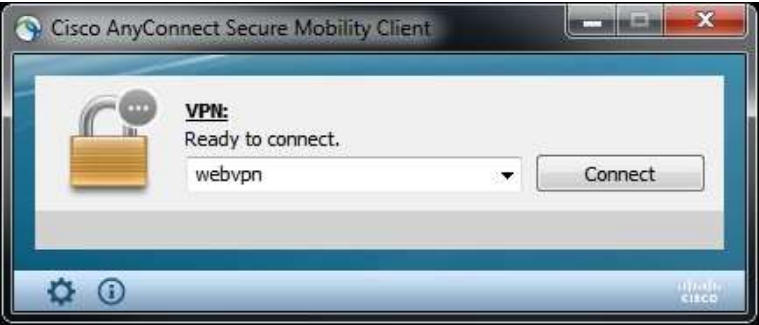
Open the Cisco AnyConnect application by navigating the following path on the PC.


Or you may find the icon on the taskbar.
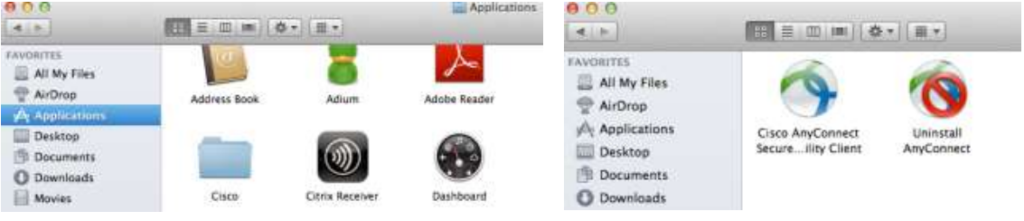
To open on MAC, follow this path.

After opening the client, check for the “webvpn” option in the drop-down menu. If it does not appear, enter “webvpn.urmc.rochester.edu” and click on “Connect”.
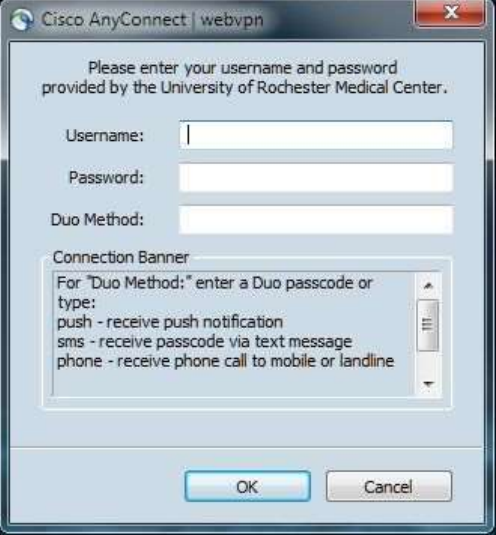
Enter URMC VPN username and password in the “webvpn” login
window. Then, in the “Duo Method”, enter push, SMS, or phone.
- push sends a push notification.
- SMS sends a passcode via text message.
- Phone authenticates by calling on your phone.
Subsequently, enter the six-digit passcode and Click “OK”. Then, you will log in to URMC Intranet, and a browser window will open.
To use other VPN services, you should ensure certain features before buying a VPN. Similarly, have a look at the best VPN for Android in 2023.
Happy Browsing! All the Best.
Related Guides:-