This guide will discuss Gloom Kodi Build installation steps and related questions and answers. Installation steps mentioned in this guide are the same for all Kodi devices, viz. Firestick, Google Chromecast, Android TV Box, Fire TV, Windows, Mac, and, iOS.
Gloom Kodi Build is a relatively new Kodi Build and works on Kodi Nexus and Matrix both. Undoubtedly, the GlooM Kodi Build is the best Kodi Build that provides HD-quality videos.
This Build belongs to the Funstersplace Repository, which is not an official Kodi repository. On the Gloom Kodi Build, there are many sections, viz. Search, Movies, TV Shows, Sports/Live, Add-ons, Settings, Auth Trakt TMDB, and, Exit.
You can leverage Gloom Build up to the full extent after integrating Real Debrid, AllDebrid, Premiumize, Linksnappy, or Trakt on Kodi; which will amplify the streaming experience.
Other popular alternatives to Gloom Build are No Limits Magic Build, Luxray, Aspire, Green Monster, Dabutcher, and Misfit Mods because these Builds have gained massive popularity.
Installation Steps
First, tap on Kodi Settings from the top left corner.
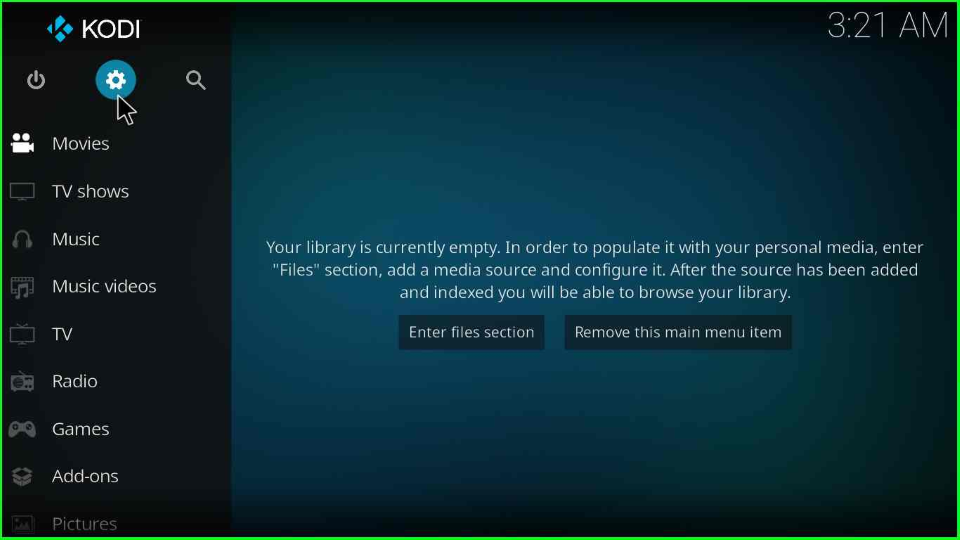
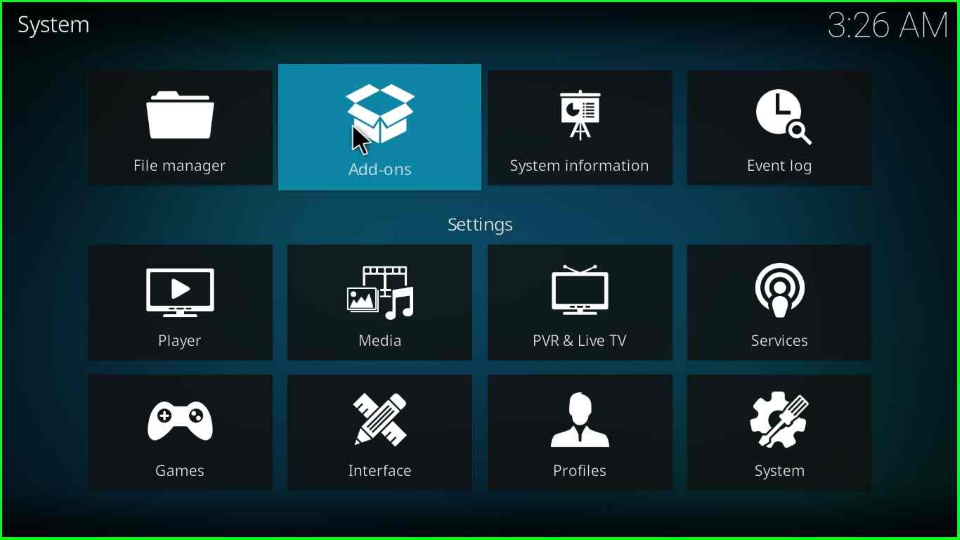
Inside the window, choose the System key.

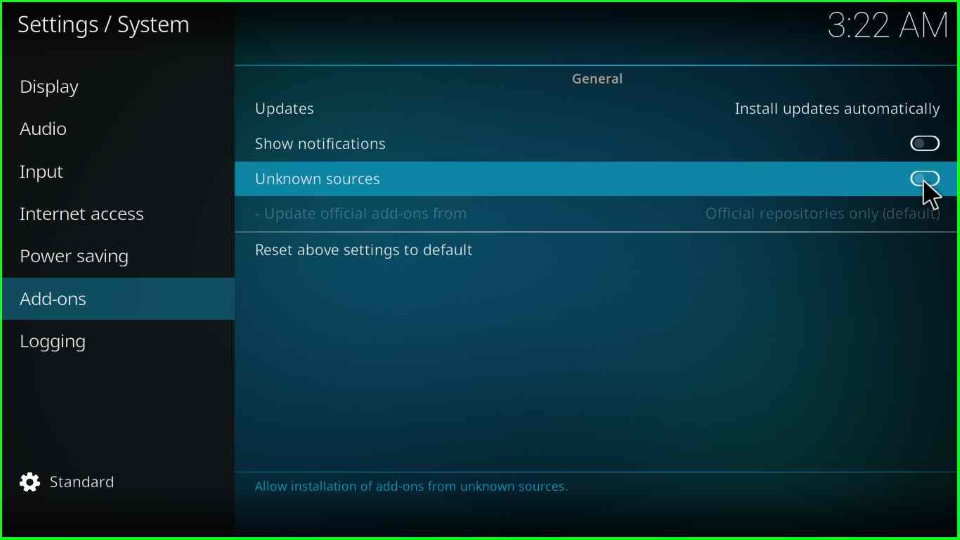
A System page will open, click on the Add-ons and enable the Unknown sources.
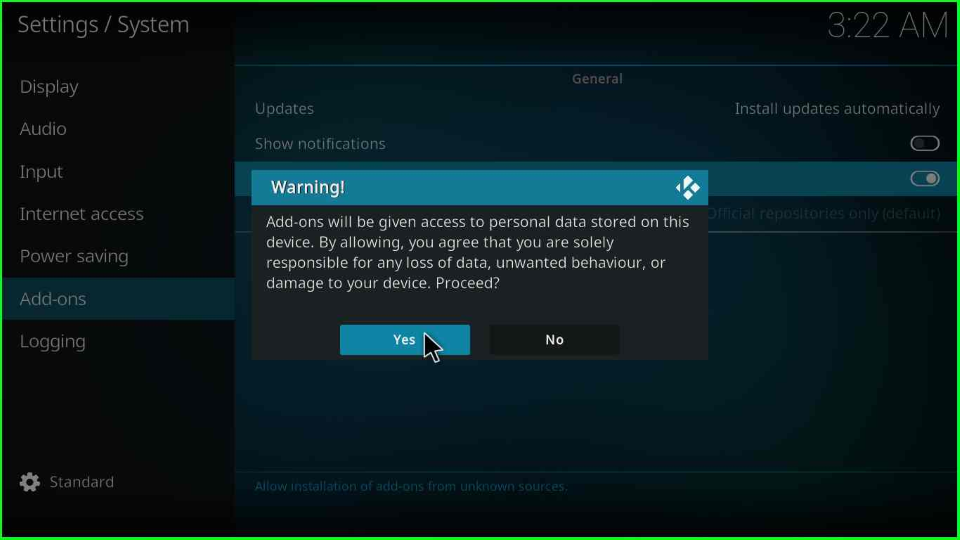
A warning window will display as you turn on the button; hit the Yes button to close it.
Add Media Source and Repository
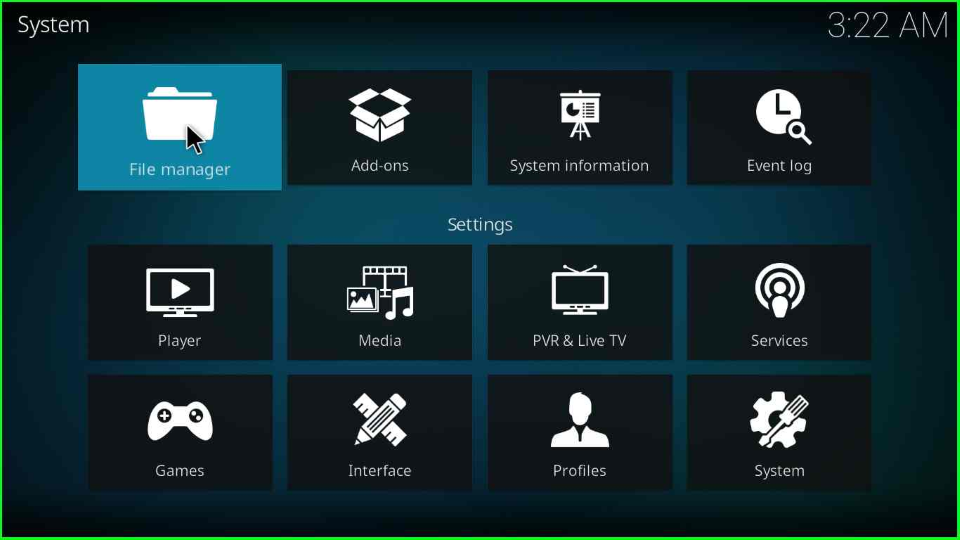
Now, put the cursor on the File manager icon and open it.
Go to the Add Source tab as shown on the screen.
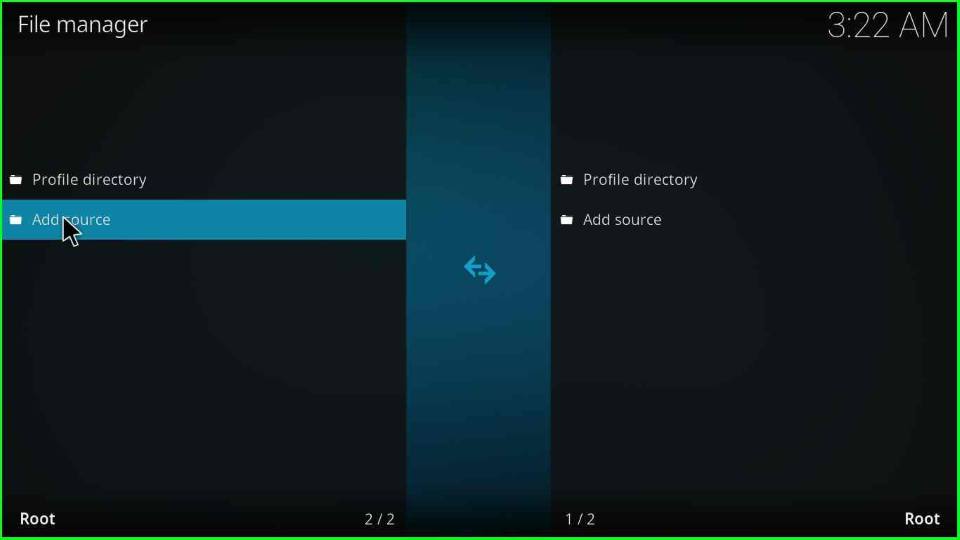
Click the <None> option to add a new source and repository.
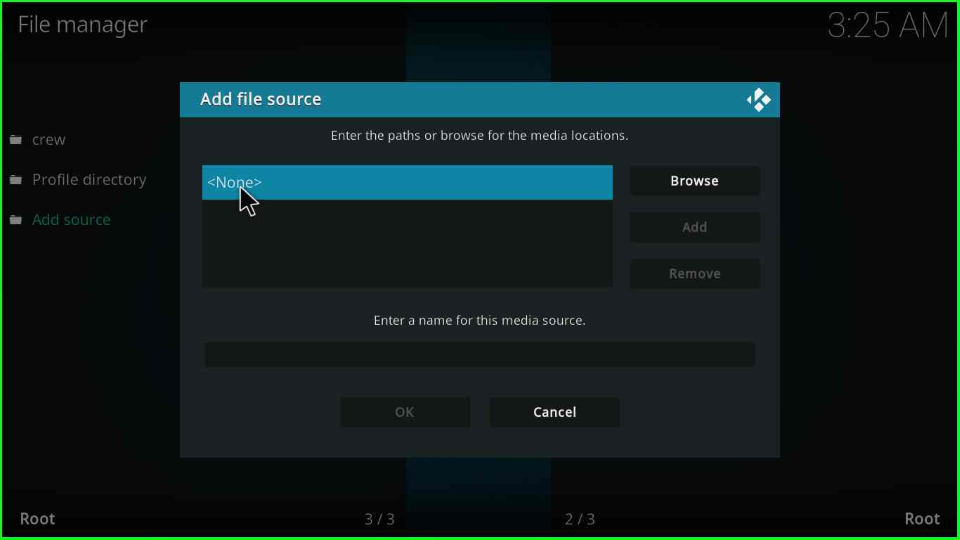
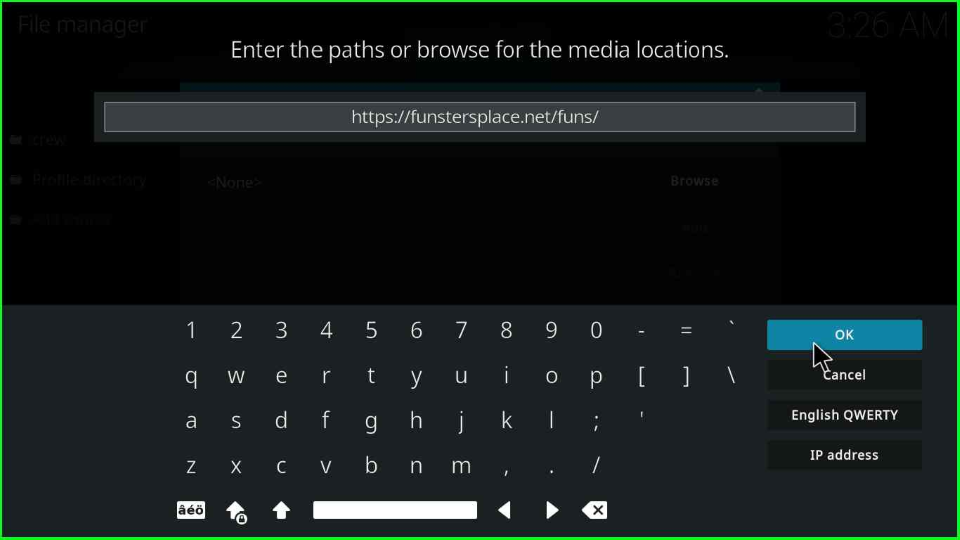
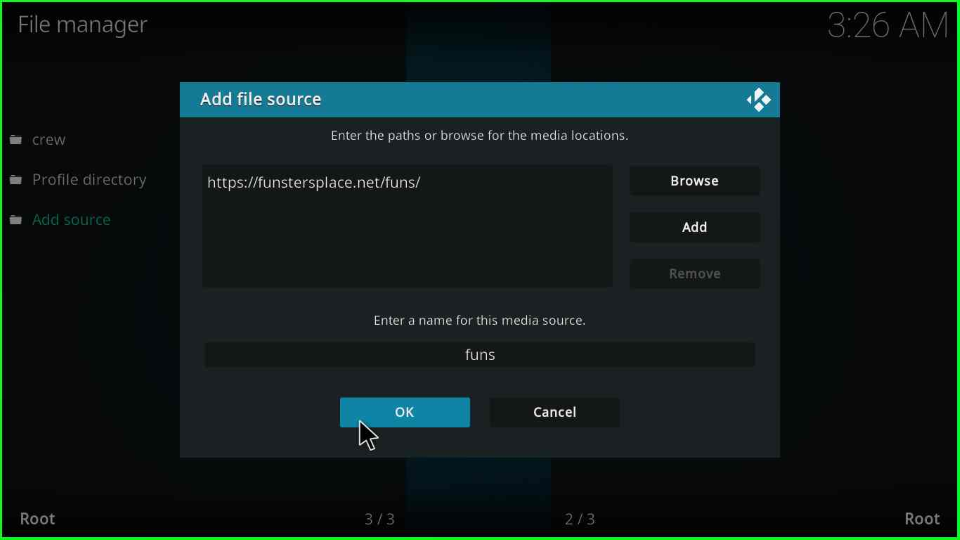
Write the source URL as https://funstersplace.net/funs/ and tap an OK key.
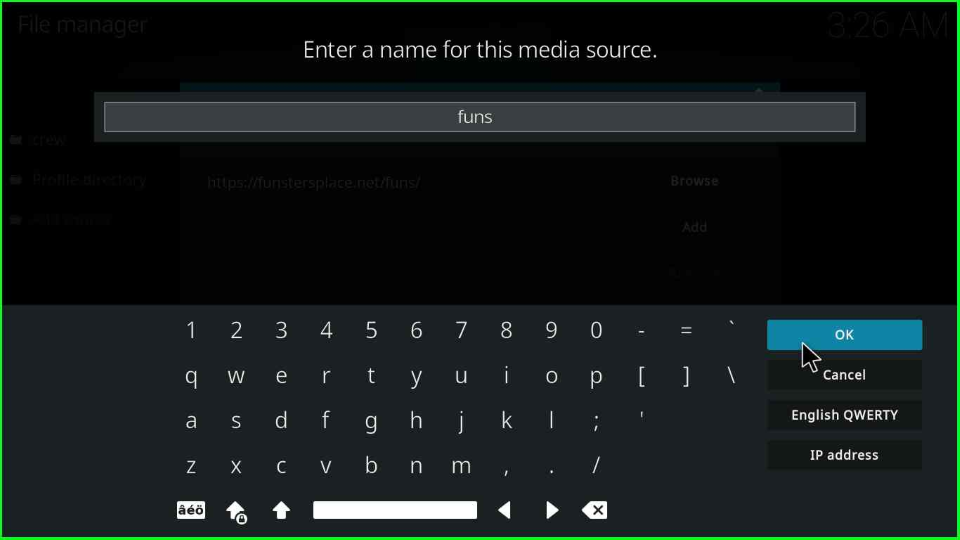
Give a name to the source as funs and click OK.
In the next step, ensure your details are correct if both your name and URL are correct. Then, go ahead and again click on the OK button.
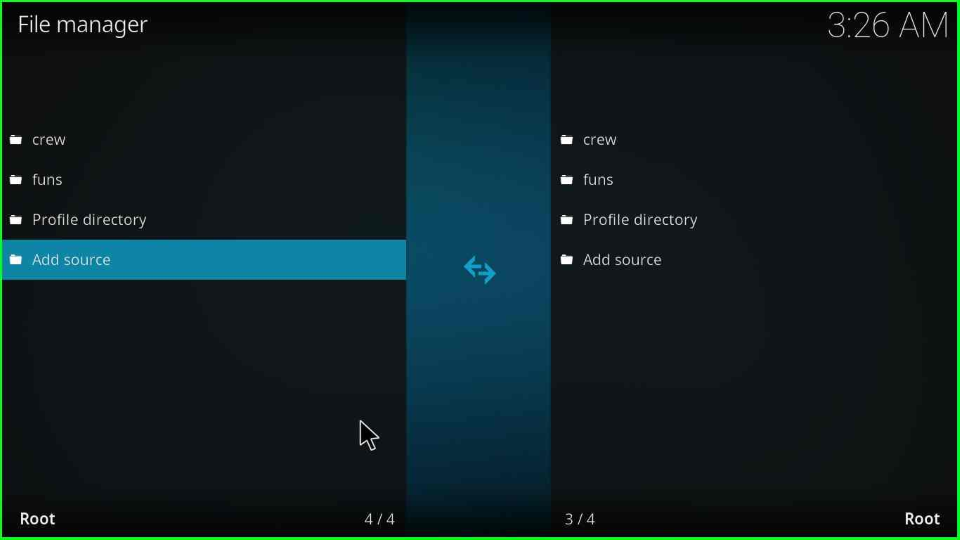
Press the escape key, and here you will see your newly added folder funs.
Install from Zip File
Again, go back and choose the Add-ons icon.
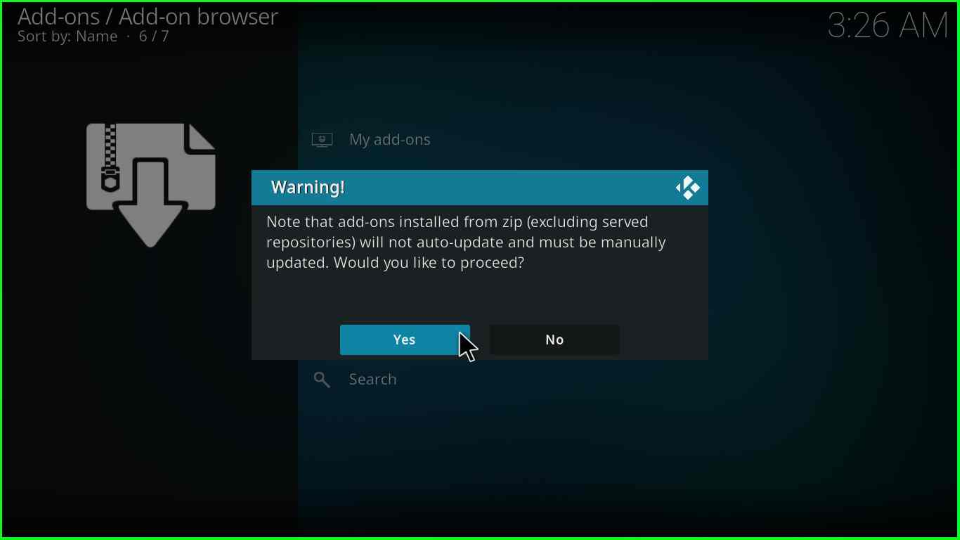
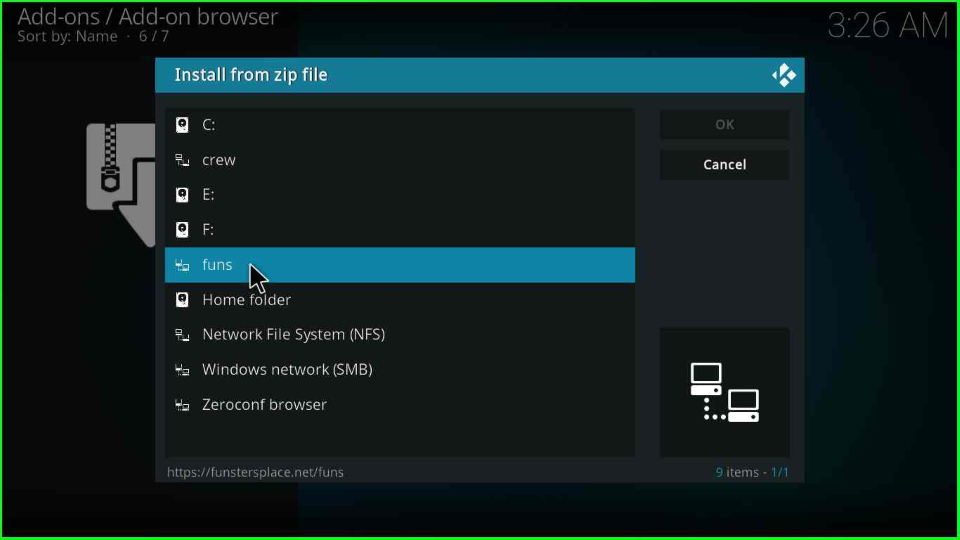
Tap over the Install from zip file option.

The Install from zip file page displays a warning popup; tap Yes and go ahead.
After that, open the funs folder.
Choose the repository.funstersplace19-0.2.zip file.

Wait for the message “funstersplace 19 Repository Add-on installed” on the screen.
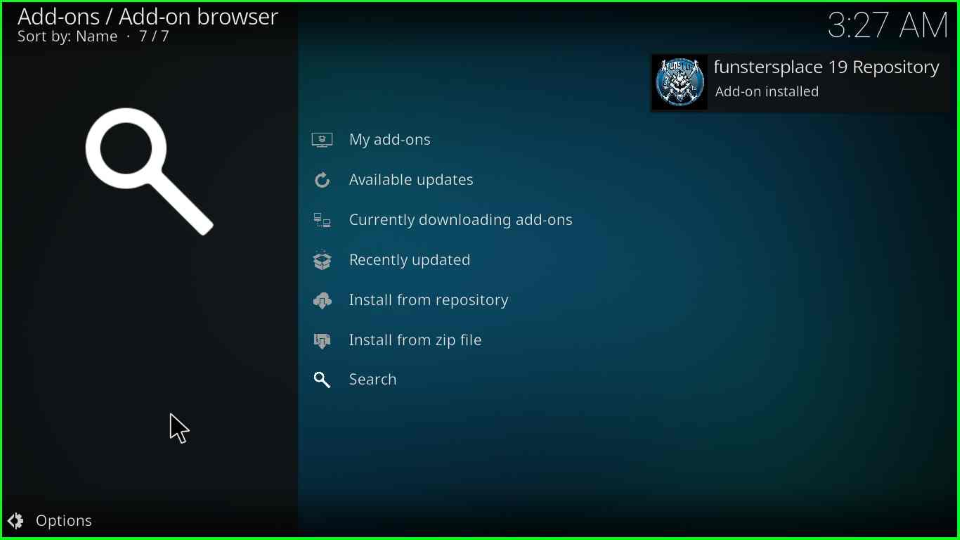
Install from Repository
After that, click on the Install from repository option.

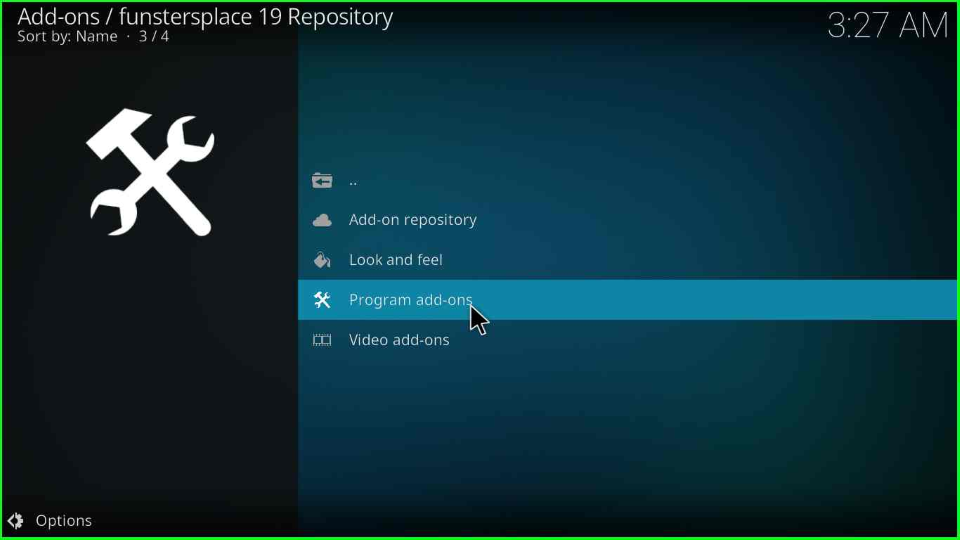
Select the funstersplace 19 Repository tab from the page.

Just above the Video add-ons, you will see Program add-ons; click it.
The page displays Funswizard; click on it.
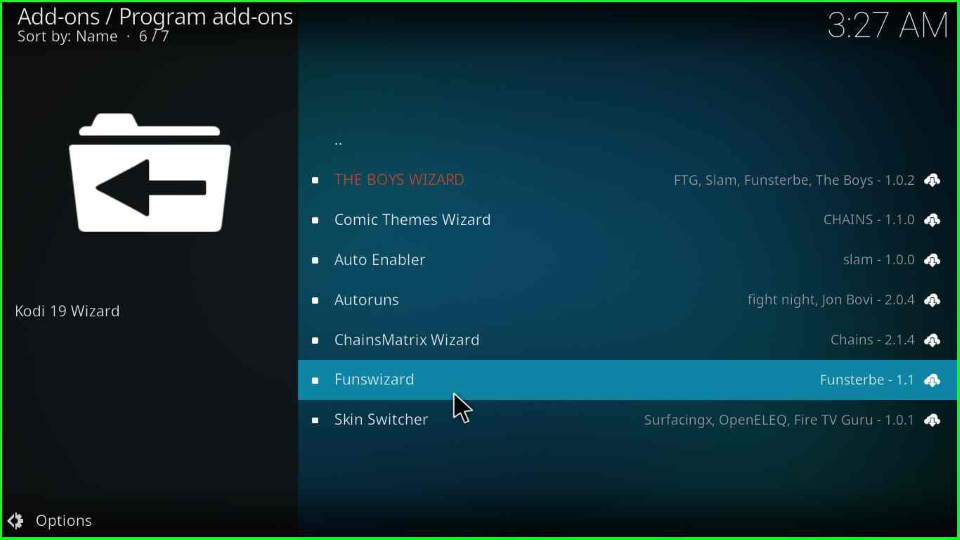
You will be redirected to the Funswizard dashboard; select the Install button to move ahead.
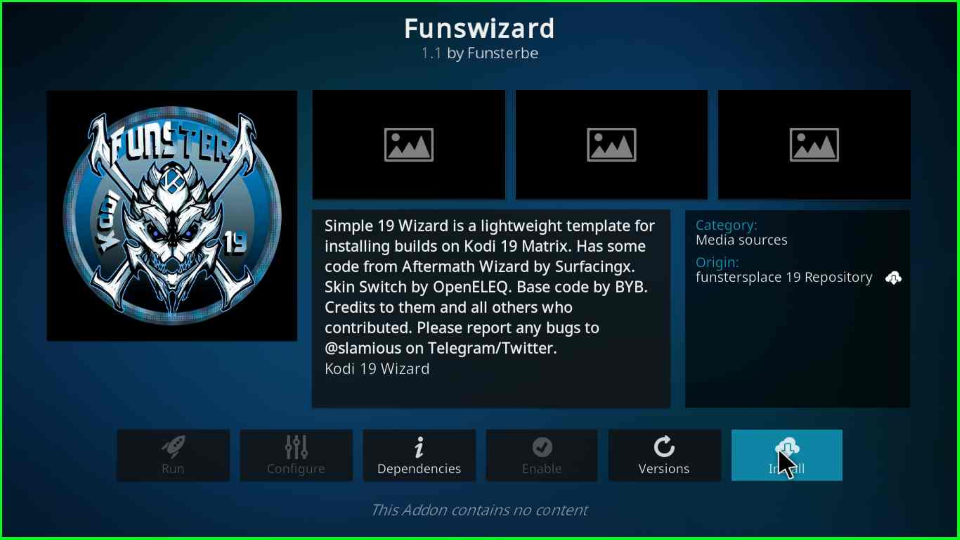
The Funswizard starts installing on your device. Wait till the installation is completed.
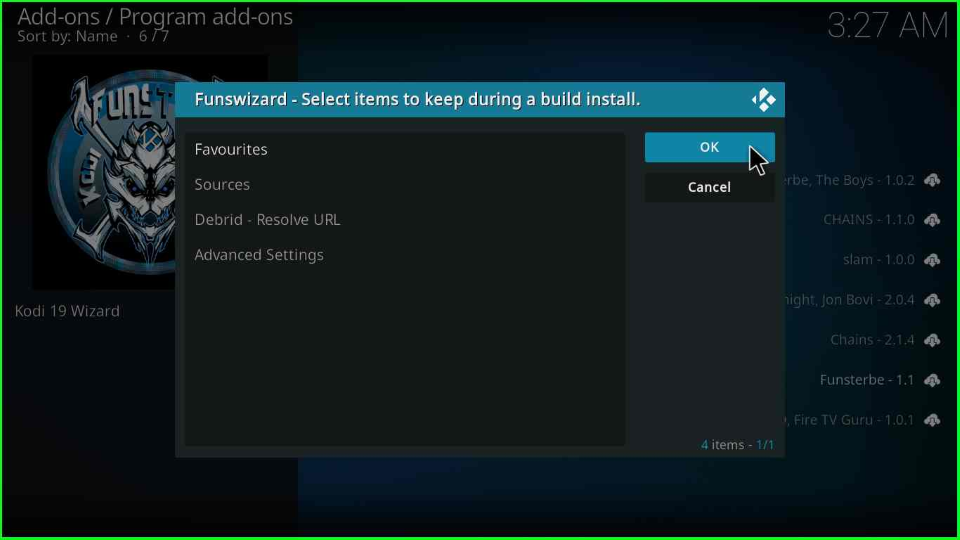
Tap on the OK key if you want to install additional addons with FunsWizard.
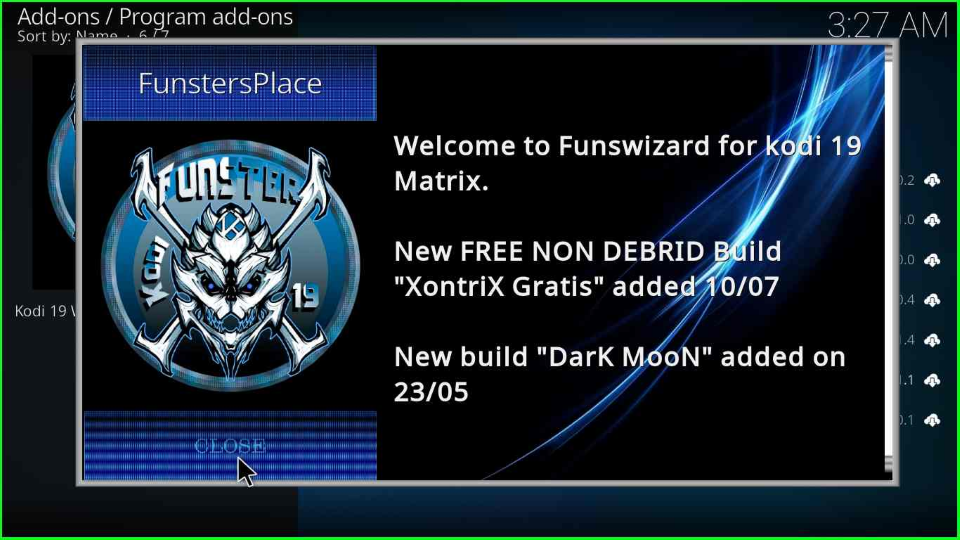
The FunstersPlace window will appear on the screen; select Close and proceed further.
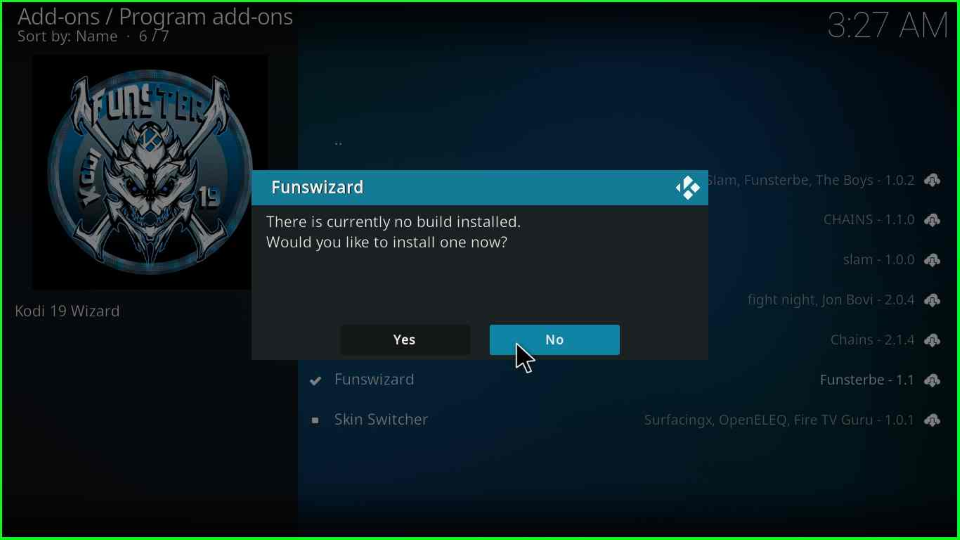
After a few minutes, a small box will pop up that says, “There is currently no build installed. Would you like to install one now?”. Here, tap on the No option.
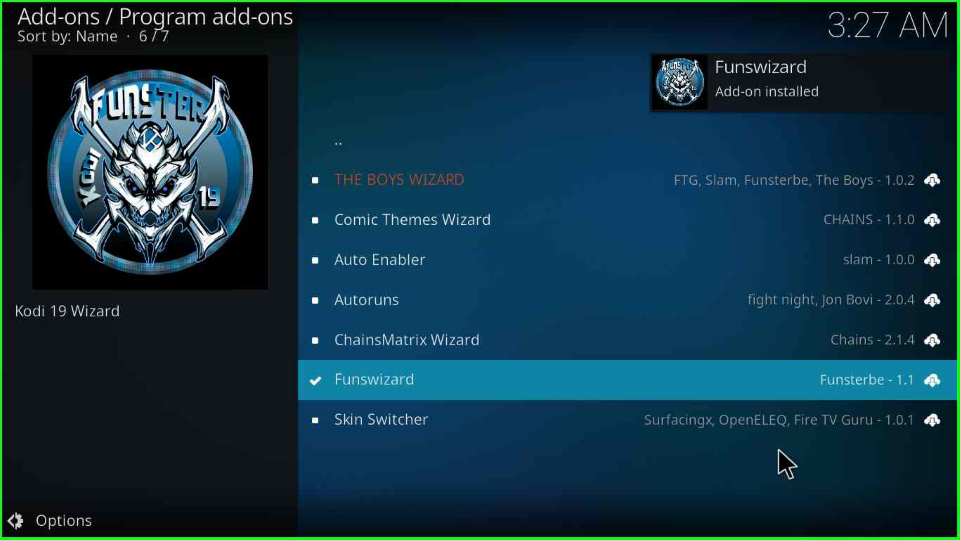
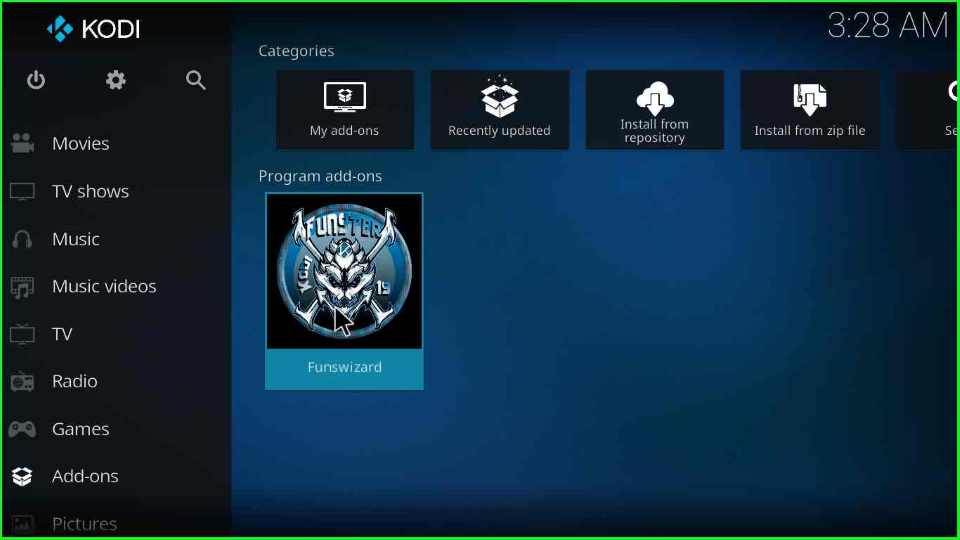
Go to the Kodi Home screen and open the Add-ons from the list of menus. Just the right side of the page, you will see your recently installed Funswizard; select it.
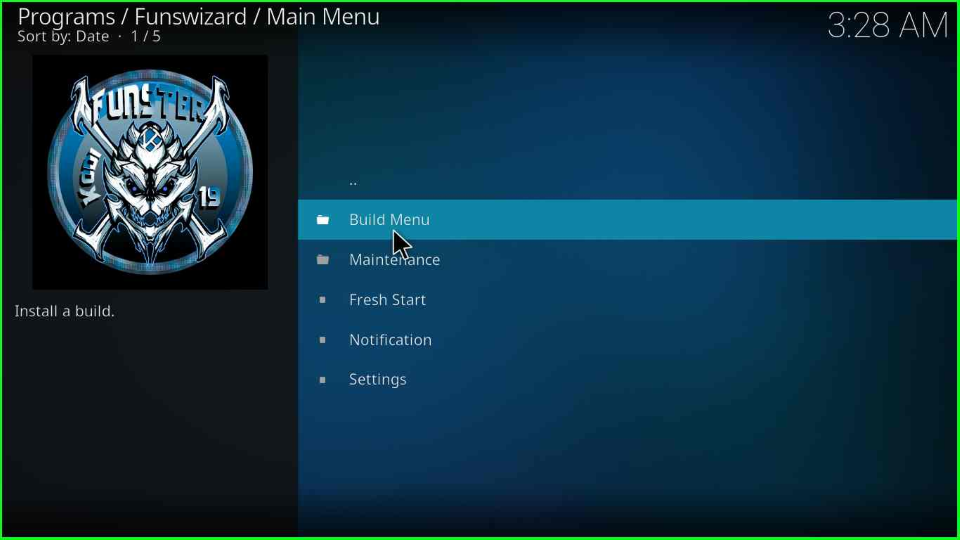
Choose the top option, Build Menu.
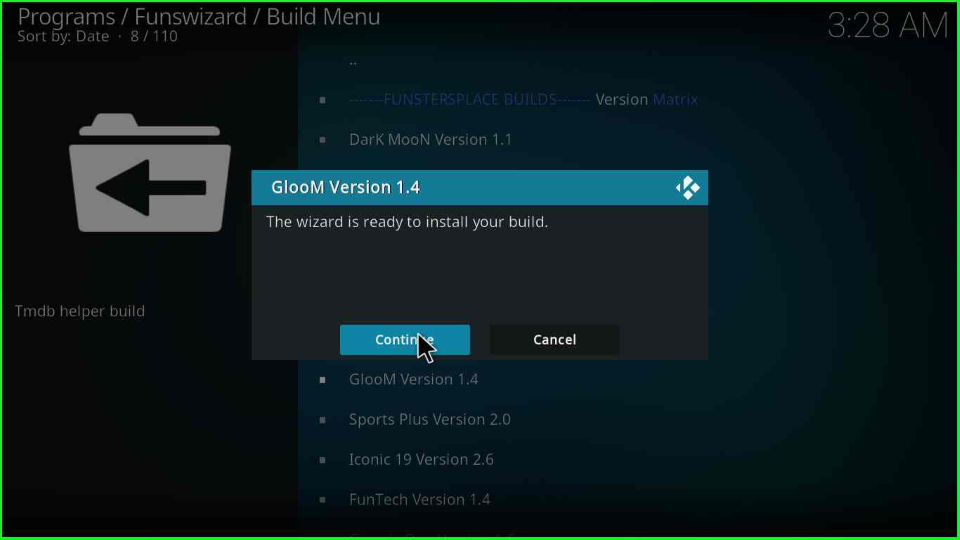
Select the GlooM Version x.x Build by scrolling the cursor.
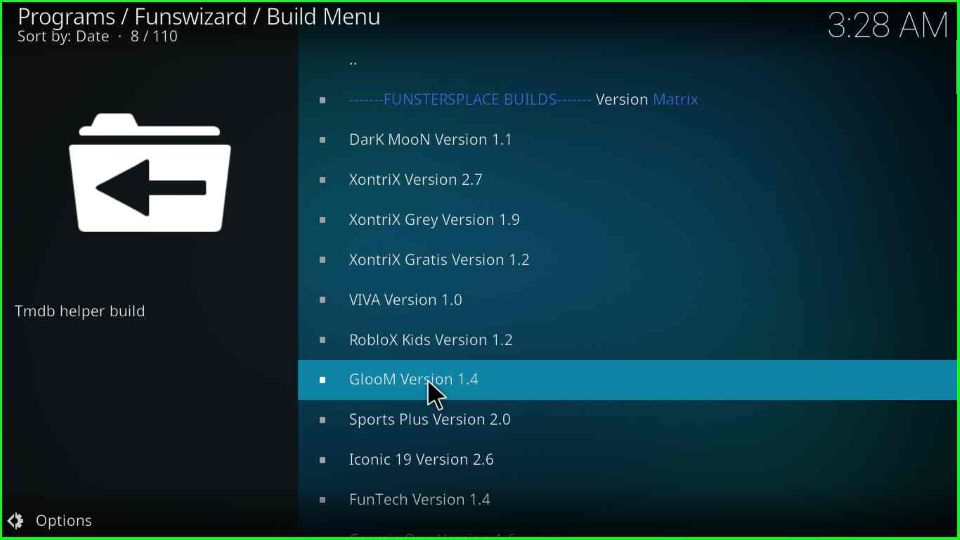
Click on Continue to install it on your device.
Tap on the Fresh Start option.
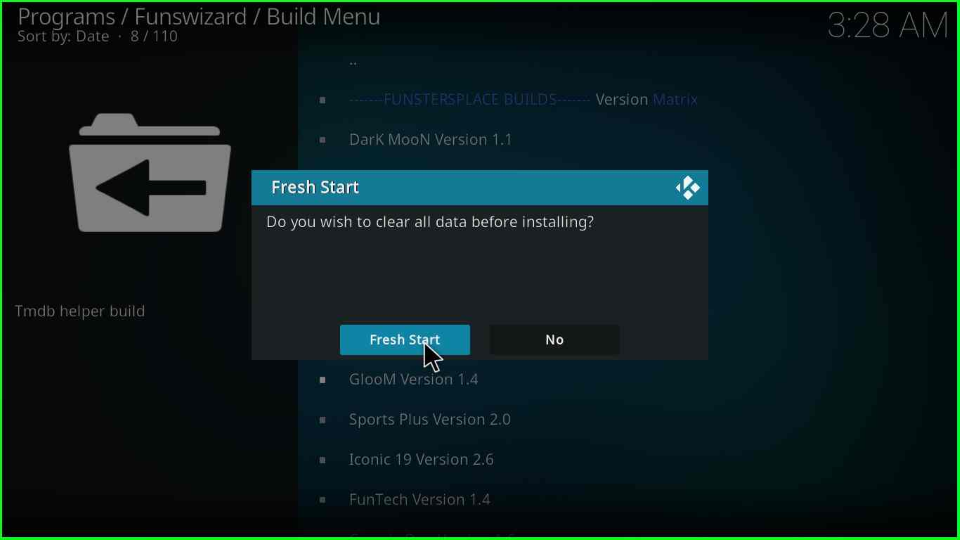
Again, select Fresh Start and move forward.

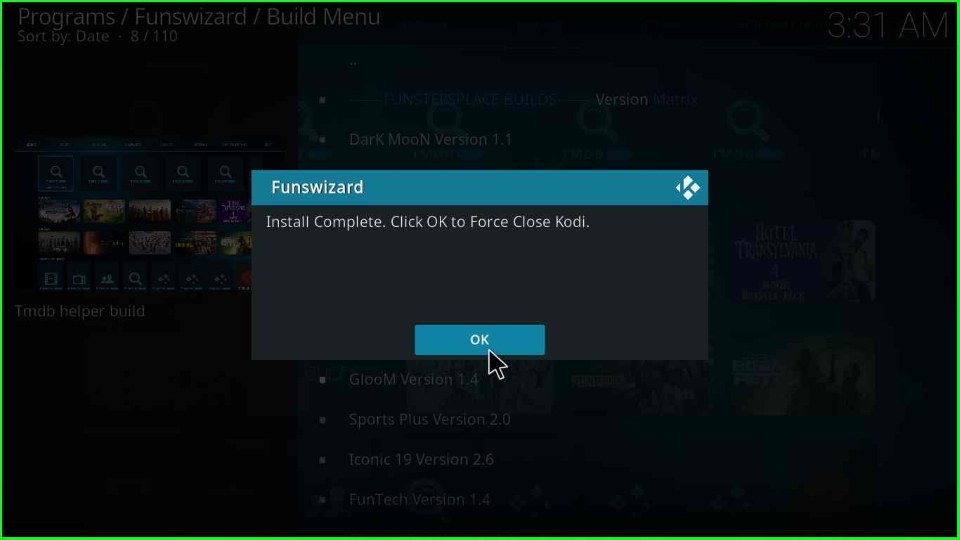
Wait for the GlooM Build installation on Firestick. A pop box will ask you to close the Kodi; click the OK button. Start the Kodi and enjoy streaming.
GlooM Kodi Build Questions
FunsWizard offers many top Kodi Builds, including Cosmic One, Iconic, XontriX, FunTech, XontriX Grey, LazyNova, Dragon, Franchie, No Build, and Sports Plus.
You can install the GlooM Build using “The Crew Repository” by applying the source URL https://team-crew.github.io.
Conclusion
In this article, we have discussed the installation of Gloom Kodi Build and related questions and answers. If you find any difficulty with the Build, drop us a comment below. We will be happy to resolve the issue.
Related Guides: