In this tutorial, we will learn how to delete Kodi addons step by step using multiple methods. However, for some reason, you may have to uninstall Kodi addons from Firestick, Android TV box, or any device.
Why Uninstall Kodi Addons?
Reasons to Uninstall the Kodi addons might be the following:
- You have got another best Kodi addon or build to install
- You want to update the Kodi
- The addon is causing problems like buffering in streaming
- The addon occupies an ample space of your Firestick or device
- You have many addons or Kodi builds, and you use only a few
- You want to increase Kodi performance
It is always better to delete the addons and builds you do not use because these will consume your resources unnecessarily. Sometimes, Kodi frequently hangs due to the Addon or Builds creating problems. Another reason can be addon is not updating or the repository path is different.
How to Delete Kodi Addons
First, let’s know the short method of how to delete the Kodi addon.
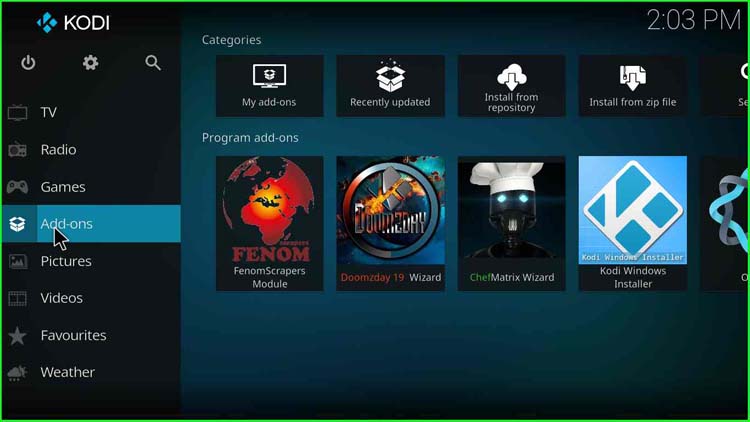
- Go to the Kodi home screen and click on “Addons“.
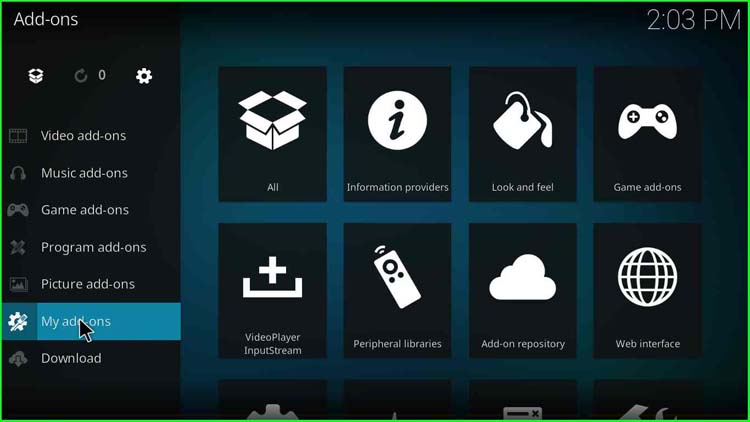
2. On the left side, you will find an option “My add-ons“; click on it.
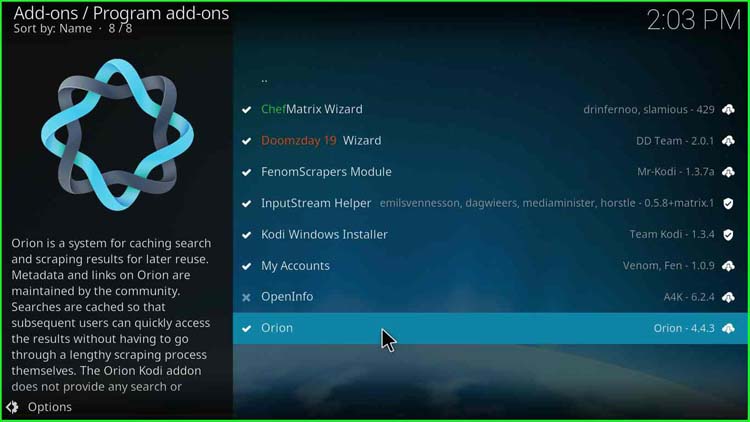
3. Select the addon you want to delete. In this, I have selected to delete the Orion addon.
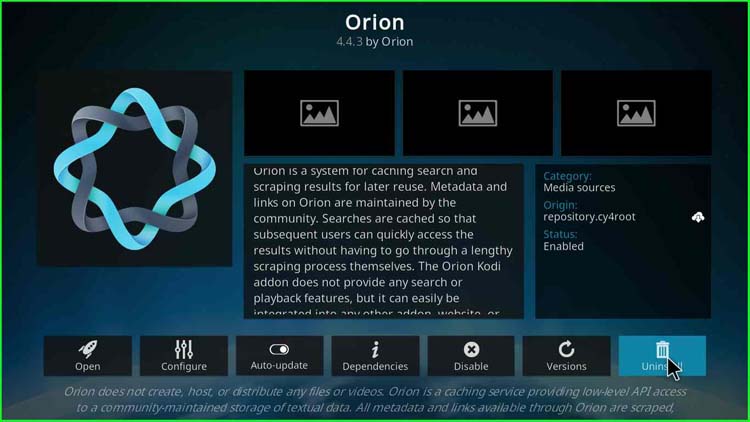
4. Click on the “Uninstall” button in the bottom-right corner. You have many additional options there like Open, Configure, Auto-Update (to update the addon automatically once any update releases), Dependencies, Disable, Versions, etc.
5. Once you click on “Uninstall“, a confirmation popup appears.
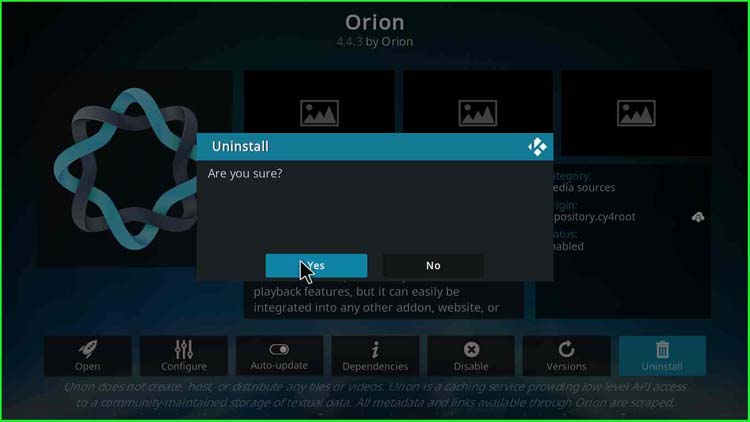
6. Click on the “Yes” button to confirm that you are sure you want to delete the Kodi addon.
7. You will see that the addon has disappeared from Kodi.
Uninstall Kodi Addon Instantly
Here, we discuss the second method to delete the Kodi addons steps; we will delete Doomzday 19 wizard.
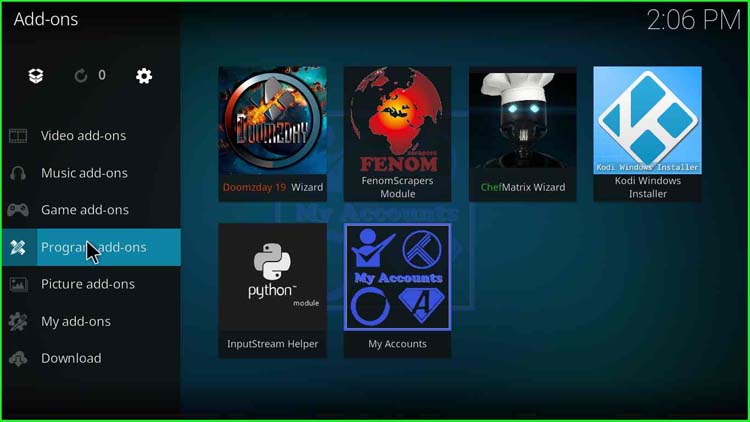
- Go to the “Add-ons” option on the home screen of Kodi.
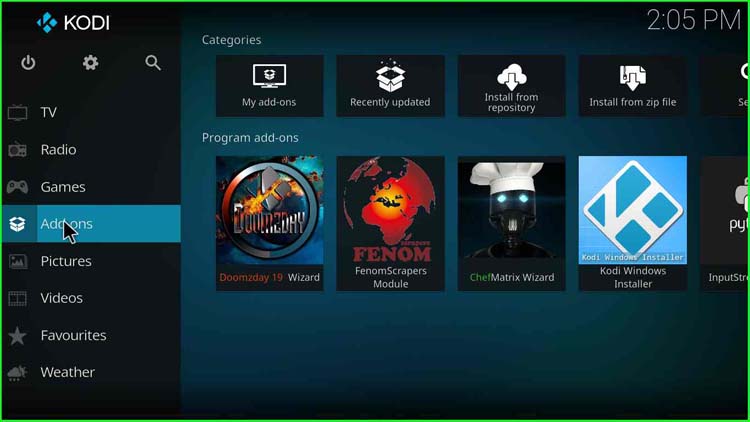
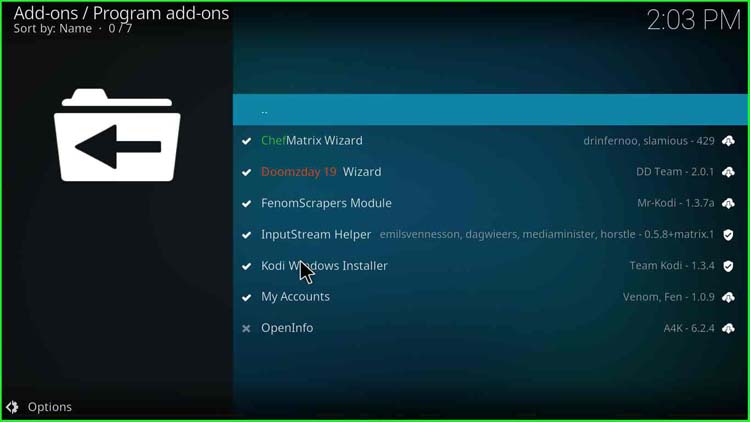
2. Click on “Program add-ons“.
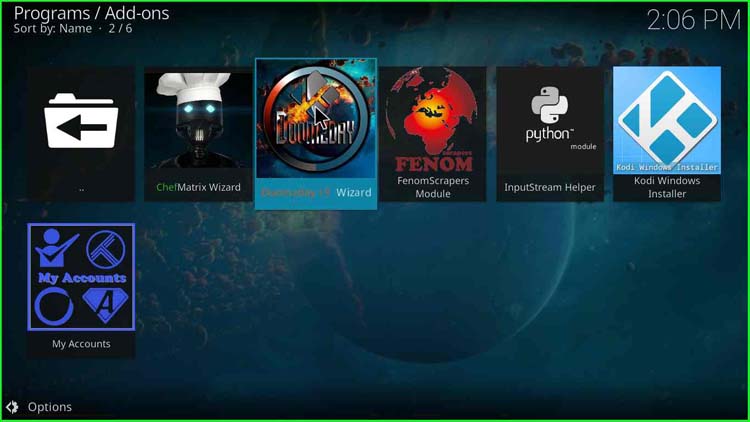
3. Hover over to the build or the add-on you want to delete. For example, I selected “Doomzday 19 Wizard“.
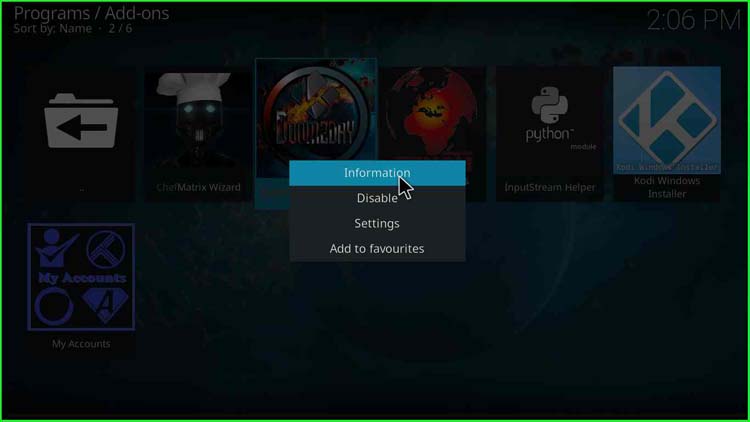
4. Right-click on the Doomzday 19, and you will find four options: Information, Disable (Option to disable Kodi addon or build), Settings, “Add to favorites”, etc. After that, click on “Information“.
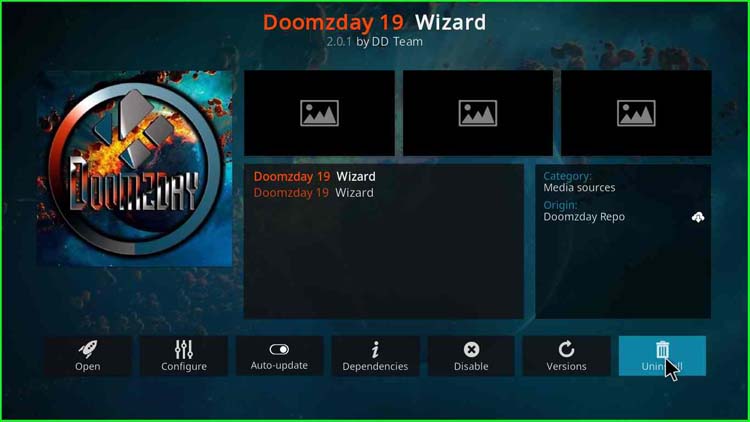
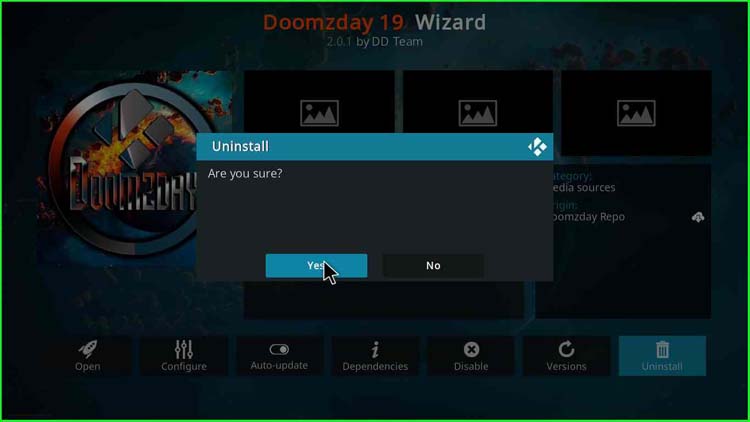
5. On the bottom-right corner, click the “Uninstall” button.
6. A popup for the confirmation of the same appears stating, “Are you sure?“, click on “Yes“.
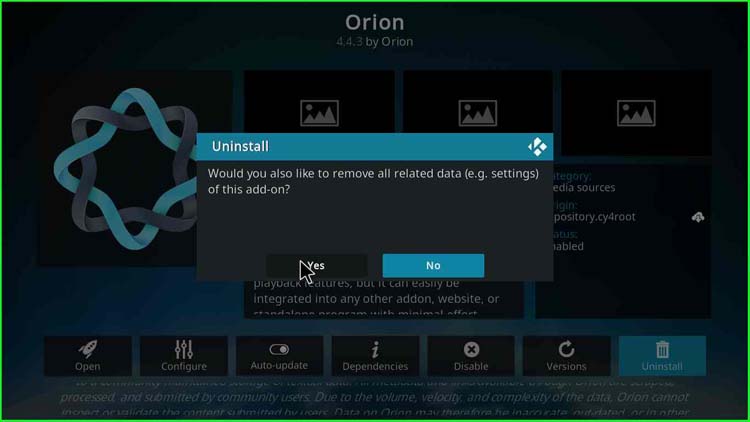
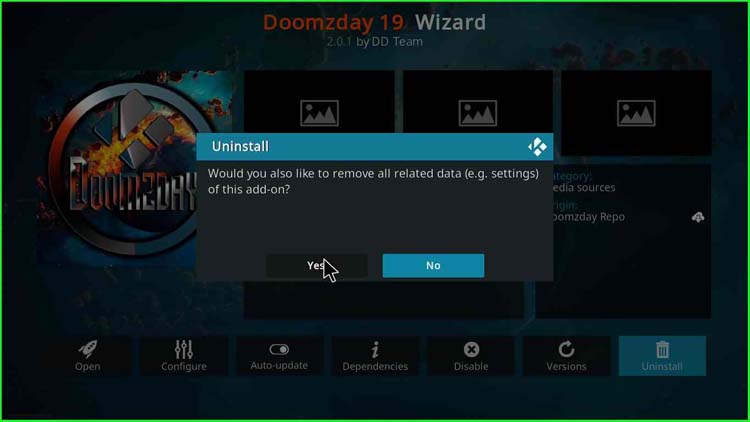
7. Again, another popup appears stating, “Would you also like to remove all related data (e.g., settings) of this add-on?“. Just click on the “Yes” button.
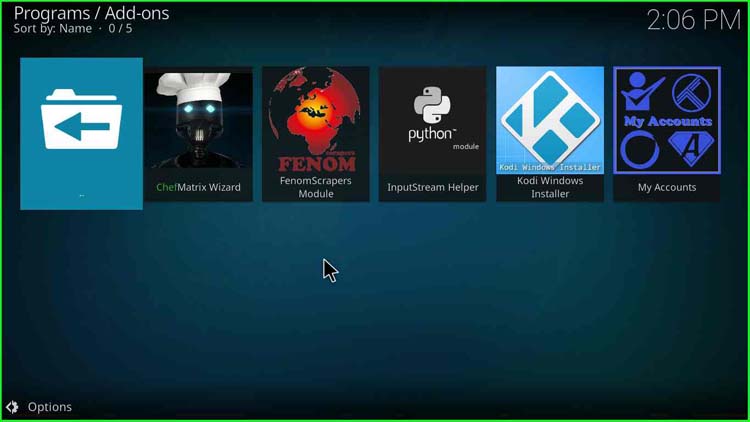
8. When you go back to the “Programs/Add-ons” option, you will not find the deleted addon.
How to Delete a Kodi Source?
To delete a Kodi source, follow these steps:
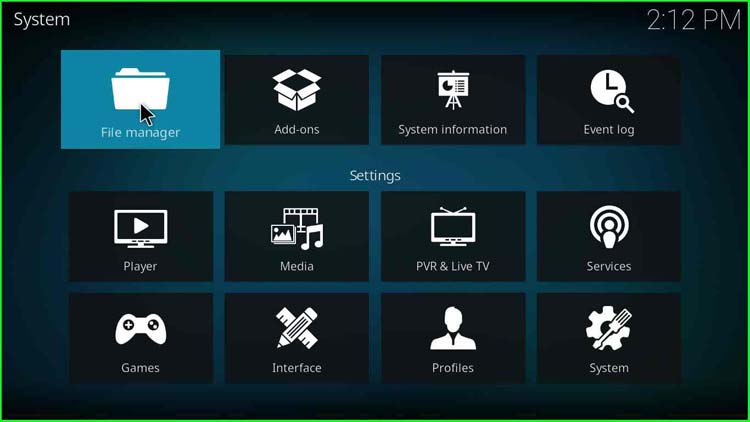
- Go to the Kodi home screen and click on the “Gear” icon at the top-left corner.
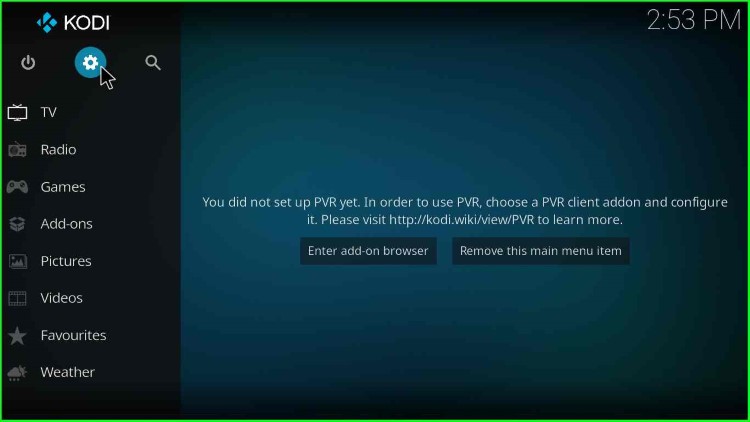
2. After that, go to the “File manager“.

3. I have a doomzday source that I added. Now, I will remove this.
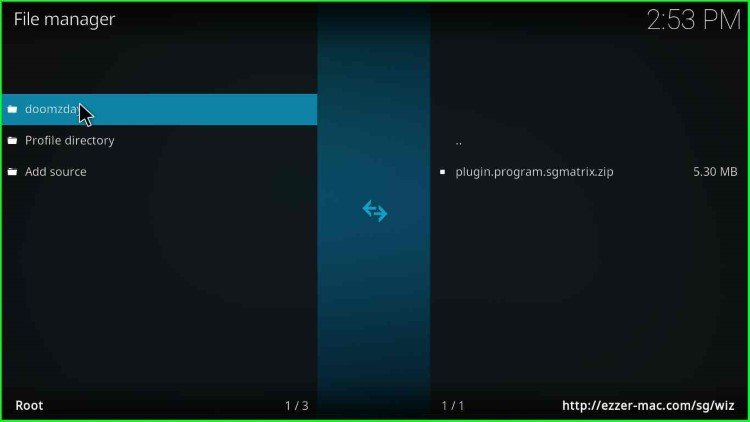
4. Right-click on the Kodi source “doomzday” (In your case, it will be the repo source you want to delete).
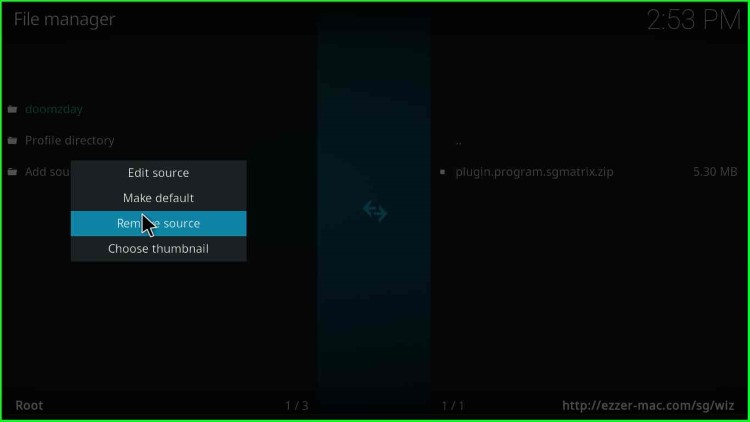
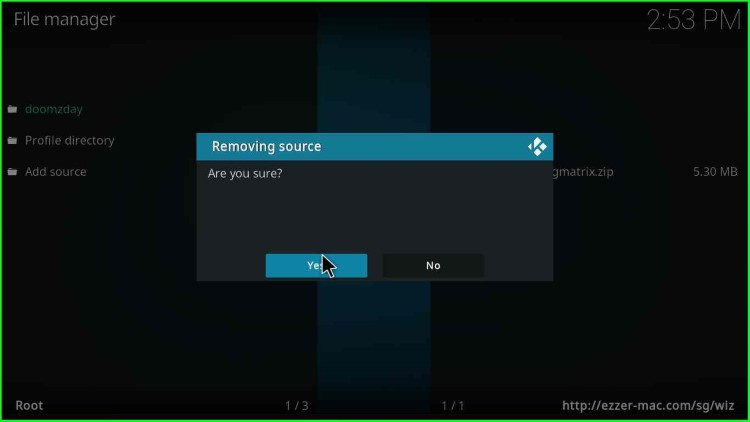
5. A dialogue box to get your confirmation appears; click on “Yes“.
Steps to Delete Kodi Addon Data
To stream on Kodi smoothly, you should delete addon data after you delete the addon, which will increase Kodi’s performance.
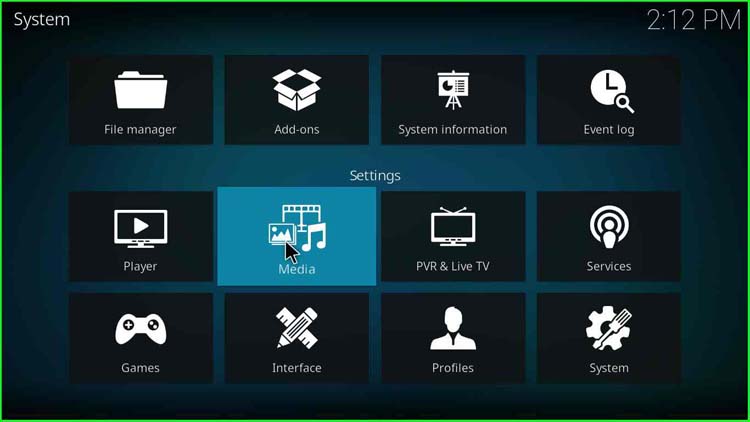
- To delete a Kodi addon data, go to “Settings“ in Kodi.
2. Click on “Media“
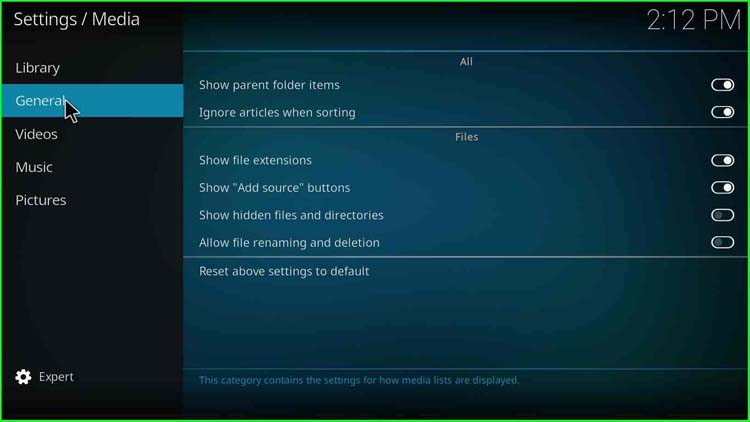
3. On the left pane, select “General“.
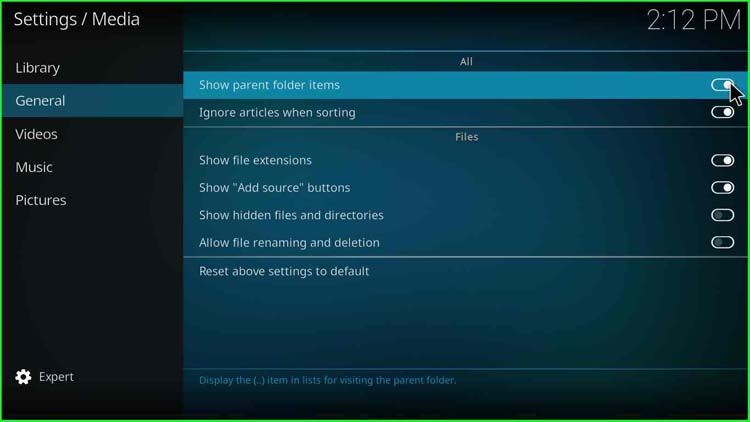
4. Enable the “Show parent folder items” radio button.
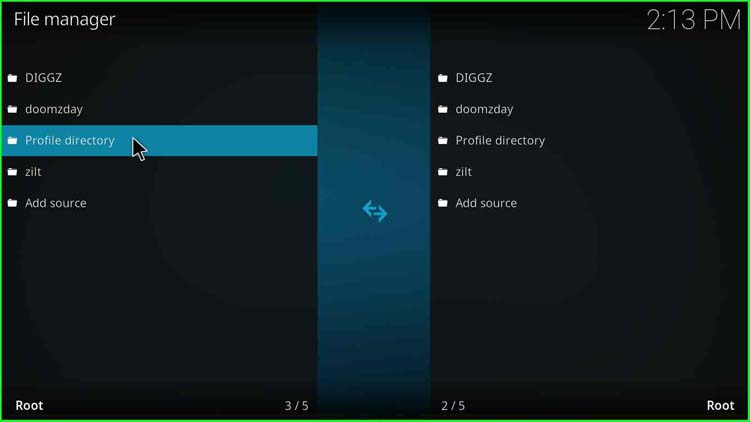
5. After that, go to the “File Manager“.
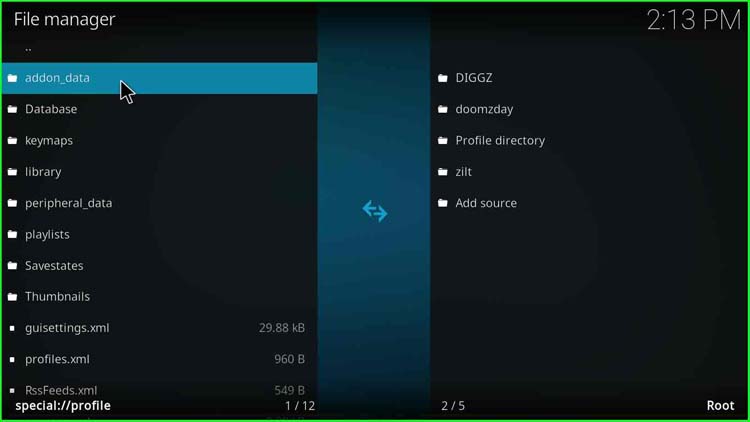
6. Double-click on “Profile directory“.
7. You will find a folder named “addon_data“; just double-click on it.
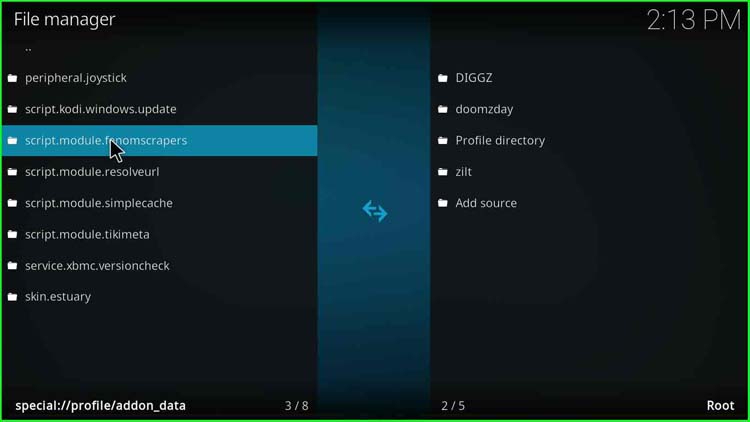
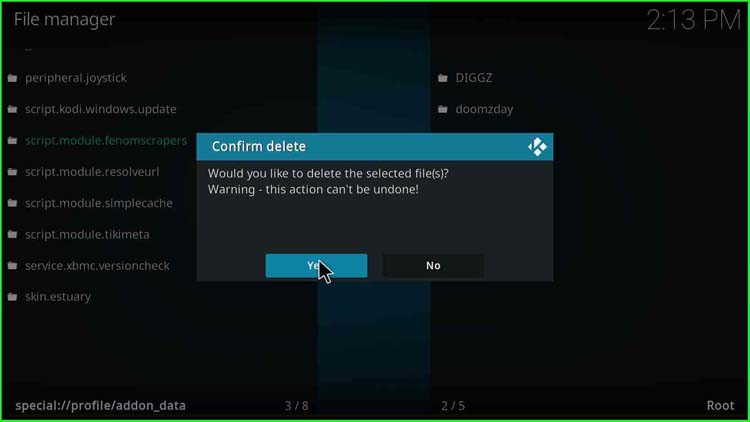
8. Look for the data of the addon that you have uninstalled. After that, right-click on “script.module.fenomscrapers“.
9. You will have many options, viz. Select all, Add to favorites, Rename, Delete, Make a new folder, Calculate size, and Switch media. Then, click on “Delete“.
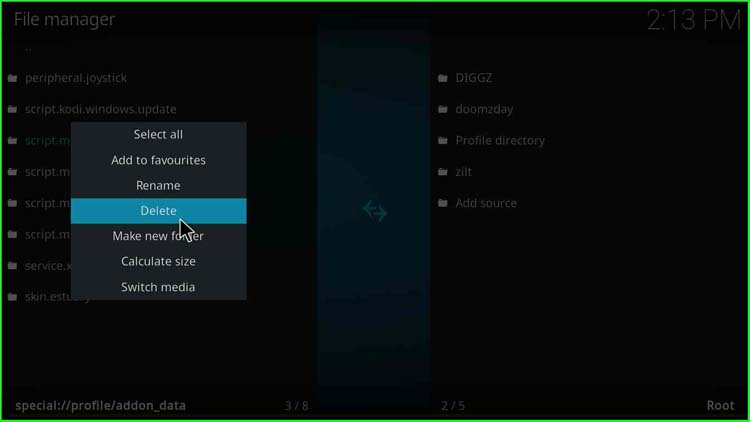
10. A “Confirm Delete” popup appears; click on “Yes” to confirm the deletion of addon data.
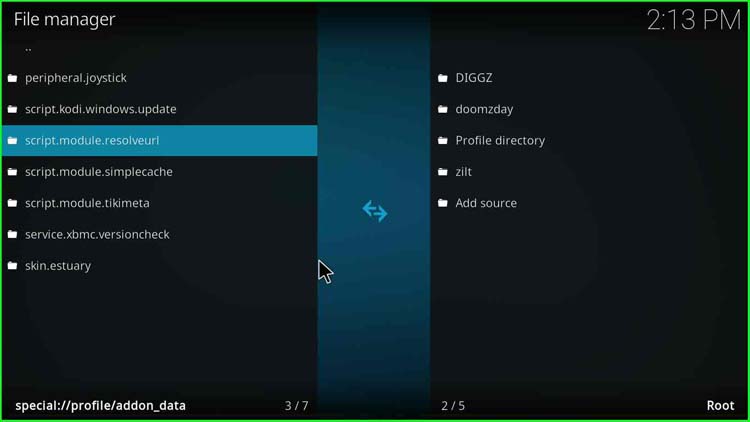
11. You will find that add-on data is no more available.
How to Delete a Kodi Repository?
Following are the steps to delete a Kodi repository.
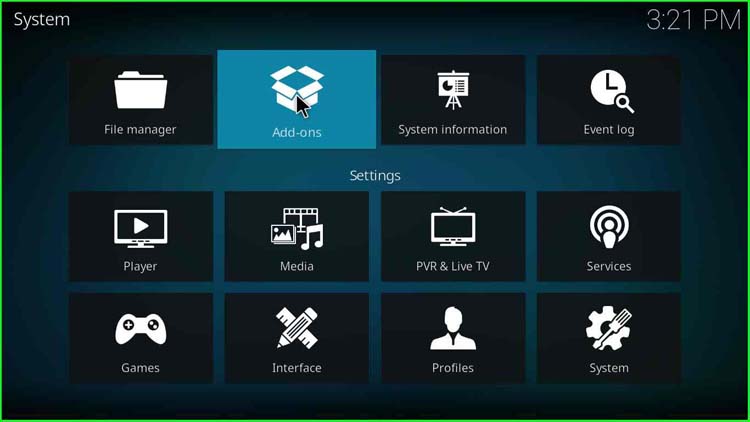
- To delete a repository, click on “Settings“.

2. After that, click on “Add-ons“.
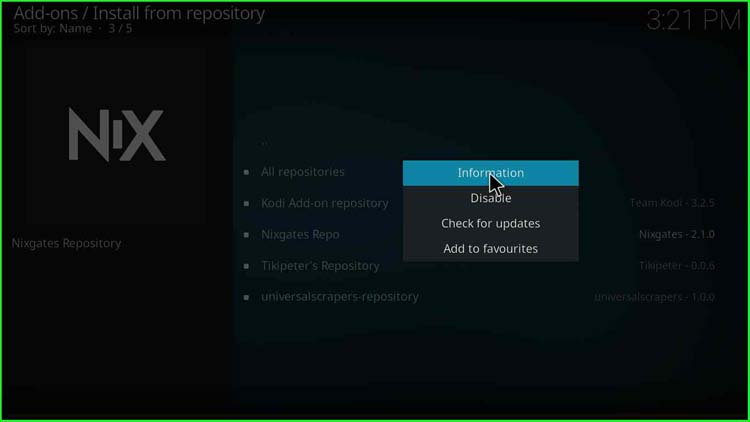
3. In this example, I have selected “Nixgates Repo” to delete.
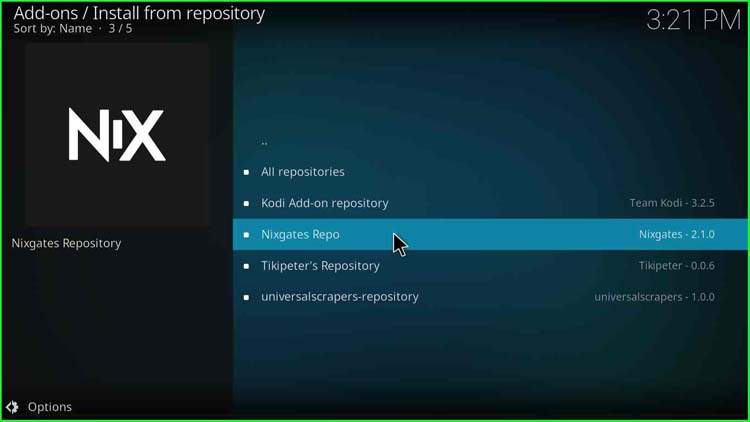
4. Right-click on the repository you want to delete. Once you click, you will find four options, viz. Information, Disable, Check for updates, and Add to favorites. Just click on “Information“.
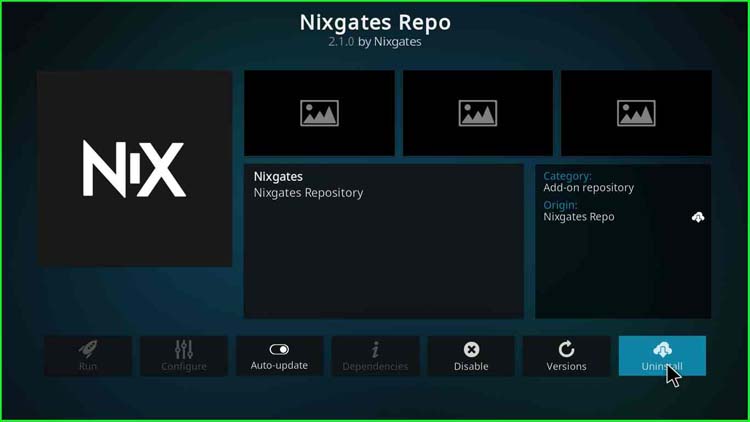
5. On the bottom-right, click on “Uninstall“.
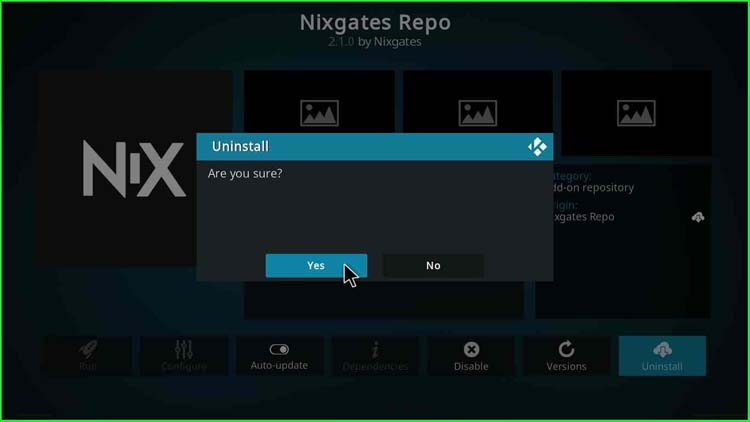
6. After that, click “Yes” once the confirmation popup appears.
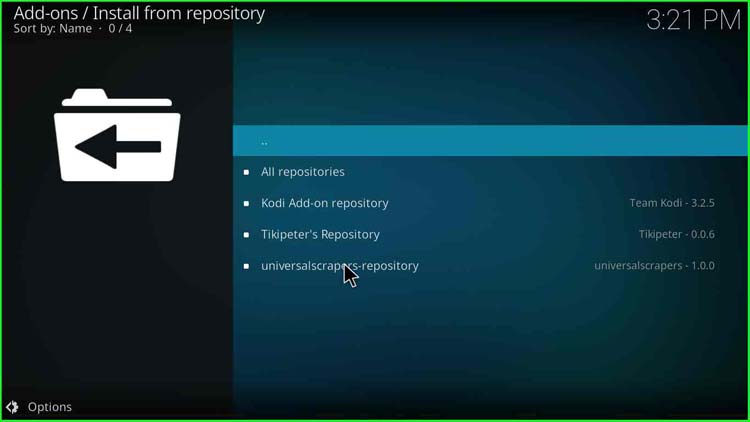
7. That’s all; you no more have your deleted repository.
Final Words
So, in this tutorial, we have discussed how to delete Kodi addons and addons data, remove a Kodi source, delete the Kodi repository, etc.
These methods are beneficial when you have too many add-ons, repositories, and builds that are not working anymore. So, it is always better to delete them to save space and optimize the Kodi performance.
What else can we provide to serve you better? Please feel free to use the comment section.
Useful Guides: